Want to buy or sell something? Check the classifieds
  • The Fedora Lounge is supported in part by commission earning affiliate links sitewide. Please support us by using them. You may learn more here.

T Jones

I'll Lock Up
Messages
6,795
Location
Central Ohio
Terry @T Jones took a 6 5/8 western to 7 1/4. I’ve taken a couple of 6 7/8 or even 6 3/4 wide brim black Borsalinos up to 7 3/4 without any issue, other than brim width loss. I was shocked at how easily those Borsalinos slipped over a 7 3/4 block.

Ask Terry, but I suspect that sizing it up in stages would be the best way to go.
I think I sized up a couple of 6 5/8. One was a stiff and thick felted Longhair Biltmore Western. I blocked this one in three stages, three different block sizes.
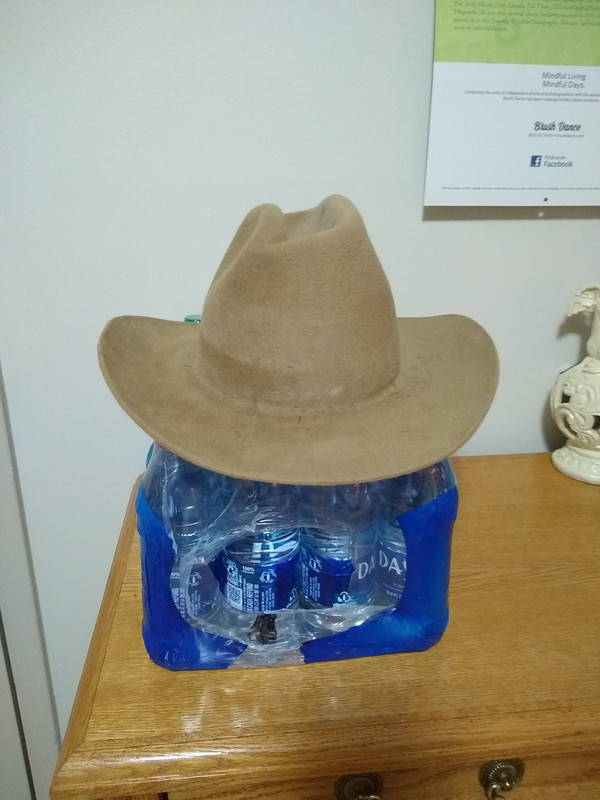
Here's the Biltmore:
Before
IMG-20200323-080650301.jpg


After : tall crowned mid ribbon
Biltmore-Tan-9-A.jpg


Biltmore-Tan-8-A.jpg


Biltmore-Tan-6-A.jpg


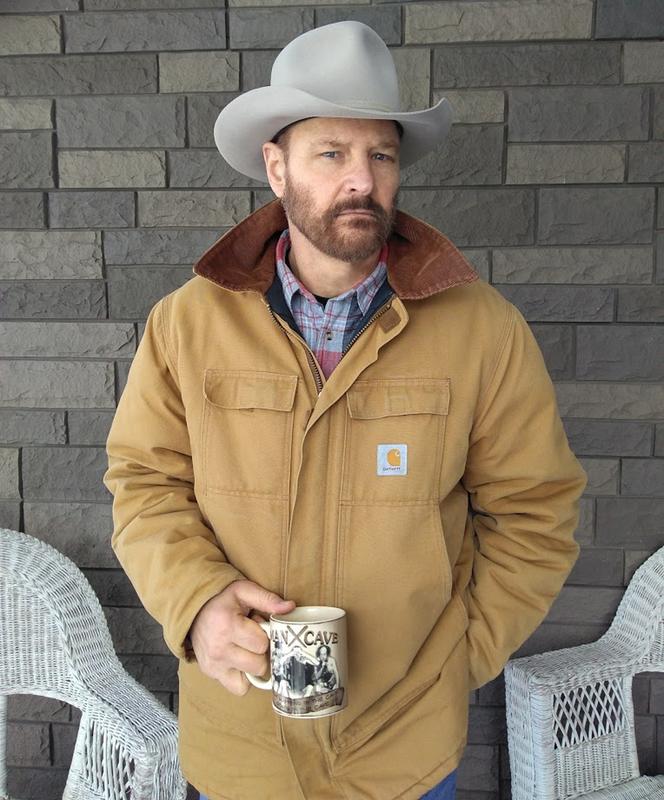
...and this '50s era No. 1 Quality Stetson
. The felt on this one was so nice that it stretched easily over my 7 1/4 block with no issues.
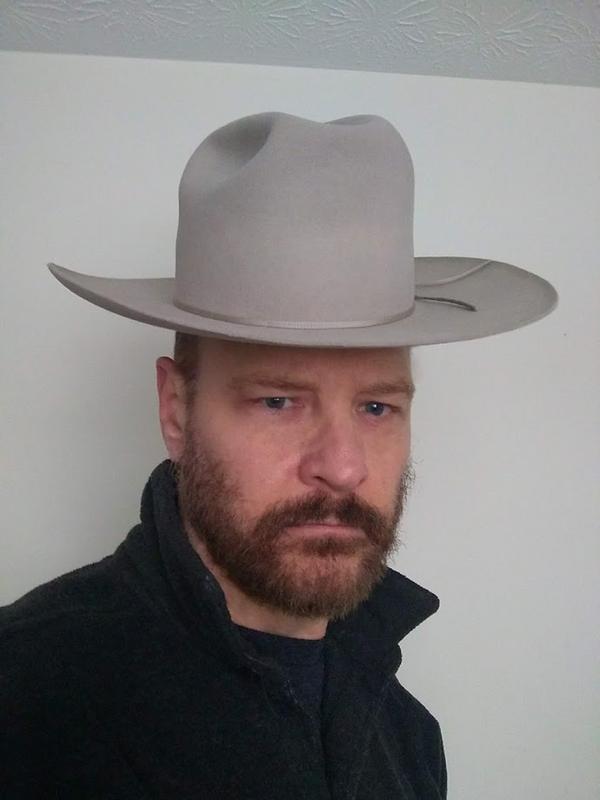
No-1-and-me-2-A.jpg


After:
A-No-1-Stetson-7-A.jpg


I also sized up a 6 5/8 Resistol and a few 6 7/8 hats, 7, and 7 1/8 hats.


Messages
19,001
Location
Central California
How do I flatten my brim?

The brim of my hat is supposed to be flat all around with a flange up at the edges. The hat stretched a little and now the sides of the brim have gone up about 1/4-inch, which has dropped the front of the brim down about 1/4-inch. When I put my fingers on the edges of the brim on the sides of my hat and pull down 1/4-inch, everything is as it should be.

What is the best way to bring down the sides of my brim 1/4-inch.


As I said when you were asking about stretching the hat: if you stretch a finished hat you can change the brim tensioning and the brim can become wonky. The sides curling up is a result of the tension changing and it really needs to be re-flange. Actually, the best way to fix it is to strip it (sweatband, liner, crown ribbon) re-block it to the right size, re-flange the brim, and but it all back together. You can try to correct it yourself, but you often just create other problems.

When I’ve had an expensive vintage hat that I needed to have stretched a bit I’ve sent the hats off to Art. Art and David at VS are gifted hatters and they resized the hats and they came back looking and wearing perfect. My own attempts on lesser hats have been mixed with some serious failures. Maybe someone else here has figured out the secrets?
 

jdouglasj

Familiar Face
Messages
82
Yeah, I'm not going to do it myself. It'll be no cost (except shipping) to send it back to Watson's, assuming he can do what I want. Your advice is appreciated, as always. I started another thread on this in the main section that has additional questions.
 
Messages
10,858
Location
vancouver, canada
As I said when you were asking about stretching the hat: if you stretch a finished hat you can change the brim tensioning and the brim can become wonky. The sides curling up is a result of the tension changing and it really needs to be re-flange. Actually, the best way to fix it is to strip it (sweatband, liner, crown ribbon) re-block it to the right size, re-flange the brim, and but it all back together. You can try to correct it yourself, but you often just create other problems.

When I’ve had an expensive vintage hat that I needed to have stretched a bit I’ve sent the hats off to Art. Art and David at VS are gifted hatters and they resized the hats and they came back looking and wearing perfect. My own attempts on lesser hats have been mixed with some serious failures. Maybe someone else here has figured out the secrets?
My experience has taught me....there ain't no secrets to be had. Sometimes the quickest way is the old fashioned route of starting from scratch....quicker in the long run.
 
Messages
19,001
Location
Central California
My experience has taught me....there ain't no secrets to be had. Sometimes the quickest way is the old fashioned route of starting from scratch....quicker in the long run.


My experience has taught me to send them to a trusted professional before I damage them. A lot of my hats benefit from spending some time with a band block installed and repeated doses of full-crown steaming, but I’m out of the resizing business.
 

jdouglasj

Familiar Face
Messages
82
Thanks. Yes, I think I'll be sending it back for modifications. Anyone can see how it differs from the DDL hat (rides higher, brim needs more flange), but I'm still hoping I'll find a designer here who will give me a yea or nay on whether or not those modifications will look better on me. At this point I'm asking a fashion question rather than an engineering question.

I know you said it's a personal decision, but a designer will have a better eye than I do. That's why I put a lot of stock in good salesmen with a real eye for design when I'm shopping for clothes (such salesmen are few and far between).
 
Messages
10,858
Location
vancouver, canada
Thanks. Yes, I think I'll be sending it back for modifications. Anyone can see how it differs from the DDL hat (rides higher, brim needs more flange), but I'm still hoping I'll find a designer here who will give me a yea or nay on whether or not those modifications will look better on me. At this point I'm asking a fashion question rather than an engineering question.

I know you said it's a personal decision, but a designer will have a better eye than I do. That's why I put a lot of stock in good salesmen with a real eye for design when I'm shopping for clothes (such salesmen are few and far between).
Another perspective: I buy what I like and to hell whether it looks good.
 

jdouglasj

Familiar Face
Messages
82
But you probably like it because you think it looks good...

I guess you mean you don't care how it looks to others. Well...

Sometimes I think something looks great, but then after some time passes I'm not so sure. A good example is car shows. I don't know how many times I've been impressed with the design of a new car only to think the opposite a year later. I think the right designer can be trusted when he says "trust me, you want X"
 

Castalen

New in Town
Messages
1
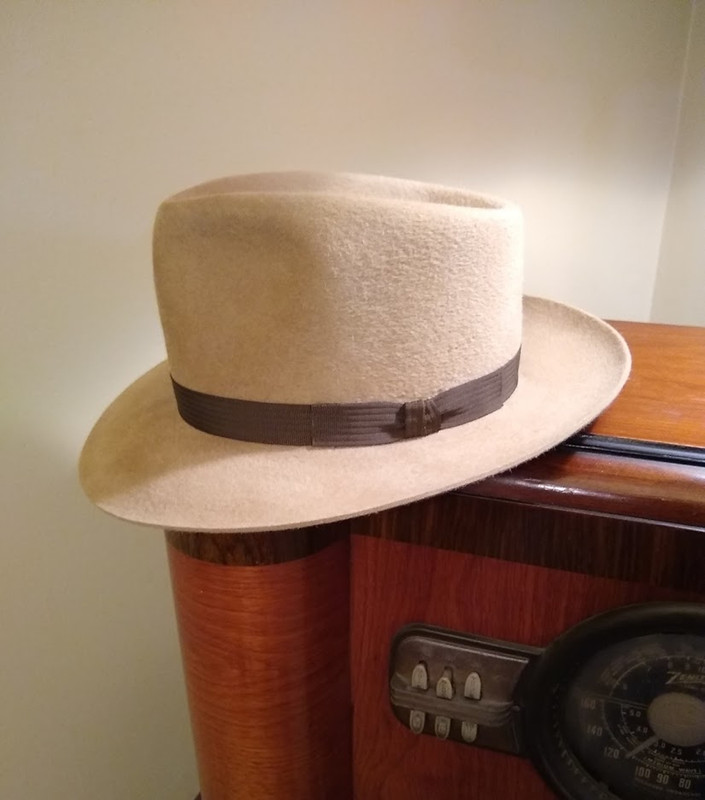
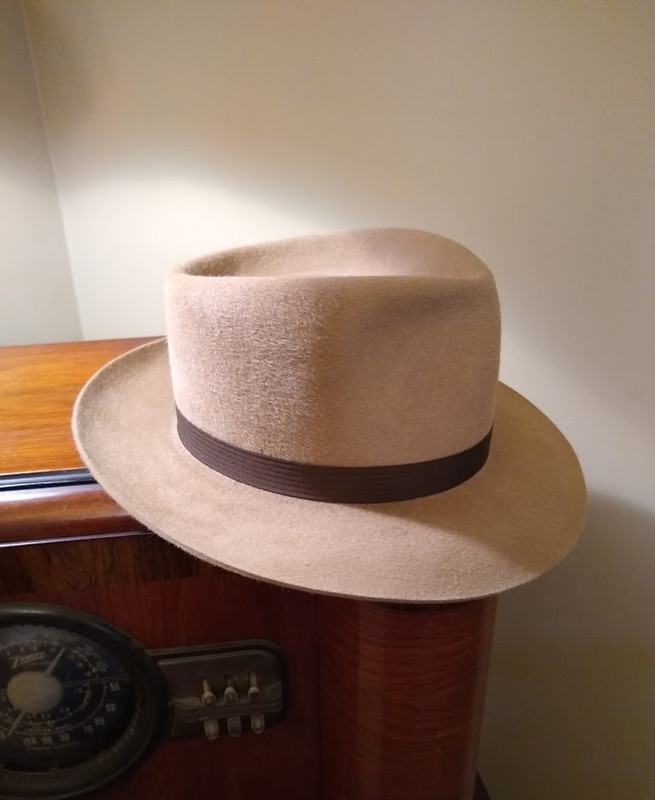
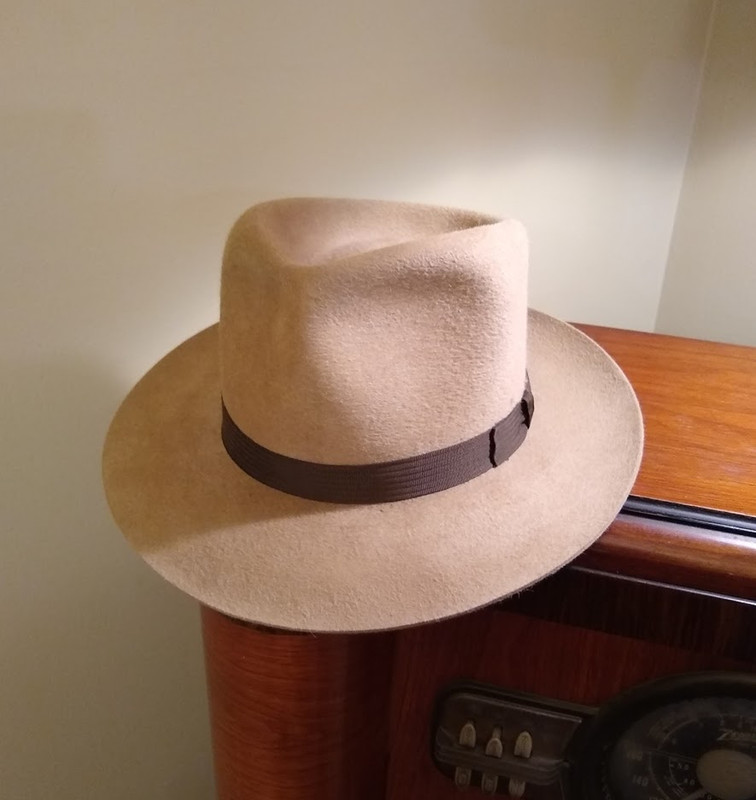
Hello gentlemen! A few days ago, I bought my first Borsalino hat (I hope it is original). Does anyone have any information about the hat on the images below or about the vendor? The only trace I found so far is an ad posted in a newspaper from 1940 (last image attached). Thank you!
IMG_5910.jpg
IMG_5911.jpg
IMG_5912.jpg
IMG_5913.jpg
IMG_5915.jpg
Screenshot 2021-02-01 at 18.48.56.png
 

BryceR

New in Town
Messages
6
Location
Kentucky
Hello everyone, I recently purchased this hat while thrifting and am curious at to when it comes from. Being that it’s made from a seemingly corduroy fabric I immediately assumed 70s but since the sweatband isn’t leather I thought perhaps 30s. I would greatly appreciate any information you could tell me about the logo or the union hatters tag that I have included in the photos
54F3E5B4-685A-4BC6-81BE-89C64C4BF0D6.jpeg
427AE98D-42B8-40DB-9521-E5B4DDCF857E.jpeg
54F3E5B4-685A-4BC6-81BE-89C64C4BF0D6.jpeg
427AE98D-42B8-40DB-9521-E5B4DDCF857E.jpeg
41963C73-AFDB-4AFB-BCF5-D961AA258A97.jpeg
6811AC08-923B-4F94-BE91-C6B2436A24E4.jpeg
8AE6B4F7-AE7B-417E-BA7E-1A47A657B355.jpeg
 
Messages
11,720
Definitely some late 60s 70s maybe even early 80s cues there. That union tag ended in 83. I’m not sure what date Stetson let union workers back in. After Stevens?
 

Adam L

New in Town
Messages
18
Location
Canada
Hi Loungers,
I'm making my very first hat, and I have a question about cutting and stitching together leather sweatbands. I'm completely new to this, and I really appreciate any guidance and advice. I have a roan reeded sweatband that I need to cut and sew into a hat that I've just blocked using a size 60 block. From my research, I believe I have to set the sweatband to size 59 1/2 or 23.5". The uncut sweat has a U-shaped curve in it, and I'm honestly not sure how approach cutting this. I've watched Art's video and looked at images of JW's old cutting tools, and I can see that the sweat should be cut on a bit of an angle. I've even read through the sweatband thread here (https://www.thefedoralounge.com/threads/flattening-brim-stitching-sweatband.86071/#post-2084639), and I've taken note of TheDane's photo here:

sweatband-png.48785


I'm still nervous about cutting this thing, though. I'm missing something. Can someone tell me why this angle is necessary or how to achieve it? With an angled cut, should the shorter length measure 23.5 or the longer end?

Finally, looking at some of my older hats, I can see they all have a little piece of cardboard at the back of the sweatband. It seems to be there to add integrity to the stitching, as far as I can tell. I see Art added it in his video, too. Does anyone know what it's called or why it's important?

Thanks so much for your thoughts in advance!
 
Last edited:
Messages
10,858
Location
vancouver, canada
Hi Loungers,
I'm making my very first hat, and I have a question about cutting and stitching together leather sweatbands. I'm completely new to this, and I really appreciate any guidance and advice. I have a roan reeded sweatband that I need to cut and sew into a hat that I've just blocked using a size 60 block. From my research, I believe I have to set the sweatband to size 59 1/2 or 23.5". The uncut sweat has a U-shaped curve in it, and I'm honestly not sure how approach cutting this. I've watched Art's video and looked at images of JW's old cutting tools, and I can see that the sweat should be cut on a bit of an angle. I've even read through the sweatband thread here (https://www.thefedoralounge.com/threads/flattening-brim-stitching-sweatband.86071/#post-2084639), and I've taken note of TheDane's photo here:

sweatband-png.48785


I'm still nervous about cutting this thing, though. I'm missing something. Can someone tell me why this angle is necessary or how to achieve it? With an angled cut, should the shorter length measure 23.5 or the longer end?

Finally, looking at some of my older hats, I can see they all have a little piece of cardboard at the back of the sweatband. It seems to be there to add integrity to the stitching, as far as I can tell. I see Art added it in his video, too. Does anyone know what it's called or why it's important?

Thanks so much for your thoughts in advance!
As you measure your head at its widest point to get your size that then would be the 23.5 or longest measure. Your head tends to taper some upwards of that so you gauge the angle based on what you need for it to fit comfortably. I cut mine just a few degrees of angle. First cutting to the desired measure and then re cutting to set the angle being careful not to cut any from the length. The material at the back stitching that you see is to hold the sweat together while you stitch it together and then just left. I used it at first but have learned to go without. I just tack the sweat together with painters tape while I make sure the sweat fits me and fits into the hat. I have a 2" x 8" board cut to my head size and shape. I use that to get the size right, It is hard using a ruler or tape as the sweat is curved and hard to measure accurately. Make sure the cut sweat band fits perfectly into the hat. It should just drop in and with a little resistance drop into place. I have learned if it is too big or too small the sewing it into the hat will be an uphill struggle. It either fits or it don't and if it don't then forcing it will give you much grief.
 

Adam L

New in Town
Messages
18
Location
Canada
As you measure your head at its widest point to get your size that then would be the 23.5 or longest measure. Your head tends to taper some upwards of that so you gauge the angle based on what you need for it to fit comfortably. I cut mine just a few degrees of angle. First cutting to the desired measure and then re cutting to set the angle being careful not to cut any from the length. The material at the back stitching that you see is to hold the sweat together while you stitch it together and then just left. I used it at first but have learned to go without. I just tack the sweat together with painters tape while I make sure the sweat fits me and fits into the hat. I have a 2" x 8" board cut to my head size and shape. I use that to get the size right, It is hard using a ruler or tape as the sweat is curved and hard to measure accurately. Make sure the cut sweat band fits perfectly into the hat. It should just drop in and with a little resistance drop into place. I have learned if it is too big or too small the sewing it into the hat will be an uphill struggle. It either fits or it don't and if it don't then forcing it will give you much grief.
Belfast, I considered coming directly to you, but you've been such a help recently I thought I'd give you a break. Thank you, once again! Your advice is always so well detailed. That explains the angles. Ok, here I go! Thanks again!
 

Forum statistics

Threads
109,316
Messages
3,078,697
Members
54,243
Latest member
seeldoger47
Top