Want to buy or sell something? Check the classifieds
  • The Fedora Lounge is supported in part by commission earning affiliate links sitewide. Please support us by using them. You may learn more here.

The Vintage Tailoring Thread

dakotanorth

Practically Family
Messages
543
Location
Camarillo, CA
i've tried one but found it didn't help that much, and sometimes pieces of a raw edge were too thick to go through it, such as where the belt joins the side seam.

Good to know I'm not completely nuts. Every time I try those, the binding buckles, jams, and mis-feeds.
That and the flat fell foot; "Easy to use! Simple as 1-2-3!!" Right. I still set most of these things by hand- pin, then hand baste, then machine stitch.
 

Nick D

Call Me a Cab
Messages
2,166
Location
Upper Michigan
I noticed in the 'Show us what you made' thread that Qirrel, herringbonekid, and myself all have different techniques for making the jacket collar. Here's a shot of one I did some time ago:

DSC05845.jpg


When I do a jacket the only part of the collar that's done on machine is the centre seam on the melton and canvas. Everything else I like to do by hand. I'm not saying by hand is better (talk about a can of worms!), I just like the process of making it, I find it relaxing and it's my favorite part of making up jackets.

Of course, there are different ways to do it by hand, too, but this is how I do it. The centre seams are made and the linen canvas is basted to the melton. The seam allowances and roll line are marked out in pencil. I then padstitch the stand closely, starting at and parallel with the roll line working towards the bottom edge. The fall is then padstitched starting at and parallel with the roll line. When the stitching reaches the back centre seam allowance there will still be each corner to be done, and these are done with the same small, close stitches as the stand (and the corners of the lapels) to keep them snug against the chest.

Once this is done I press the whole thing over a ham. The top and bottom seam allowances are trimmed off, but not the ends. The collar is basted and felled to the jacket, at which point the ends are trimmed to ensure they're identical. The top collar is then laid on. I'm almost to the point of starting another collar, I'll take photos of the whole process this time.

What other techniques do people favour, and why? Any tricks to make it go more smoothly?
 

herringbonekid

I'll Lock Up
Messages
6,016
Location
East Sussex, England
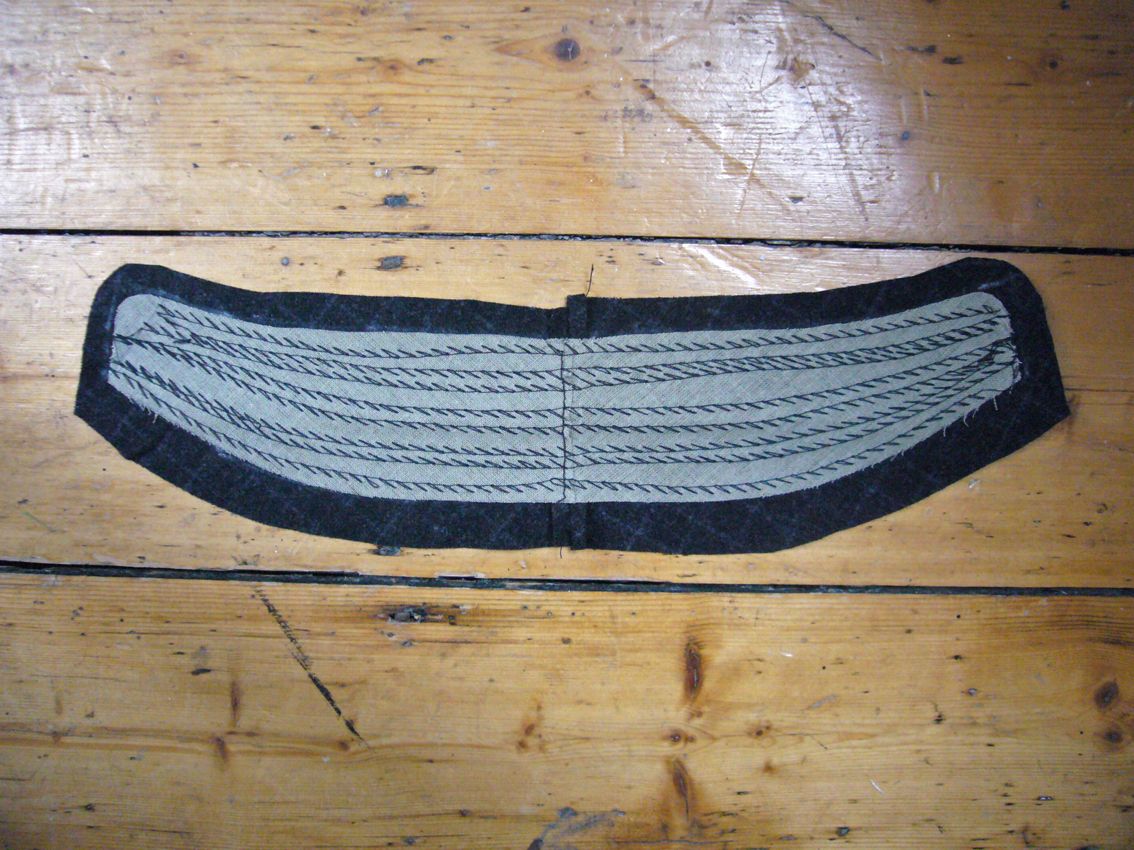
Nick, i basically cut my collar canvas the same as my undercollar (which is smaller in places than the top collar).
i don't use melton, but the suit fabric for the undercollar (cut in two bias parts):

L1040472.jpg


it is machine pad stitched, as you know. then basted and machined to the jacket collar-line. then machined right-to-right to the top collar. this isn't the trad bespoke way obviously.
it's a vintage production-line way, and i prefer the way the undercollar looks in suit fabric rather than melton. just personal preference. it's also quicker. ;)
 

Qirrel

Practically Family
Messages
590
Location
The suburbs of Oslo, Norway
I also use the suit fabric for the undercollar. And I don't pad stitch the stand, instead I use the machine to sew several lines of stitching parallel to the break line. I have experimented with how the pad stitching of the fall affects the finished look. In some books you are told to pad along the break line and curling the collar like when doing the lapels, but others tell you to pad perpendicular to the break line. I have tried both, and couldn't see or feel much difference at all. Another important step is the ironwork, which I think is essential. Without it, the edge of the fall sits too tightly against the coat/neck, and is prone to ride up, exposing the undercollar.
 

Nick D

Call Me a Cab
Messages
2,166
Location
Upper Michigan
Yes, by hand is not quick. I think melton works better than suiting when felling by hand (I've used both, and it depends on the fabric), but if I were to make the points of the collar rounded like yours here I think I would definitely do it in the suit fabric. Do you machine the neck edge as well? I've seen vintage collars that were turned like this but then attached like a hand-made collar, either by machine or what looks like by hand.
 

Nick D

Call Me a Cab
Messages
2,166
Location
Upper Michigan
In some books you are told to pad along the break line and curling the collar like when doing the lapels, but others tell you to pad perpendicular to the break line. I have tried both, and couldn't see or feel much difference at all.

I had wondered about this. I've seen it done both ways but never tried the perpendicular method. One source I found said that perpendicular padstitching was for menswear and parallel for womens, which makes no sense.

Another important step is the ironwork, which I think is essential. Without it, the edge of the fall sits too tightly against the coat/neck, and is prone to ride up, exposing the undercollar.

Yes, I didn't mention the rest of the ironwork, but it does make a lot of difference on the collar.
 

herringbonekid

I'll Lock Up
Messages
6,016
Location
East Sussex, England
...but if I were to make the points of the collar rounded like yours here I think I would definitely do it in the suit fabric.

the 30s American jacket on page 1 of this thread has rounded collar corners and melton underneath, so it can be done.

Do you machine the neck edge as well?

yes, that's what i meant by 'jacket collar line' above. i think i should have said 'neckline'. :D
 
Last edited:

herringbonekid

I'll Lock Up
Messages
6,016
Location
East Sussex, England
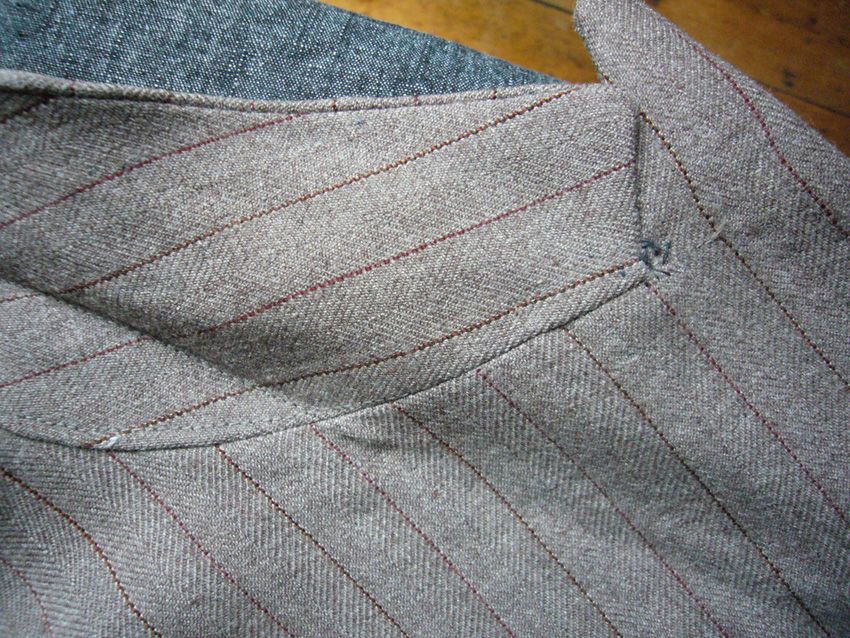
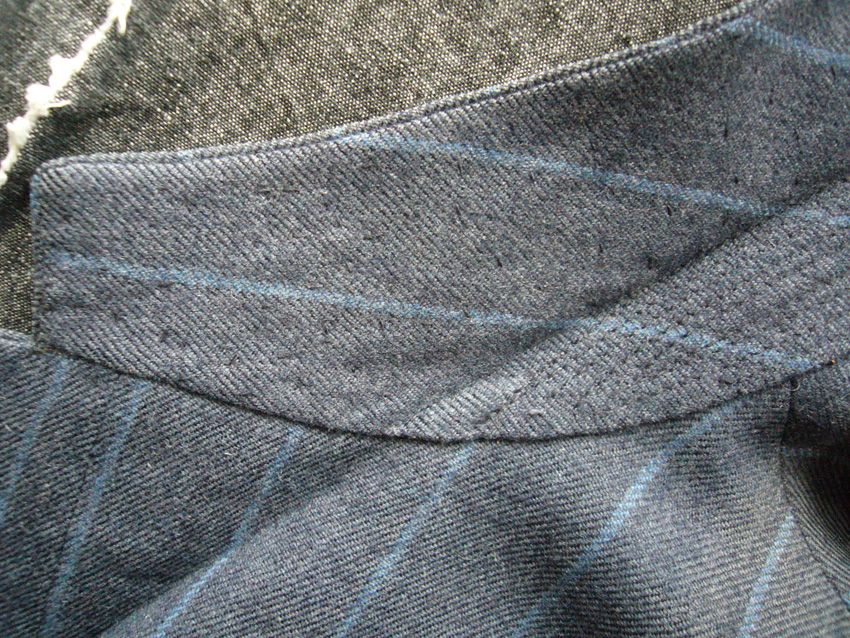
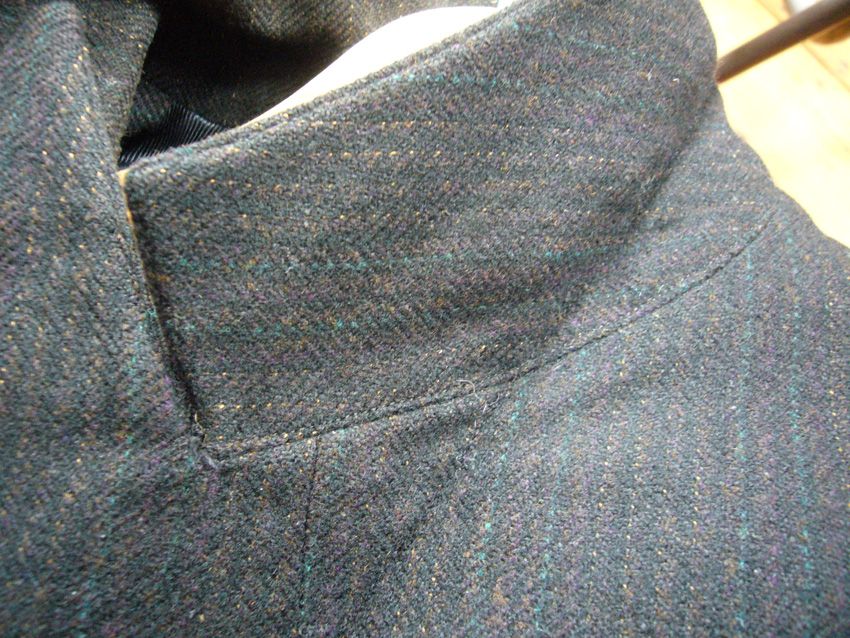
vintage examples:

top stitched break line and neckline:

L1040677.jpg


visible hand padding, top stitched break line and rows of stand stitching:

L1040678.jpg


top stitched break line which goes over the seam and halfway down the jacket roll-line:

L1040679.jpg


top stitched break line, lapel and collar edge:

L1040680.jpg
 
Last edited:

Nick D

Call Me a Cab
Messages
2,166
Location
Upper Michigan
Very nice examples. I especially like #2, it's a nice example of hand and machine work. How is it attached?

Also the small dart taken out of the lapel on all but the top one. That seems to no longer be done anymore.
 

herringbonekid

I'll Lock Up
Messages
6,016
Location
East Sussex, England
Very nice examples. I especially like #2, it's a nice example of hand and machine work. How is it attached?

by hand. you can see it has more of a thick edge where it's been turned under, whereas the others have been pressed flat.

Also the small dart taken out of the lapel on all but the top one. That seems to no longer be done anymore.

yep, the chest dart. i do that on mine:

L1040682.jpg


this one was padded by hand, before i had the machine. top stitched along break line.
 

Qirrel

Practically Family
Messages
590
Location
The suburbs of Oslo, Norway
Here are some details of my collar construction and method of attaching it. First picture shows the padding (perpendicular to the break), and the lines of machine stitches.

img3502e.jpg


Here I aw showing the effect the ironwork has had on the shape of the collar. It is now round to fit the neck, instead of flat and straight.
img3504ai.jpg


First I baste the undercollar on:
img3506he.jpg


Then I mark the correct depth of the "step".
img3507b.jpg


When the both collar ends have been trimmed to the same shape and length, I fell the collar to the coat:
img3509mn.jpg


I then turn in and press down the inner edge of the collar cloth, in preparation for drawing it on to the facing.
img3512s.jpg
 

Qirrel

Practically Family
Messages
590
Location
The suburbs of Oslo, Norway
I also turn in the facing and baste it down to the position of the finished seam. Then I baste the lining to the collar canvas, and attach the loose end of the bridle tape, holding it slightly tight:
img3515lf.jpg


After drawing the collar on:
img3516b.jpg


On the inside I sew the collar onto the lining through to the canvas with a cross stitch.
img3518j.jpg


I then baste with a padding stitch on the stand, and continue to baste the collar over the undercollar down to the edge.
img3520q.jpg


Then I simply turn the edges in, and only have the edge stitch left to do.
img3523w.jpg


Finish of the underside:
img3525b.jpg
 
Last edited:

reetpleat

Call Me a Cab
Messages
2,681
Location
Seattle
I always chuckle a little when I see a lounger posting something about their wife who sews her own dresses wanting to try her hand at a suit. God bless em, but i don't think they have any idea how complicated it is.
 

Nick D

Call Me a Cab
Messages
2,166
Location
Upper Michigan
I always chuckle a little when I see a lounger posting something about their wife who sews her own dresses wanting to try her hand at a suit. God bless em, but i don't think they have any idea how complicated it is.

The commercially avaliable patterns reduce it to little more than dressmaking. Taped edges, padding, stays, full canvases, they're all replaced with quicker methods or abandoned.
 

Nick D

Call Me a Cab
Messages
2,166
Location
Upper Michigan
The people I bought it from recently doubled the price. I'm using the last of what I have right now. That and collar canvas. I think the Lining Company still has decent prices, though, or they did the last time I looked.
 

herringbonekid

I'll Lock Up
Messages
6,016
Location
East Sussex, England
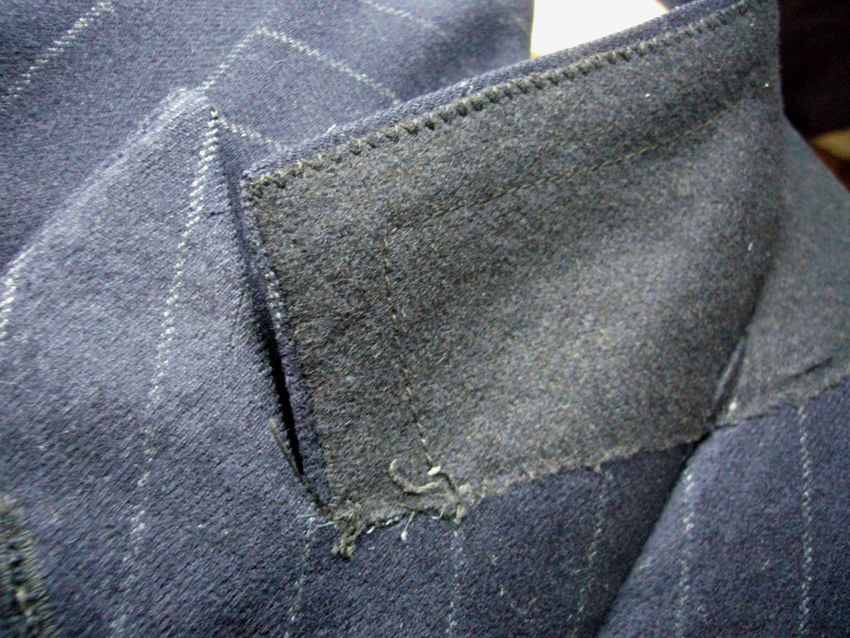
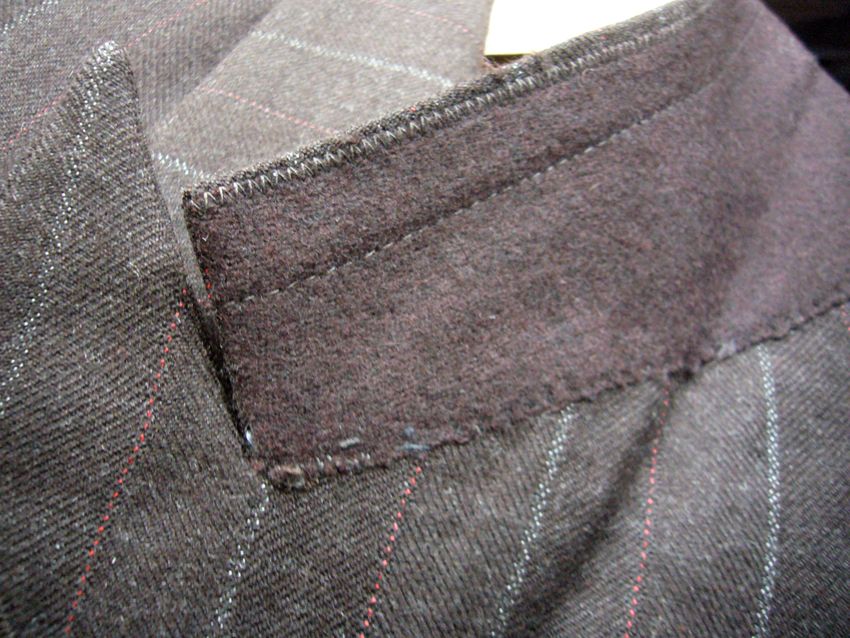
this is the British 1940s with-melton production-line way:


L1040683.jpg


L1040684.jpg


the break line isn't top stitched and they have no visible hand pad stitching, so i'm assuming they're machine-padded.
there's always the outside chance that the long top stitch might be all, but i doubt it.
unfortunately these two suits are not earmarked for taking apart, so i won't know until i find another moth damaged Burtons example to unpick.

Nick if you look at your Burtons 50s suit i'll wager it has the same style as this.
 

Forum statistics

Threads
109,101
Messages
3,074,126
Members
54,091
Latest member
toptvsspala
Top