Want to buy or sell something? Check the classifieds
  • The Fedora Lounge is supported in part by commission earning affiliate links sitewide. Please support us by using them. You may learn more here.

The Conversion Corral

Richard Allen Crook

New in Town
Messages
19
Location
Dallas
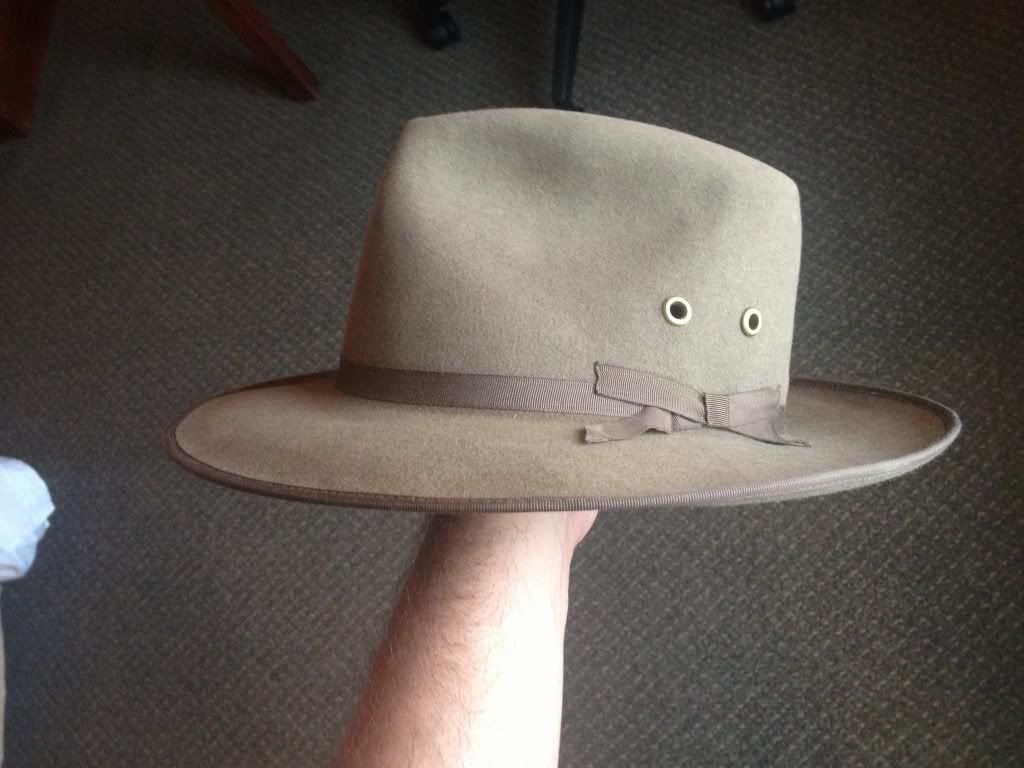
Added some brass eyelets to my Campdraft. Hopefully that will help me out here in sweltering Texas! I only did one side, is it more common to do both sides?
null_zpsc2a8c982.jpg
 

TomS

One Too Many
Messages
1,202
Location
USA.
Great looking resto! Interesting video, thanks for posting! Scott has done some work for me, and I'm VERY pleased.
Best,
Tom
 

bond

My Mail is Forwarded Here
Messages
3,535
Location
Third coast
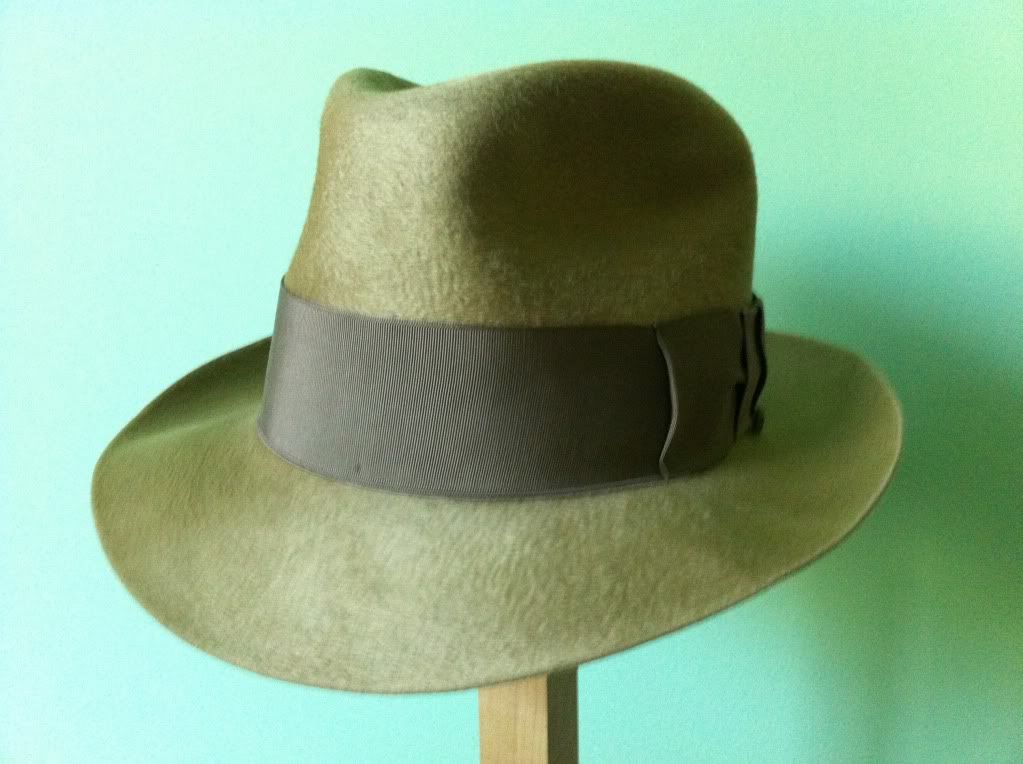
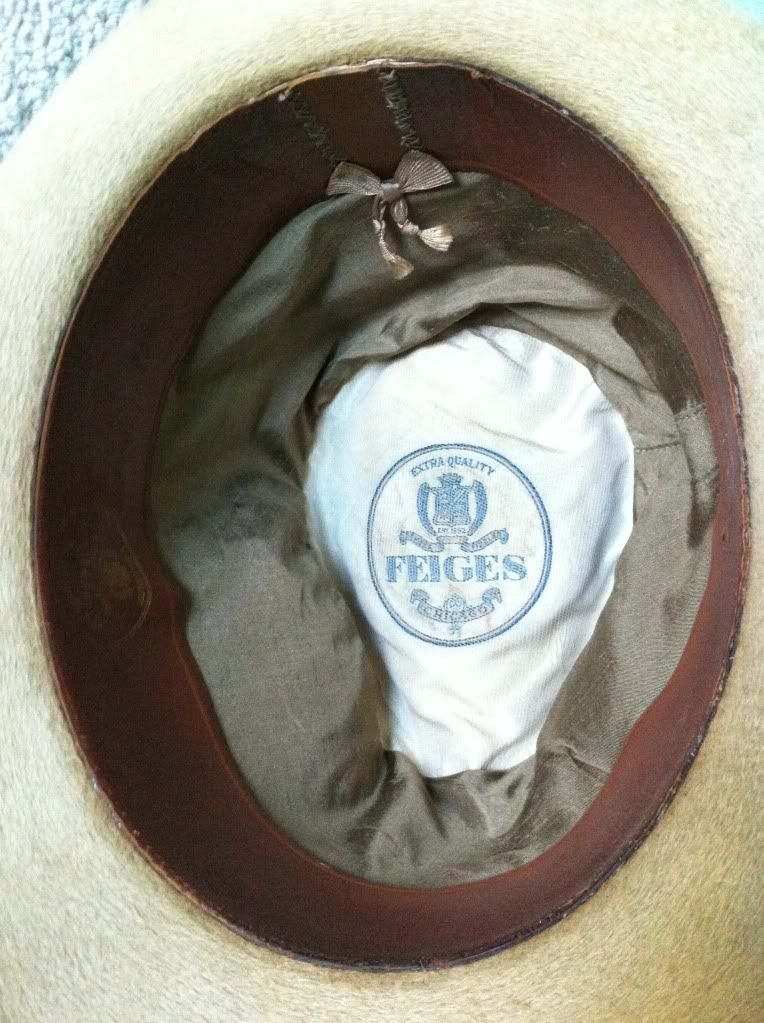
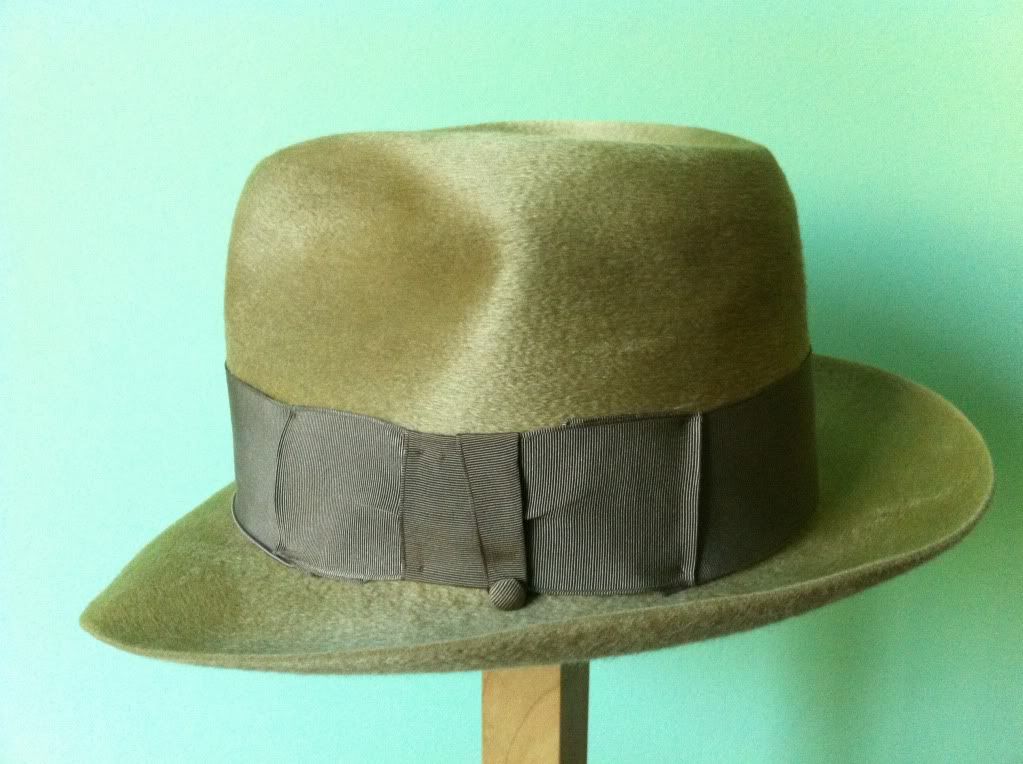
Here is a link (at bottom)to Recent Restoration of a vintage Feiges (beaver)Fedora that I recently finished for another Lounger.
Liner was literally crumbling so I replaced the sides of it with a piece of contrasting Silk fabric with interface backing and incorporated the logo into it as well as protected it with a very light mesh Tulle over the logo. After washing the Hat in
Naptha gas I added a sheepskin leather liner to the original sweatband to strengthen it. Ribbon was hand washed and ironed with the inside now to outside as it was faded. Leather piece added in sweatband is to allow for sizing as it was a 3/8
and is now a 1/2 fit.
21F09996-E0C4-4EAF-9EF1-21477ACD4634-19433-0000052C4815C746_zpsc7b54758.jpg

977323B9-39EA-4219-9CFD-B08AA5573458-19433-0000052CAF56532B_zps0dc2713e.jpg

9FCC7CA6-229A-4460-9B35-65C1E3784961-19433-0000052C6B83C983_zps54a67820.jpg

http://youtu.be/KtoTFzI2ETU
 
Last edited:

bond

My Mail is Forwarded Here
Messages
3,535
Location
Third coast
Thanks guys. As that saying goes "When you love what you do it can't be work".
Appreciate your comments.
 

ReverbDave

New in Town
Messages
44
Location
Orlando Florida
I can't tell you how happy I am with Bond's work on my '40's Knox fedora.

As you can tell from his pictures and video, the hat that was in rough shape when I sent it to him. When I got it back, the felt looked like it was new. Flipping it was brilliant. I've never heard of that before. The stitching on the over welt looks original. It smells a lot better too!!

The Sweatband looked like it was always attached. I couldn't tell that was refurbished. The original bow was too far gone, but his replacement was beautiful, and pretty close to the original. The shape of the hat was perfect.

The time and care you took was obvious.

Thanks Very Much,

Dave
 

bond

My Mail is Forwarded Here
Messages
3,535
Location
Third coast
Dave, thanks for giving me the opportunity to restore your hat for you.
I enjoyed working on it.
Enjoy wearing it!
Scott
 

Alive'n'Amplified

Call Me a Cab
Messages
2,032
Location
Atlanta, GA
Emerson Star Quality Eight-Fifty - PART I

Hey folks. Thanks for all the nice comments on the WHAYWT? thread regarding my recent conversion. I was inspired by Josh and Scott to try my hand at renovating hats. I figured that if I found some nice hats a size larger or smaller that I could re-block them to fit. Also, if I found a dingy hat in my size for a really good deal, it would just be a matter of patience to clean it up and re-block it.

Hat blocks and a flange were tops on my list of wants, and when I finally got my first 7 1/4 block, I thought, ummm... Didn't have much confidence to start on any of my existing hats. I didn't want to start it and then not finish it. After another block and a flange later, I started gaining confidence to give it a go. My first couple of projects were simply starters and practice; a couple of beaters (not wearable) from a thrift store and another cheap hat of my own (also not wearable). They weren't meant to be finished projects, just practice.

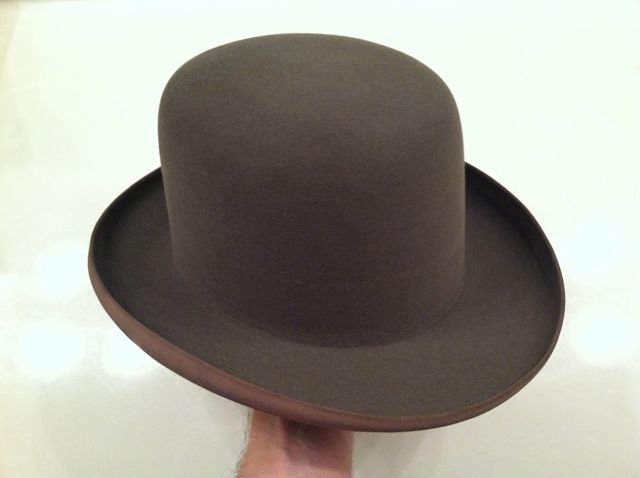
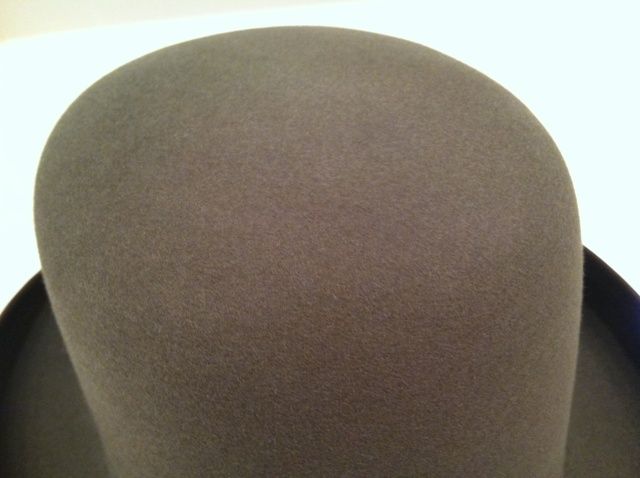
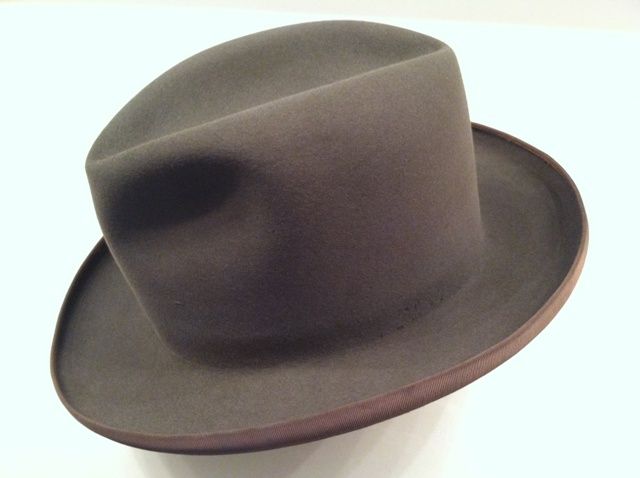
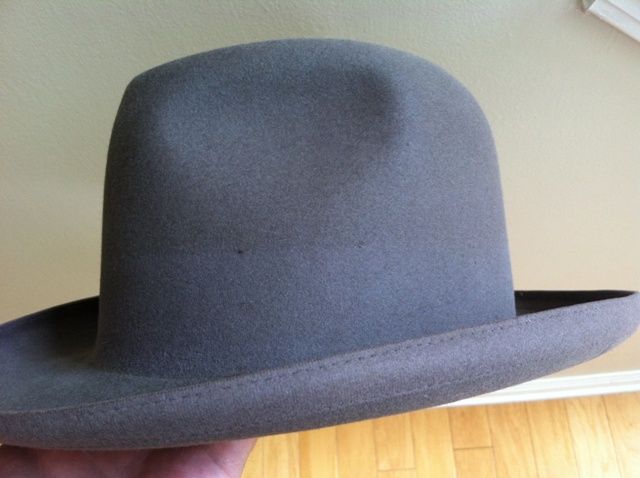
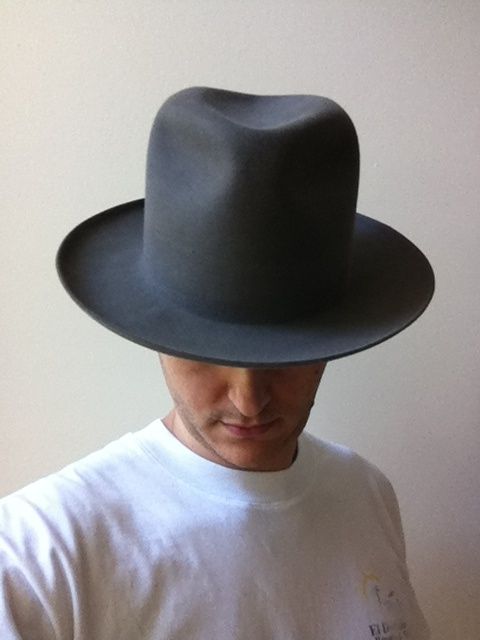
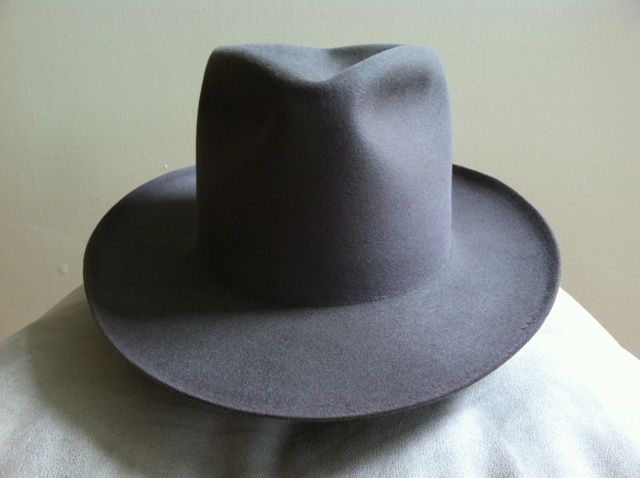
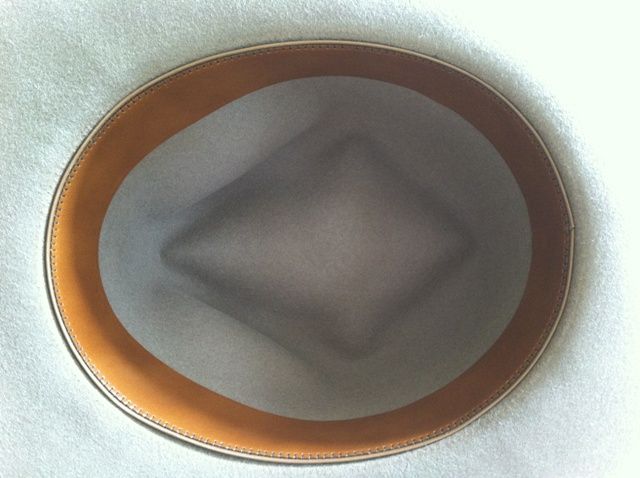
Then I saw the perfect specimen to try my work on. It was a high-crowned taupe union-made Emerson Star Quality Eight-Fifty homburg. The felt was dirty and floppy. On the inside, the sweatband had fallen off, as well as the liner. While the liner didn't look bad in the pictures, it was heavily soiled, and when I gave it a soaking in the sink with mild detergent, it turned the water brown! I still couldn't scrub out the stains, which is a shame. Here are some shots just after it had arrived. I also gave it a crease, which looked pretty nice, but it obviously wasn't going to stay.

IMG_1570.jpg


IMG_1571.jpg


IMG_1573.jpg


IMG_1572.jpg


IMG_1576.jpg


IMG_1594.jpg


IMG_1584.jpg


IMG_1587.jpg


IMG_1598.jpg


IMG_1581.jpg
 

Alive'n'Amplified

Call Me a Cab
Messages
2,032
Location
Atlanta, GA
Emerson Star Quality Eight-Fifty - PART II

After removing the interior and ribbon, I gave it a thorough steaming so that I could put it on the block. The original block had straight sides and a rounded dome, while I was going to flatten out on my 52 block. Notice the cleaner felt where the ribbon used to be. There were some noticeable moth nibbles. And you can also see a few holes from the basting stitches that were used on the top edge of the ribbon. These would be steamed and sanded down later...

IMG_1609.jpg


IMG_1614.jpg


IMG_1612.jpg


IMG_1617.jpg


IMG_1615.jpg


IMG_1618.jpg


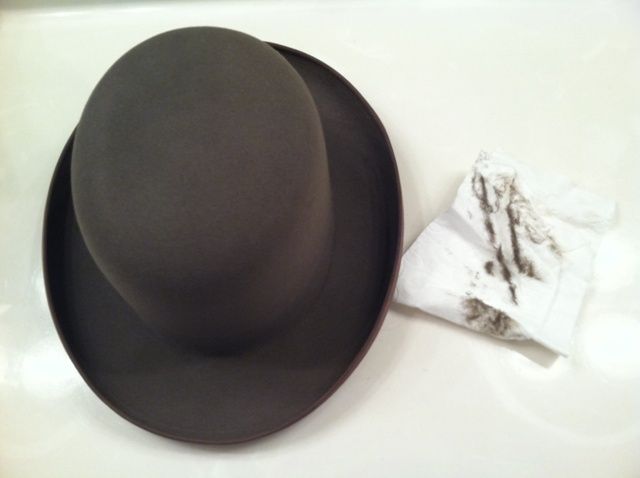
While the hat was on the block I continued steaming it and brushed it with a hat sponge, pulling out the top layer of dusty and dirty felt. It was pretty nasty. And that's just the residue from the counter top. Mind you, I had already taken the hat outside and gave it a good beating to get the dust off.

IMG_1610.jpg


The body was looking really good. But I knew that if I wanted this hat to become something other than a homburg, then I would have to remove the edge binding. I finally decided to do it; here's a close up...

IMG_1628.jpg


IMG_1629.jpg


I'm so glad I did it! The edge binding was filthy; it wasn't going to look good. It took some additional steam to thicken up the felt and close up the stitch holes. The hat was shaping up...

IMG_1633.jpg
 

Alive'n'Amplified

Call Me a Cab
Messages
2,032
Location
Atlanta, GA
Emerson Star Quality Eight-Fifty - PART III

After even more steam and pressing, I started sanding the crown to try and blend the felt so that there wouldn't be such a distinct line, as well as the brim edge. The basting stitch holes were also raised, so they needed to be shaved. I was ginger with it; didn't want to over do it, but everything smoothed out nicely. Back on the flange it went for more pressing and shaping.

IMG_1784.jpg


IMG_1783.jpg


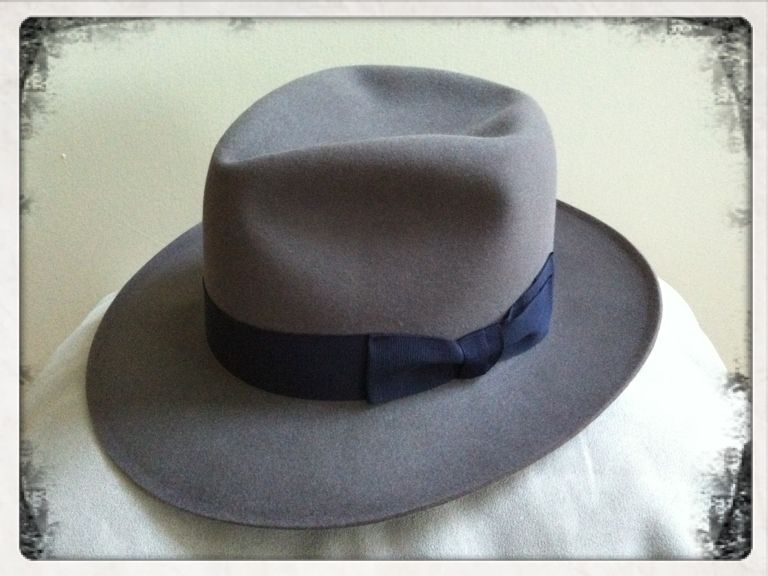
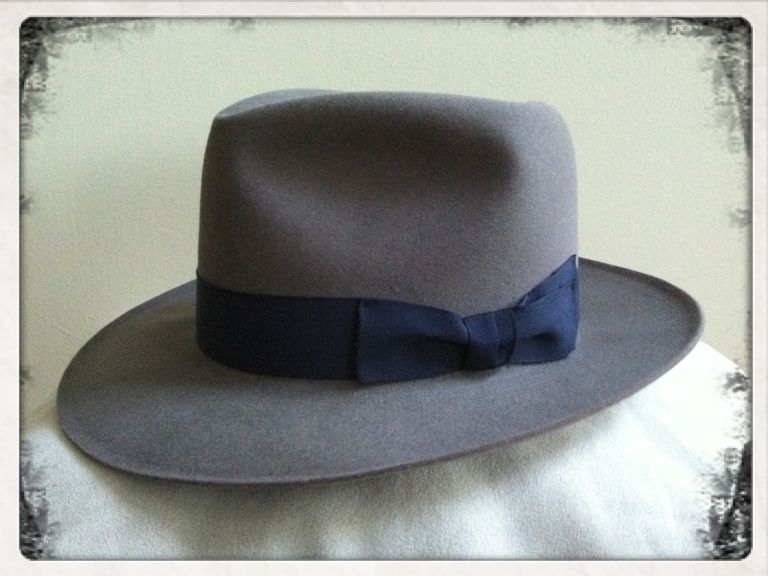
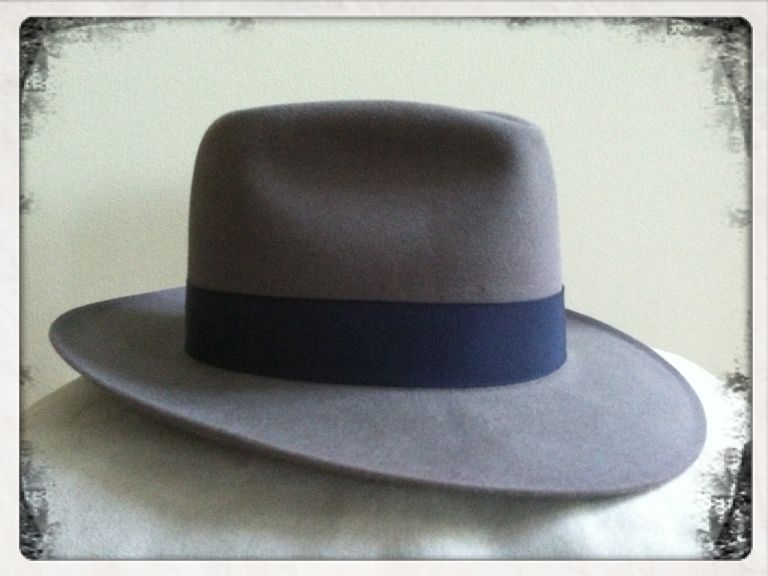
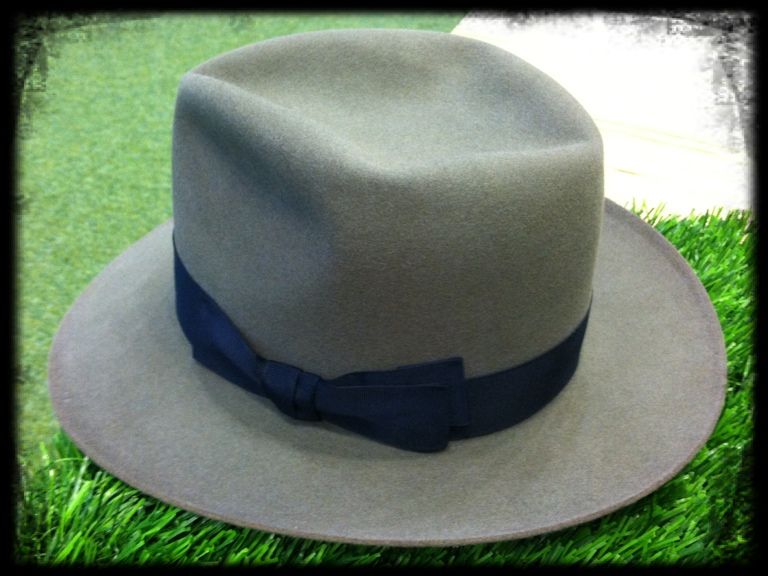
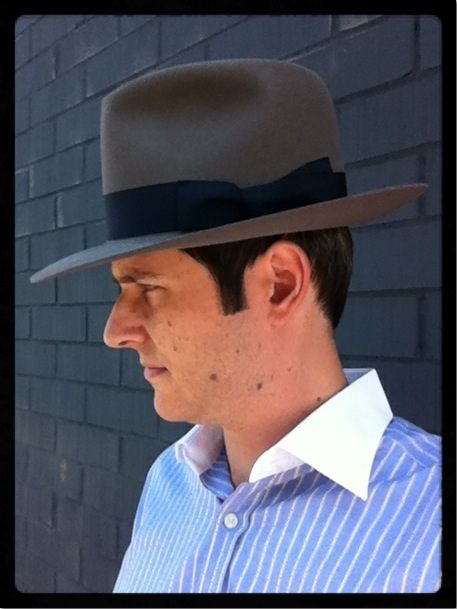
At this point, I was waiting on a new vintage-style leather sweatband (no gold foil) and some vintage navy 1 3/8" ribbon. Once they arrived, I continued the work. I started with a basic ribbon cinch, but ended up folding it for a more finished look. Also gave it a distinct "peek-a-boo".

IMG_1879.jpg


A6304F74-orig.jpg


IMG_1786.jpg


Sewing takes A LOT of patience! But I find it very meditating. I zone out and let it move me. The ribbon was fresh and a little stiff, so it needed to be steamed and worked around the hat, so that there wasn't a gap between the top of the ribbon and the felt. And voila!

3B2A1F3B.jpg


B06D5C6F.jpg


85363C05.jpg


B86428E3.jpg


5BA1A649.jpg


Thanks so much for stopping by! Hope you enjoyed the read. Cheers!!
 

Alive'n'Amplified

Call Me a Cab
Messages
2,032
Location
Atlanta, GA
Thanks, Jeff! I didn't want to go with another black ribbon. I have several grey hats with black ribbons. It took me a while to decide on navy. Not because I didn't like it, but because I was almost set on a rust color.

I bought some vintage ribbons and bows from Scott (bond), but none of them really sealed the deal. I scoured the web and found the navy. I always wanted a grey / navy combination. This combo really hit it out of the park. :)

It was nerve-racking to wait on the ribbon while I couldn't go any further on the hat!!
 

Forum statistics

Threads
109,306
Messages
3,078,499
Members
54,244
Latest member
seeldoger47
Top