PeterHuang
Familiar Face
- Messages
- 63
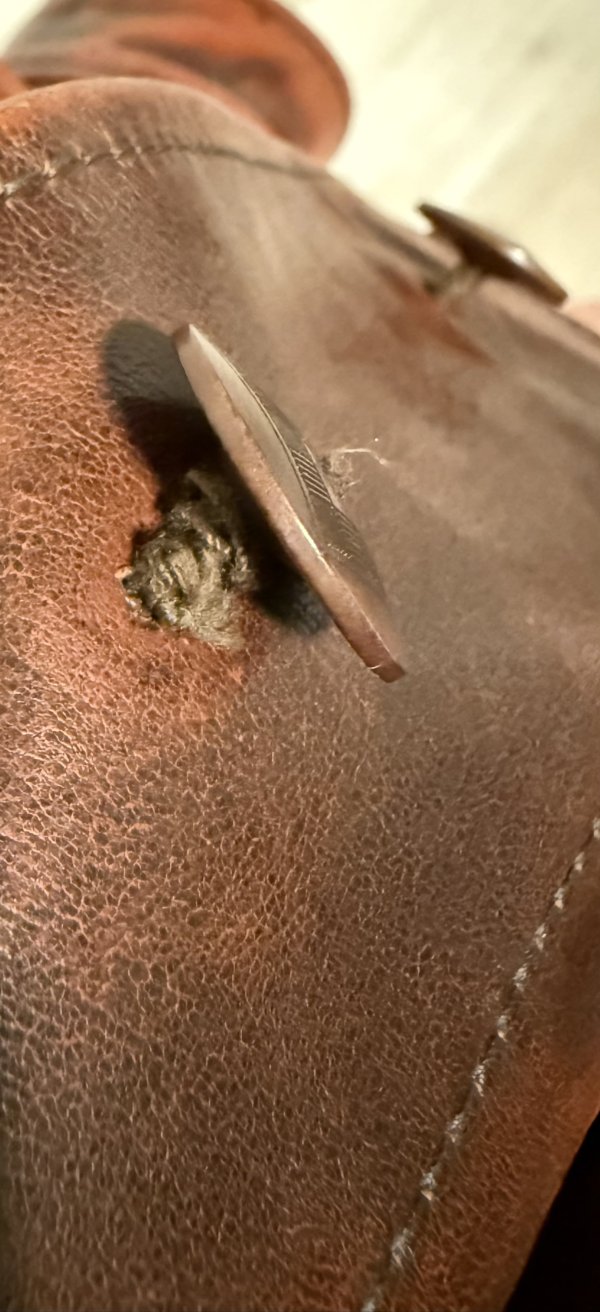
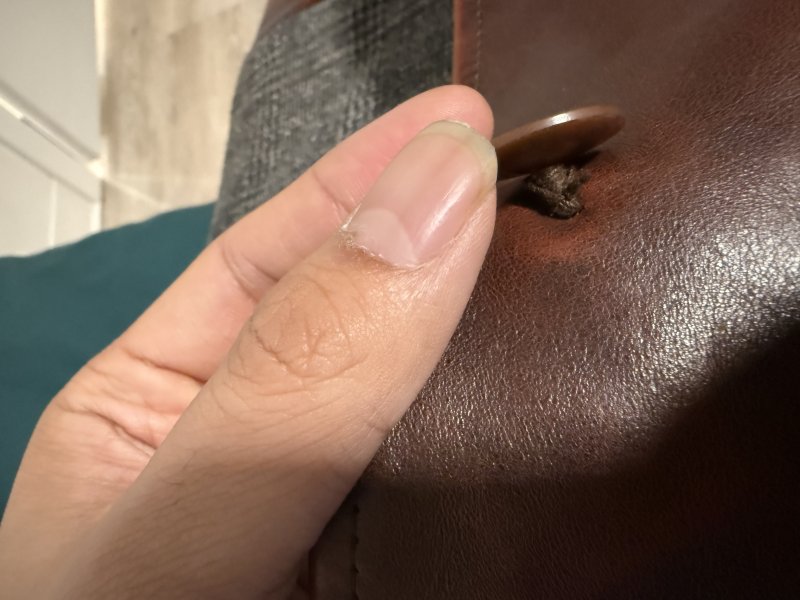
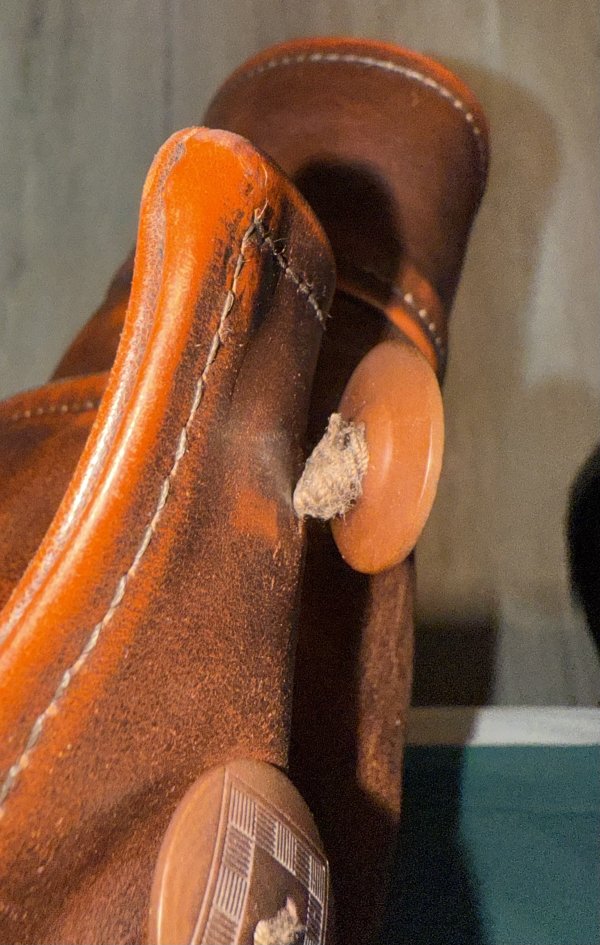
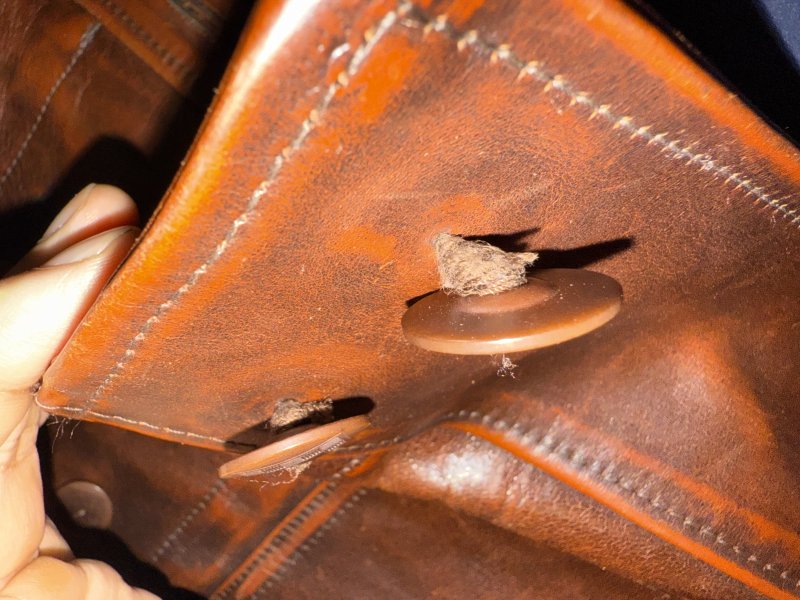
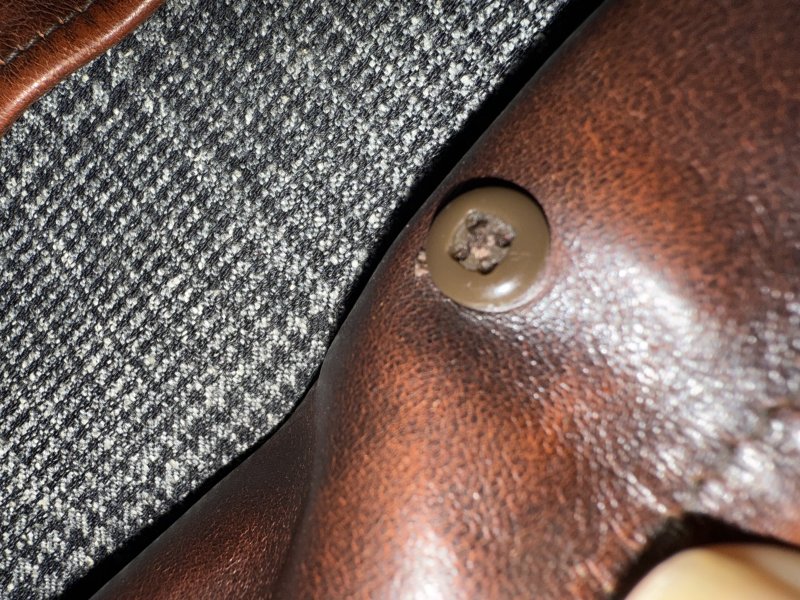
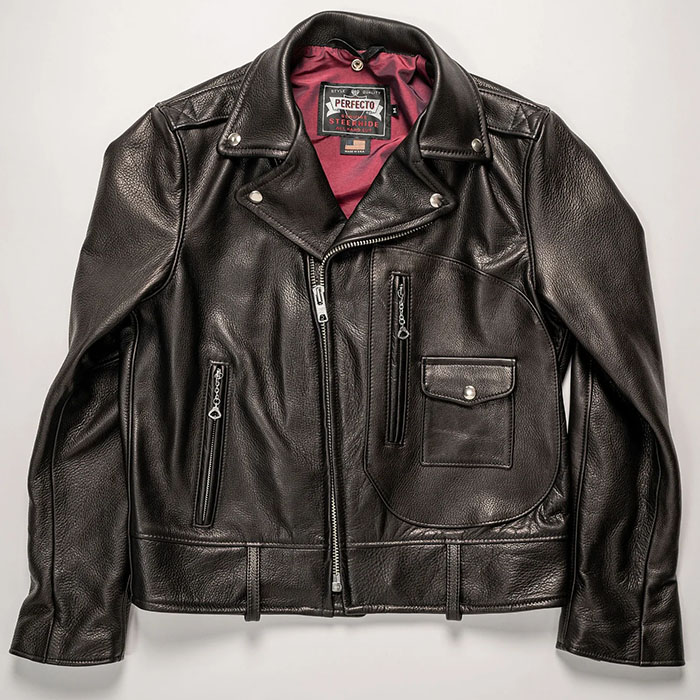
Hi all, I just picked up a used cossack jacket from Mercari. Everything is in perfect condition except a few of the buttons, which are getting really loose. They’re shank buttons, and I was thinking about taking the jacket to a leather repair shop, but a few people told me shank buttons are pretty easy to fix. So I figured this might be a good chance to get my hands dirty.
For anyone with experience, how hard is it to reattach a shank button for a complete beginner? What tools do I need, like what needle and what type of thread? I want to reuse the buttons including the backing. And if there is a good step by step video tutorial for someone who has never done any clothing repair, I’d really appreciate it. I found some tutorials on YouTube, but they’re mostly for normal jackets and they stitch the button directly to the fabric instead of securing it with a back button.
Here are some photos.