Doc Miskatonic
New in Town
- Messages
- 13
- Location
- MA
Good morning fellow Loungers and lurkers. This is my first post so I thought I would start things off with a little confession, which they say is good for the soul – I have not been very nice to my first real fur fedora. If there were an American Society for the Prevention of Cruelty to Fedoras (ASPCF), I would have been hauled off and had the book thrown at me. Now I know Akubras are built to take some pretty tough punishment from owners and the elements but my Sydney recently had come to less resemble Bogart and more Gilligan. Like the teenager handed a hotrod for a graduation gift I did not appreciate what I had and did not take proper care of it. So faced with the choice of replacing it or trying to re-bash and fix the problems I chose home-remedy fedora resuscitation. I used some pretty McGuiver-esque techniques to save my hat and this got me thinking about what other unconventional methods people of the lounge have employed, rather than put a hat out to pasture or shell out the bucks to have a professional do it. Below is how I reshaped my Akubra Sydney, at least to a serviceable casual fedora.
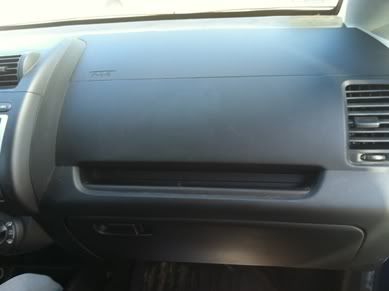
The first thing I did was re-bash the crown from a pinched telescope to more a fedora bash for a new look and feel. This was relatively easy and I just had to brush the hat a couple times to get rid of the noticeable crease in the felt from the previous bash. Next was the real problem – the floppy and wavy brim. I used the steam of an iron and gently pressed the brim by placing a moist towel over it. This solved the waviness and the brim looked clean and flat but the front brim was still floppy and had no break to it or shape (what I believe is called the flange). I left the hat alone for a day while I pondered this, really disliking the straightness of the brim and feeling like I really ruined the look and feel of the hat. Eventually I started to observe the shape of other objects around me and wondered about whether I could use them in re-shaping the brim. The bathtub – not enough curve. Basketball – too much curve. Side of the toilet – good curve, but eww. The dashboard of my Honda Fit – Ahh, now that had possibilities. The dashboard had a gradual sloping curve in the up-down direction as well as being slightly concaved to give the brim edge a uniform shape. I had to wait for an evening when the kids were asleep and my wife was home before proceeding but at last was able to experiment using the dashboard method (see what I did here with the title of this post? Clever, eh?). I wet the brim in the shower and headed out to my car… and got caught in a sudden torrential downpour. Typical. Well, safe to say the Sydney was well saturated at this point. I pressed the brim firmly against the shape of the dashboard for a couple minutes and then left the hat in the car to dry overnight.
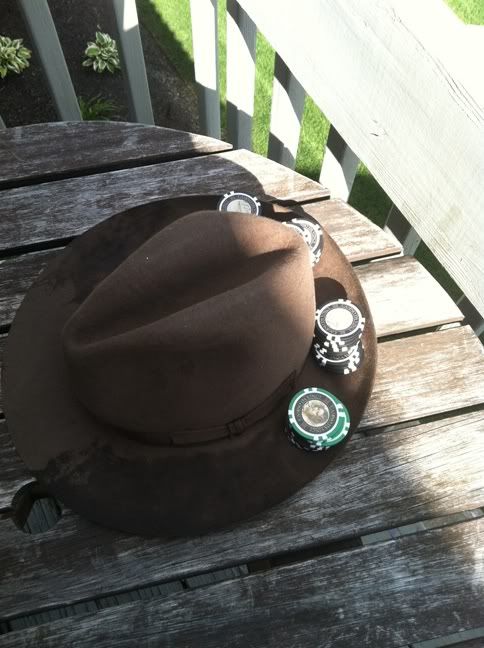
 I checked on the hat the next day and found the brim had a nice shape to it -- Excellente!I still had a bit more shaping to do, as it still did not quite look right, nor did it have the flange on the front of the brim. Part of the problem was to my eye the back had entirely too much curl to my eye so I needed to straighten it out a bit. I wet it a little, set it down and then placed stacks of 11g poker chips (from my Leonardo Da Vinci poker chip set) to hold the curl at where I wanted it to be, let it dry a bit.
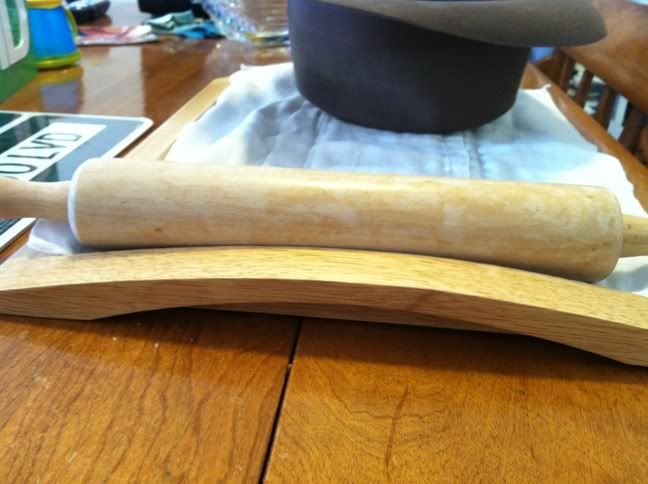
 I then added a bit of flange by steaming the brim and pressing it along the curved edge of a serving tray and a small rolling pin.
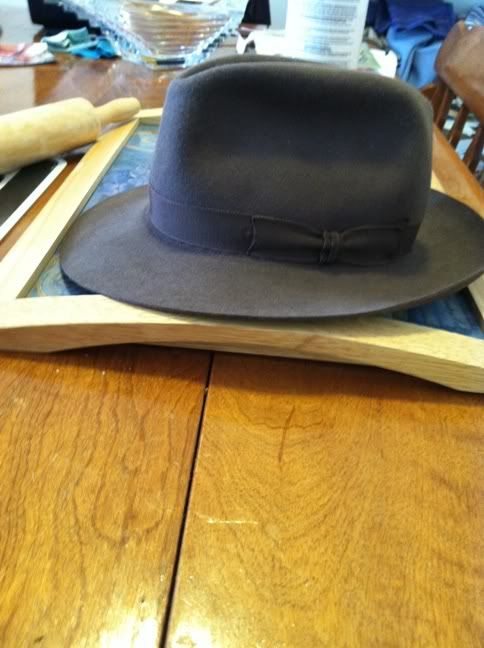 I then steamed the brim all around, which stiffened it a bit and I was able to shape it a bit more to my satisfaction:
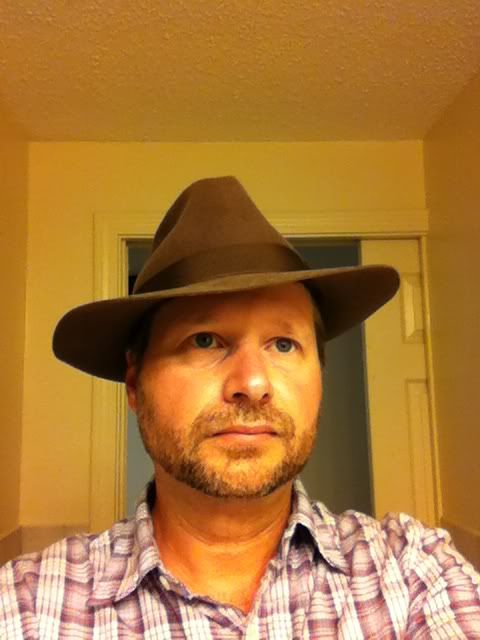
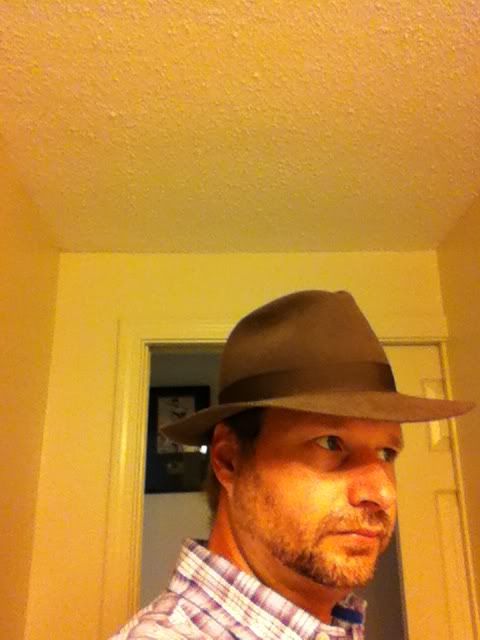
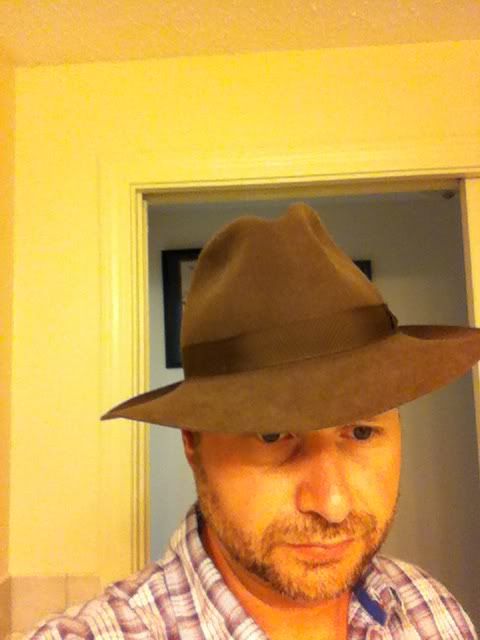
And there you have it. So what crazy things have others done to re-shape an old hat?
The first thing I did was re-bash the crown from a pinched telescope to more a fedora bash for a new look and feel. This was relatively easy and I just had to brush the hat a couple times to get rid of the noticeable crease in the felt from the previous bash. Next was the real problem – the floppy and wavy brim. I used the steam of an iron and gently pressed the brim by placing a moist towel over it. This solved the waviness and the brim looked clean and flat but the front brim was still floppy and had no break to it or shape (what I believe is called the flange). I left the hat alone for a day while I pondered this, really disliking the straightness of the brim and feeling like I really ruined the look and feel of the hat. Eventually I started to observe the shape of other objects around me and wondered about whether I could use them in re-shaping the brim. The bathtub – not enough curve. Basketball – too much curve. Side of the toilet – good curve, but eww. The dashboard of my Honda Fit – Ahh, now that had possibilities. The dashboard had a gradual sloping curve in the up-down direction as well as being slightly concaved to give the brim edge a uniform shape. I had to wait for an evening when the kids were asleep and my wife was home before proceeding but at last was able to experiment using the dashboard method (see what I did here with the title of this post? Clever, eh?). I wet the brim in the shower and headed out to my car… and got caught in a sudden torrential downpour. Typical. Well, safe to say the Sydney was well saturated at this point. I pressed the brim firmly against the shape of the dashboard for a couple minutes and then left the hat in the car to dry overnight.


And there you have it. So what crazy things have others done to re-shape an old hat?


