Want to buy or sell something? Check the classifieds
  • The Fedora Lounge is supported in part by commission earning affiliate links sitewide. Please support us by using them. You may learn more here.

How to do It: Stiff Starch Grandma's Way

scotrace

Head Bartender
Staff member
Messages
14,392
Location
Small Town Ohio, USA
This is the first of what I hope will be a series of threads offering step-by-step instructions to complete a task we may all find interesting. I encourage you to share knowledge of some task at which you may feel competent.

We're going to starch and iron shirts in the Golden Era way. We want to achieve a level of stiffness unobtainable with spray starch. We need to use a solution of starch and water, submerge the shirts, wring them out, then press them after they have dried to an alarming level of crispness.
You can also use this method for lighter starching. The difference is to use cold, rather than boiling water in the mix, and 2 quarts of it rather than one.
The advantage to starching this way is that the shirt is evenly starched all over. Spray starch gets starch just where you spray it. And spraying, on darker colors, can leave stains where the starch is applied (you see this as dried dots where the fabric is a slightly different color). Sprayed starch can also flake off while pressing.
The disadvantages to doing it this way are that it is time consuming, and is quite hard on your shirts. Even with the gentlest treatment, you have to tug, shake and wrench the daylights out of them. If you want your shirts to last a very long time, don't do this.
I don't do this very often. It's just too much work.
I am not a pro - I can only share my own experiences. Many of you are professionals and all of us no doubt have our own way of ironing clothing. Please share what works for you. Military folks will find my methods lacking - but I don't have to pass a tough inspection.
Disclaimer: We will be working with hot water, hot steam, hot surfaces. I take no responsibility if you burn yourself or scorch and ruin a valuable garment. As always, your mileage may vary.

Let's get started.
As with any project, begin by washing your hands. You don't want to get oils from your hands on just-washed shirts.
We need to find some dry starch; it's the same stuff you use for cooking, in larger boxes. Mine is Argo brand, about $3 for a 1 lb box. We need starch powder, water, a vessel for mixing, in this case a kitchen sink, and something to agitate the solution. You can use a scrupulously clean plastic bucket, if you like, or a big enamel wash basin. I would avoid aluminum as it tends to discolor things.
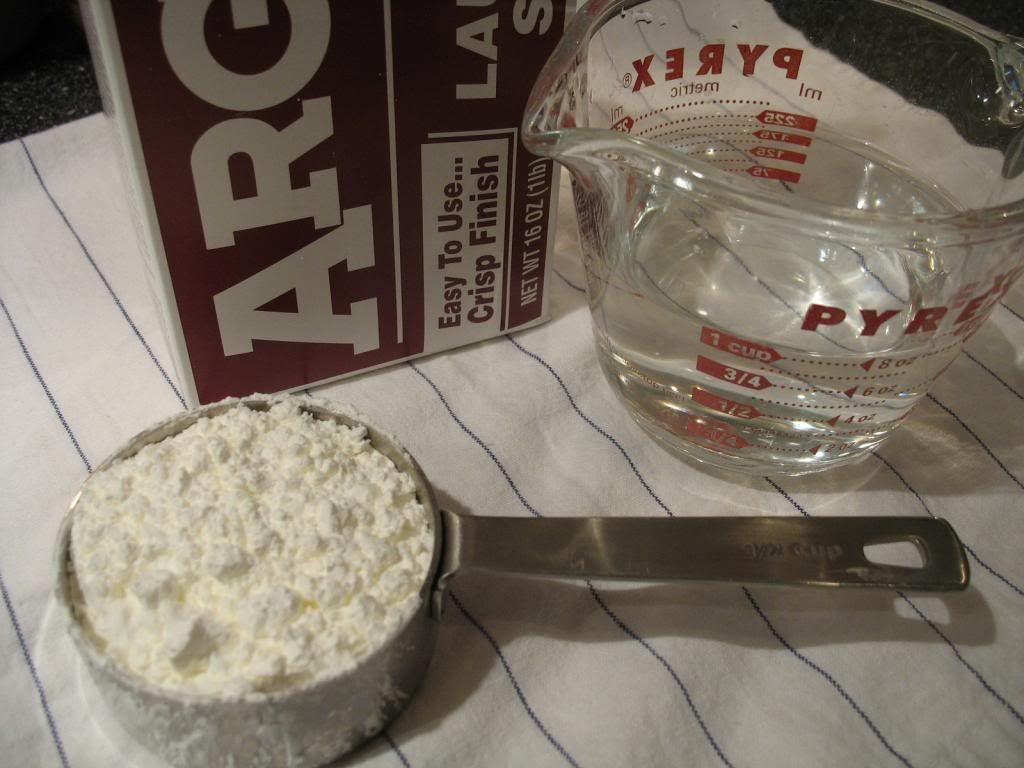


Mix 1/2 Cup starch and 1 Cup cold water.
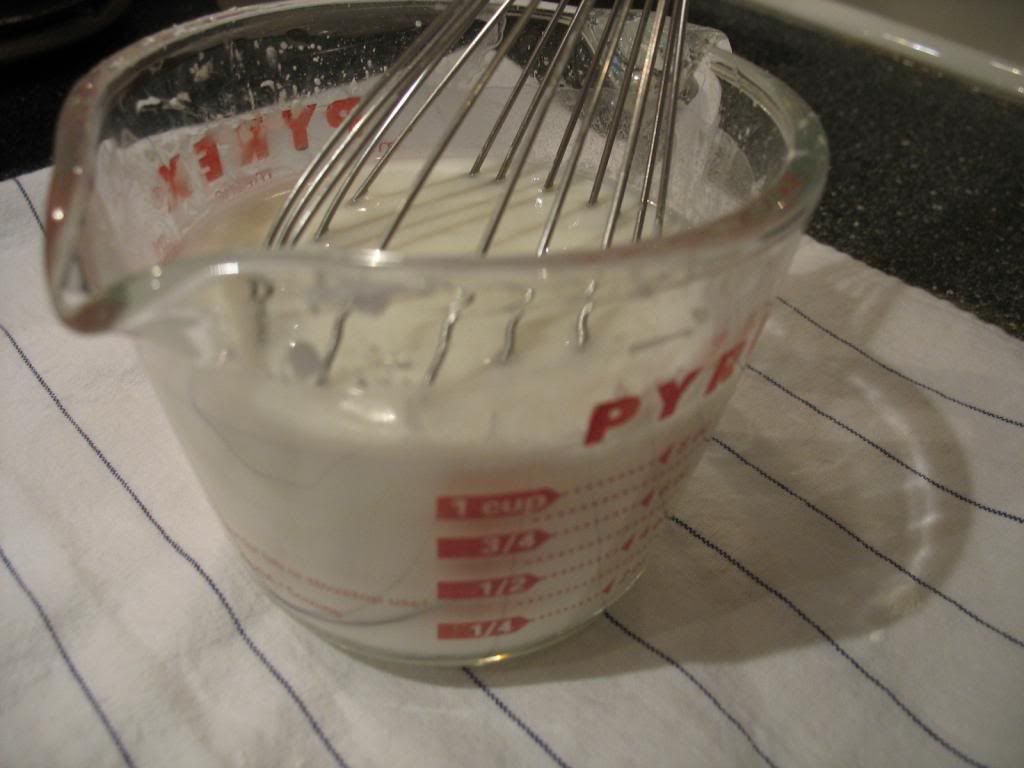


You need something large enough to soak the shirts in solution. I used my kitchen sink, scrubbed completely clean first. Pour in the solution you just made.


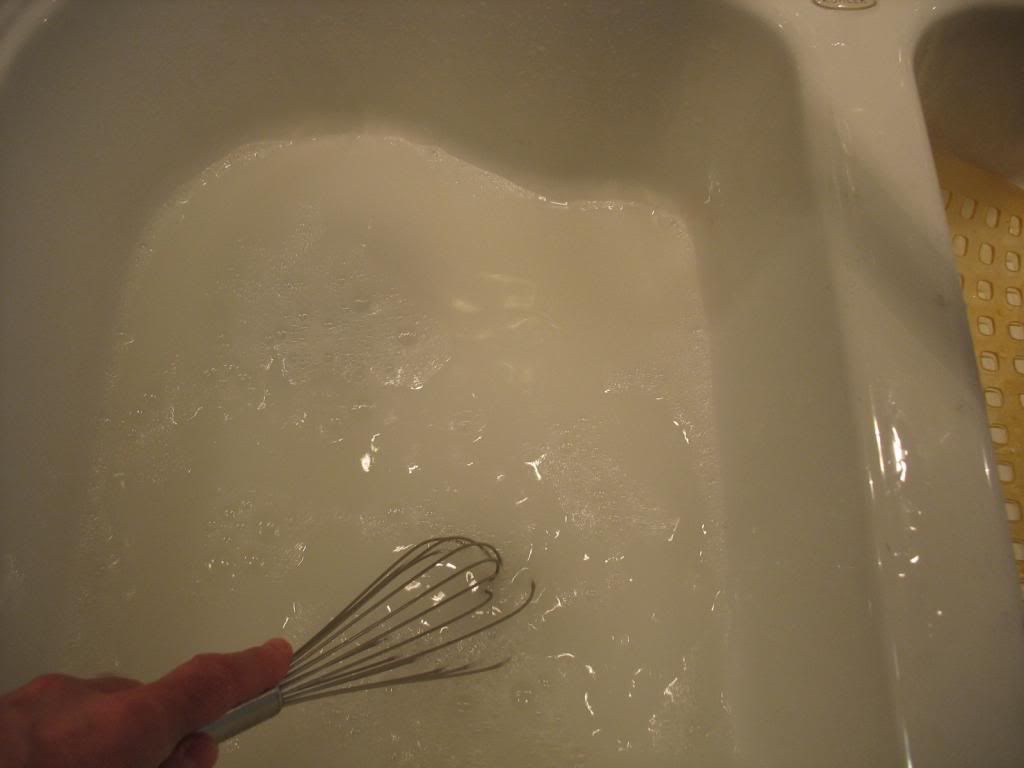
Mix well. Then add 1 qt boiling water and mix carefully.
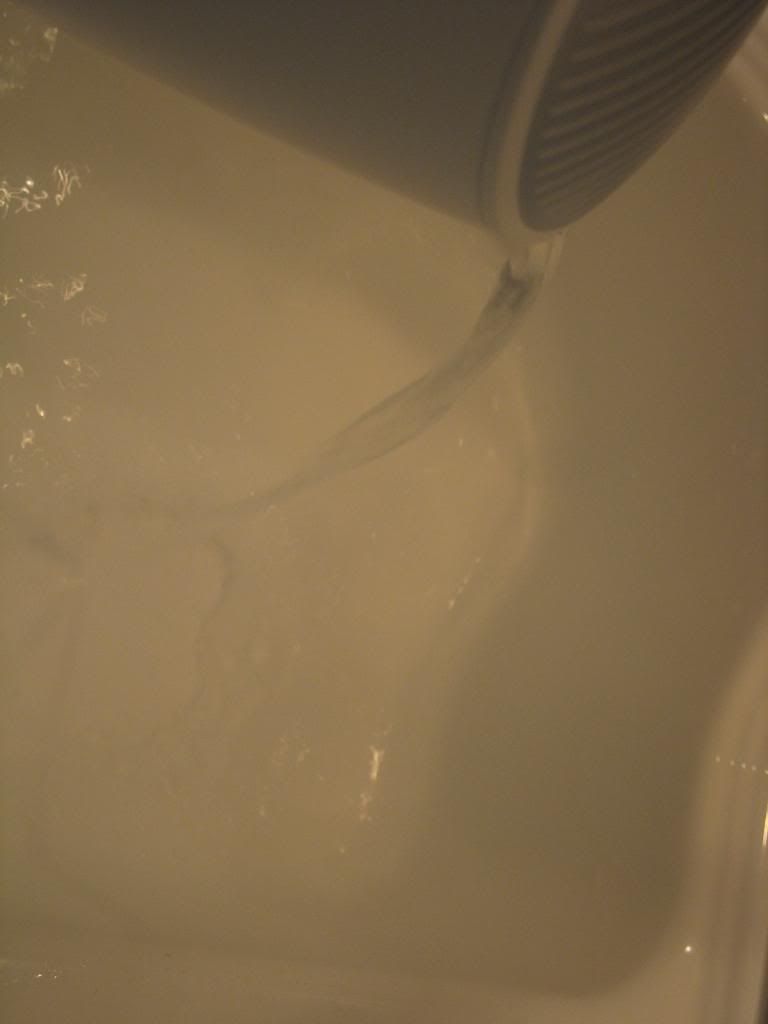


We're looking for a bit of translucency.
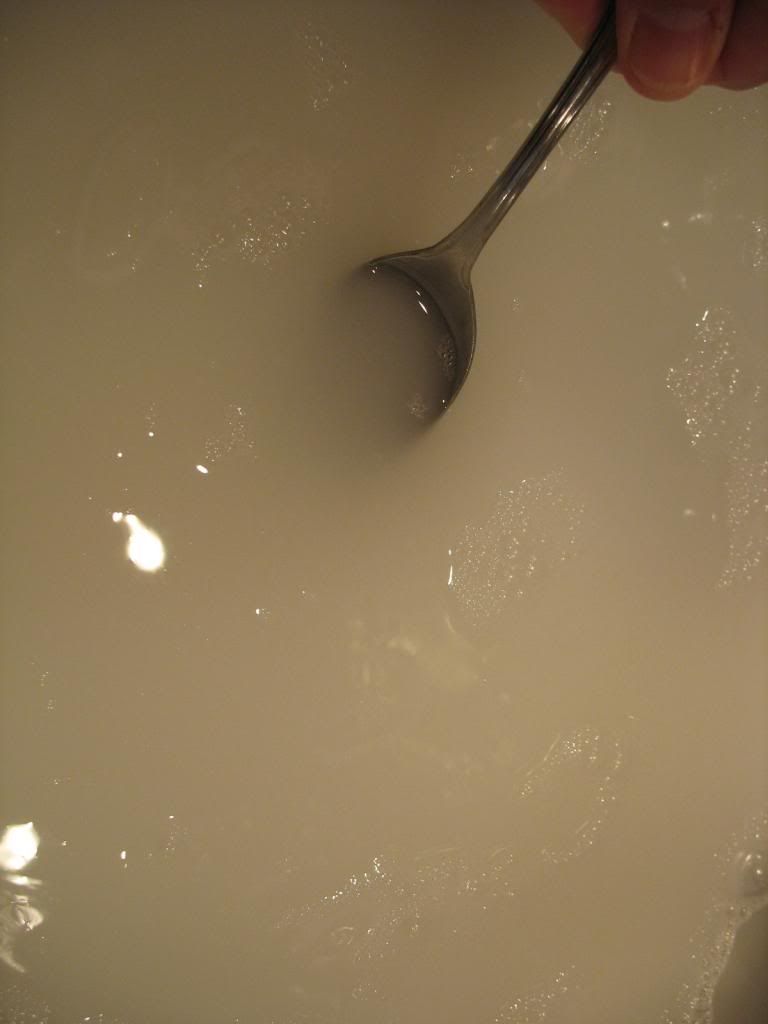


When the starch & water solution has cooled to warm (you can stick your finger in it without burning it), we're ready to add a shirt. Begin with a freshly laundered shirt, with all the buttons undone, collar stays removed.
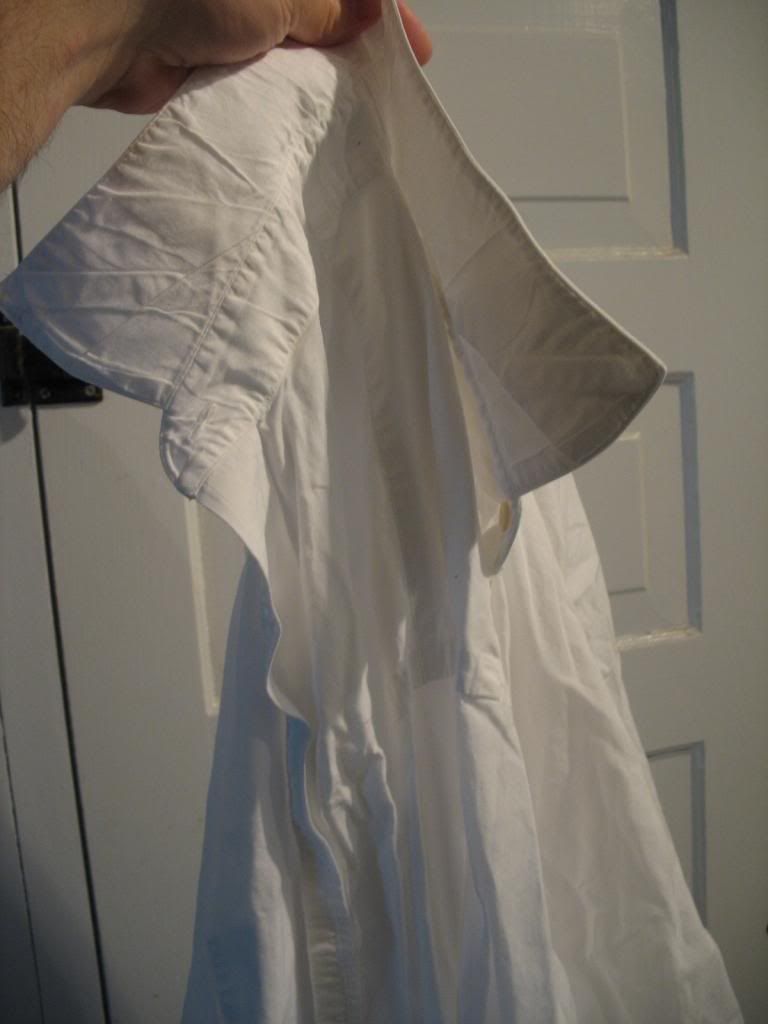


Holding the shirt by the shoulders, slide the shirt tail end into the starching solution.
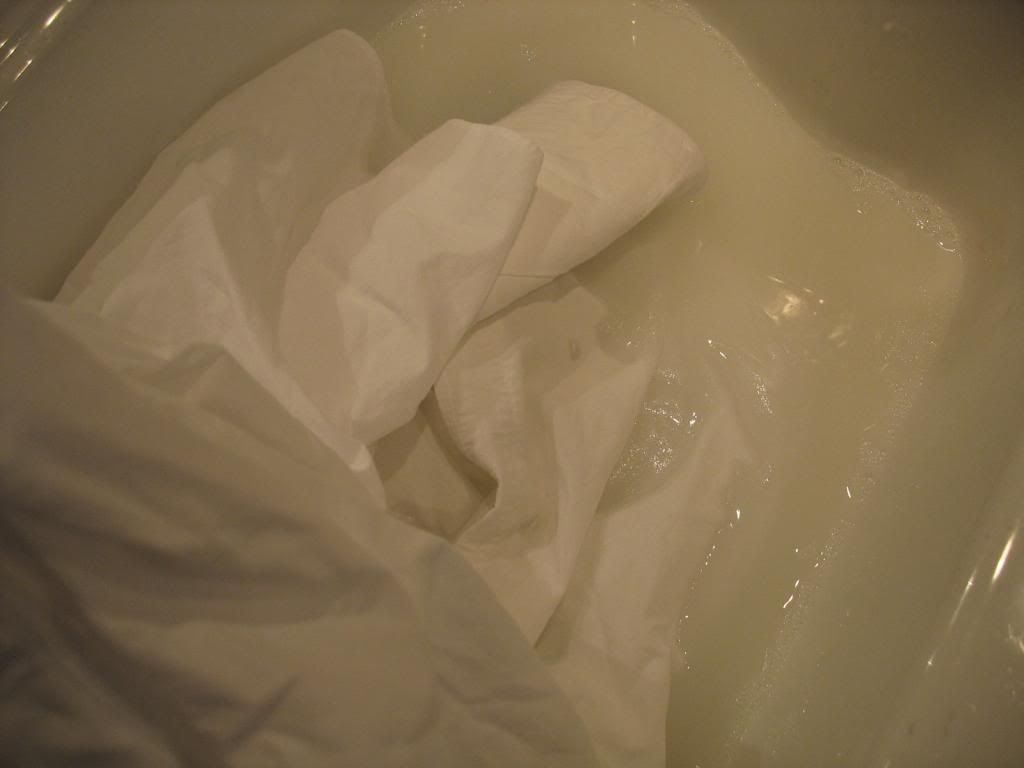


Continue until the entire shirt is submerged. Press out air bubbles and make sure the shirt gets thoroughly soaked.
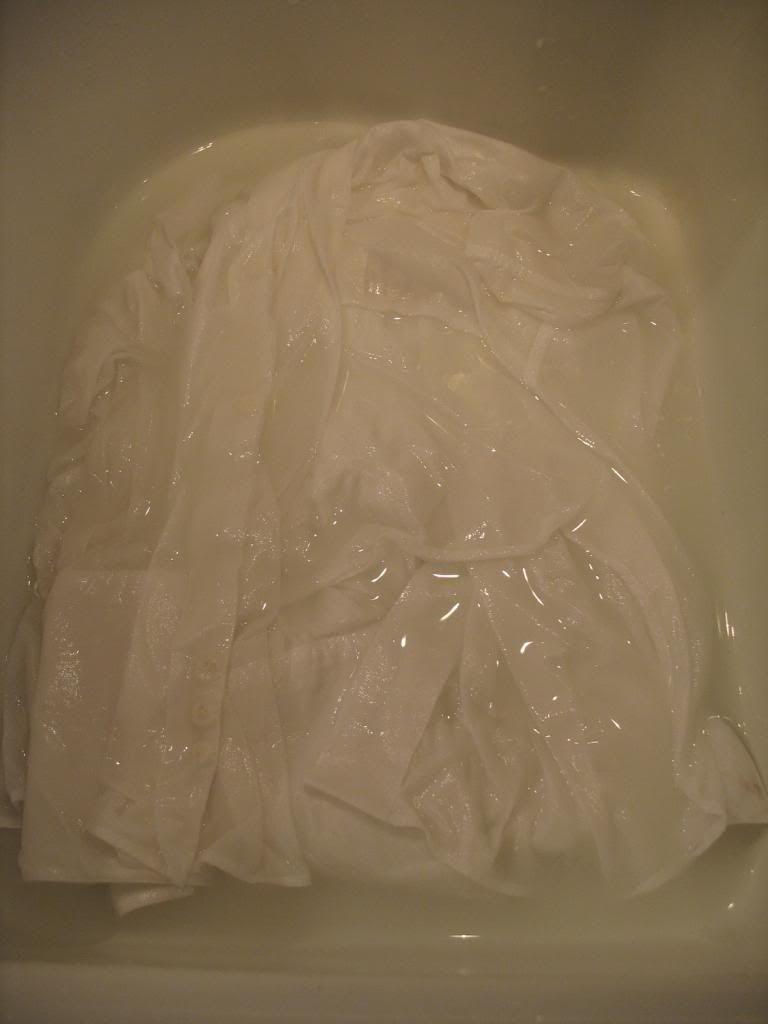


Next: Wringing out the excess solution.
 

scotrace

Head Bartender
Staff member
Messages
14,392
Location
Small Town Ohio, USA
Onward

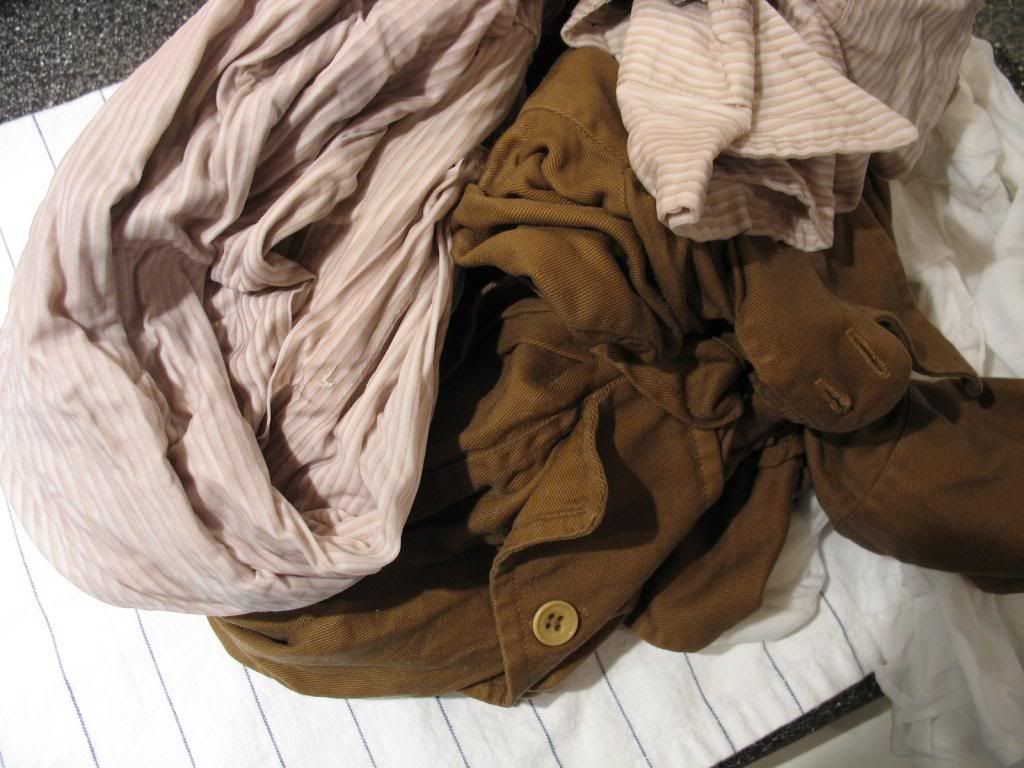
No need for soaking. Just press the shirt around in the solution, then lift it out. Starting at the collar, press downward, squeezing out excess solution as you go. Here's where your own judgment comes into play: If you are starching heavy, sturdy cloth, then you can get away with twistng and squeezing. If you are starching a vintage shirt you cannot replace, go easy. Just squeeze out water as you can.
Set the wrung out shirts aside on a towel.


Starch is glue. Your shirt will feel like it has been dipped into paper mache' and will be stuck to itself. You need to remedy this now.


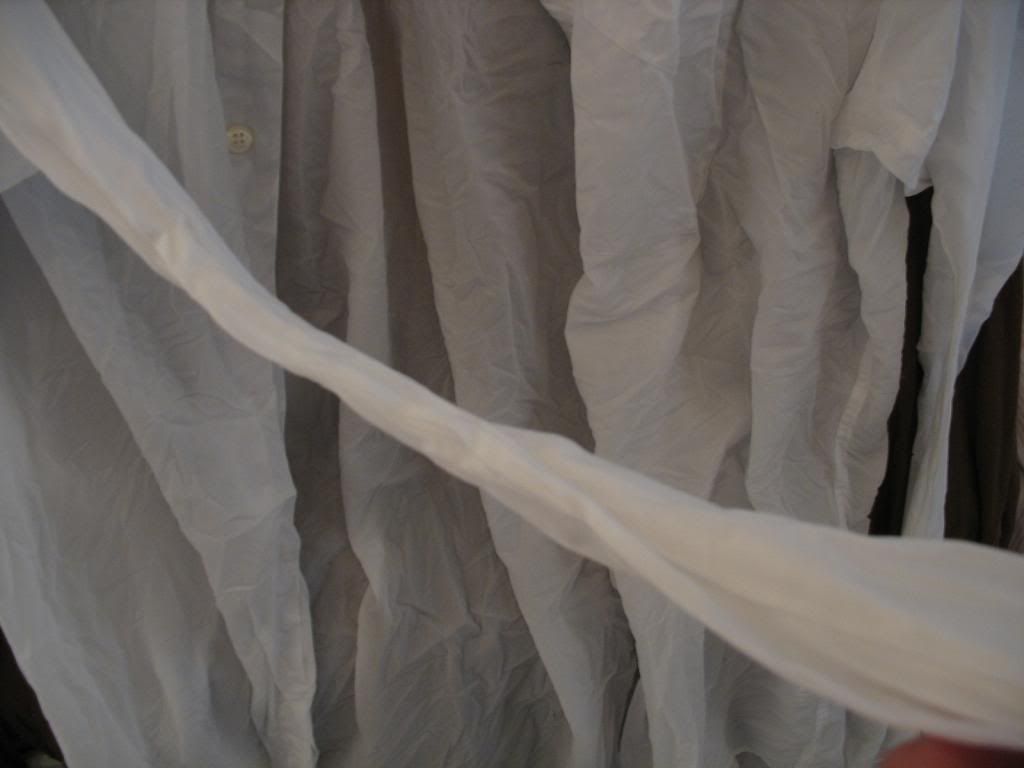
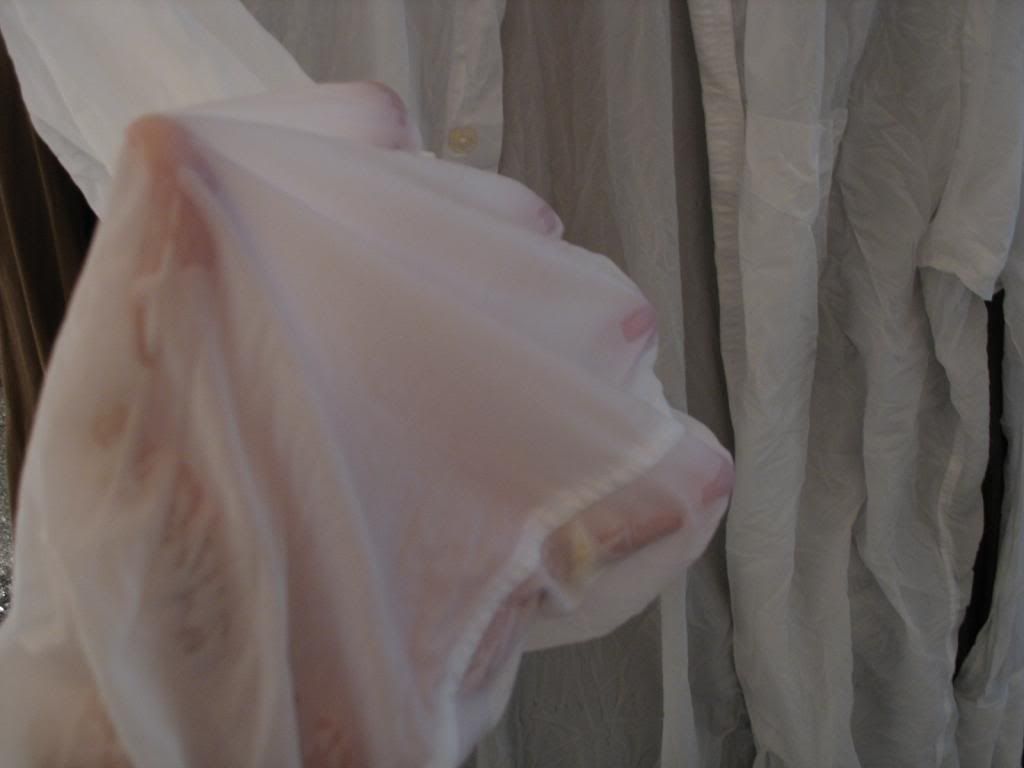
Pull and tug, and slip your hand into the sleeves, separating the cloth until nothing is stuck together. You can do this now, when it's easy, or later, after it's all dry.


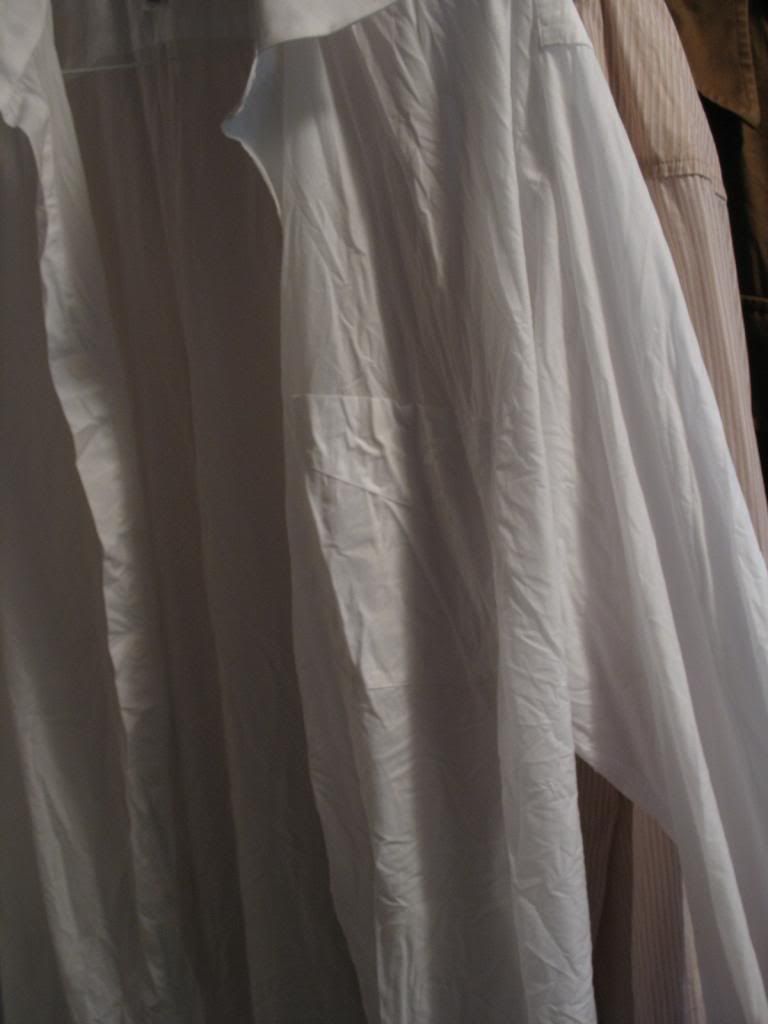
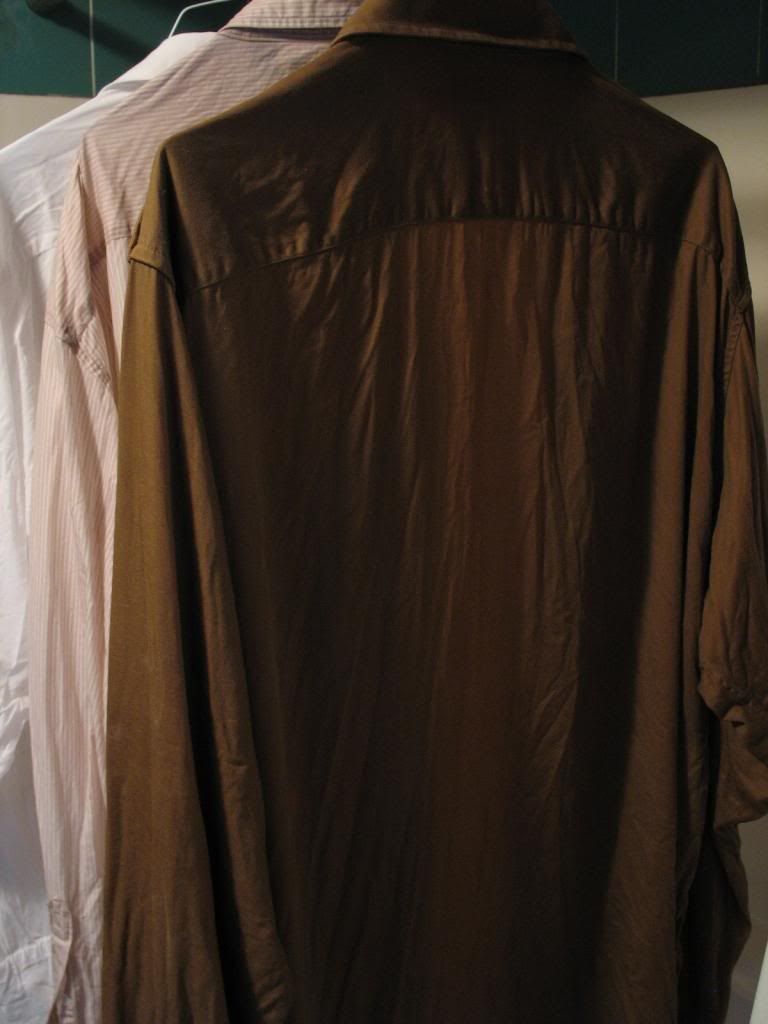
The box directions say that the shirts should be ironed while damp. I find this is a good way to gum up the sole plate of your iron. We'll let them air dry and moisten them as we press them out later. Hang the shirt on a hanger, and hang it somewhere to dry. I used the shower curtain rod. Three shirts, ready to go:
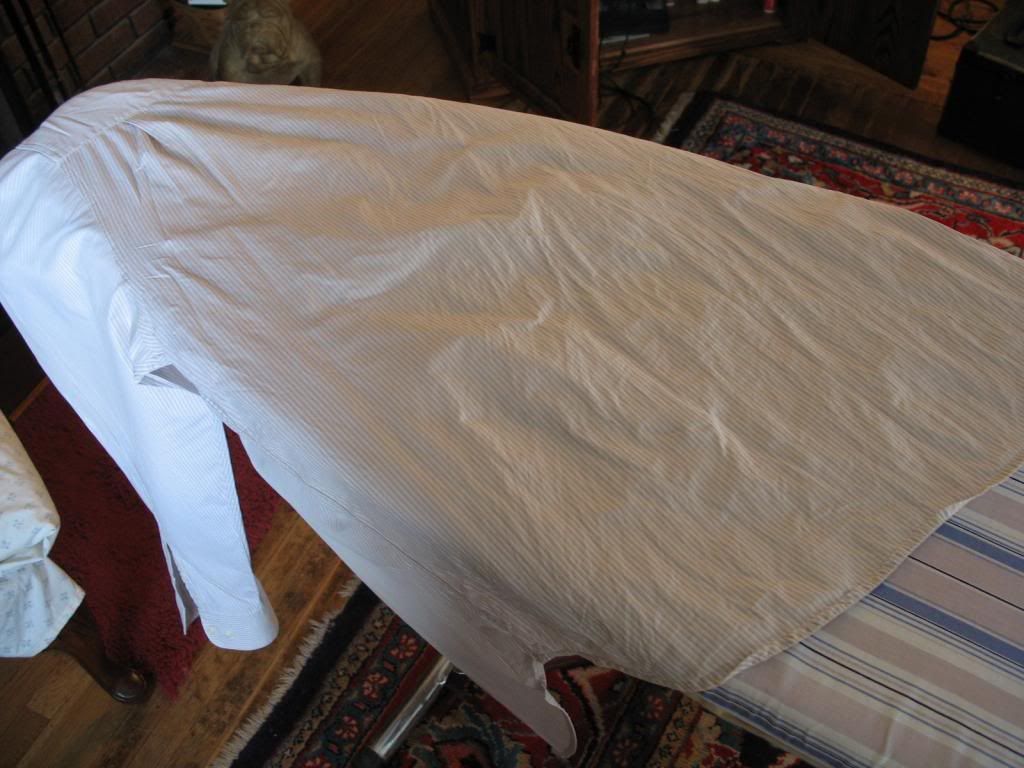


Once dry, they can be stuffed into a laundry basket, hung somewhere out of the way, or stood in a corner until you're ready to press them.

Next: Ironing.
 

scotrace

Head Bartender
Staff member
Messages
14,392
Location
Small Town Ohio, USA
Hot Work

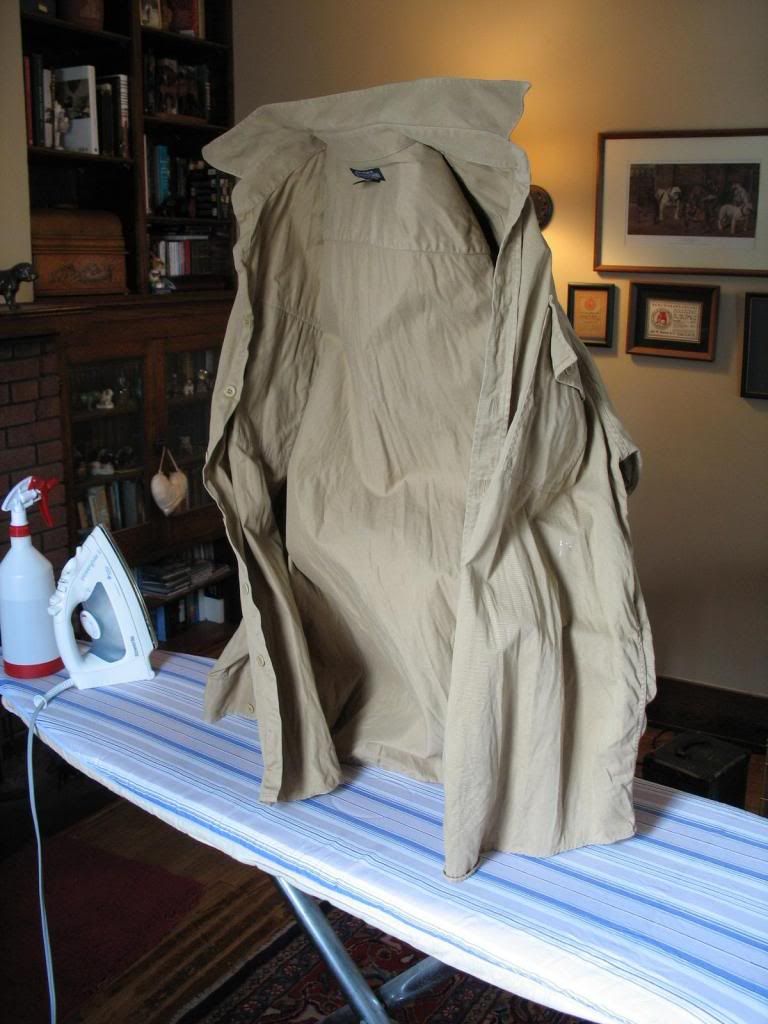
Getting ready to iron the shirts. They will be quite stiff. You can stand them up on their own. This is a J. Peterman "Military Shirt" in 100% cotton.
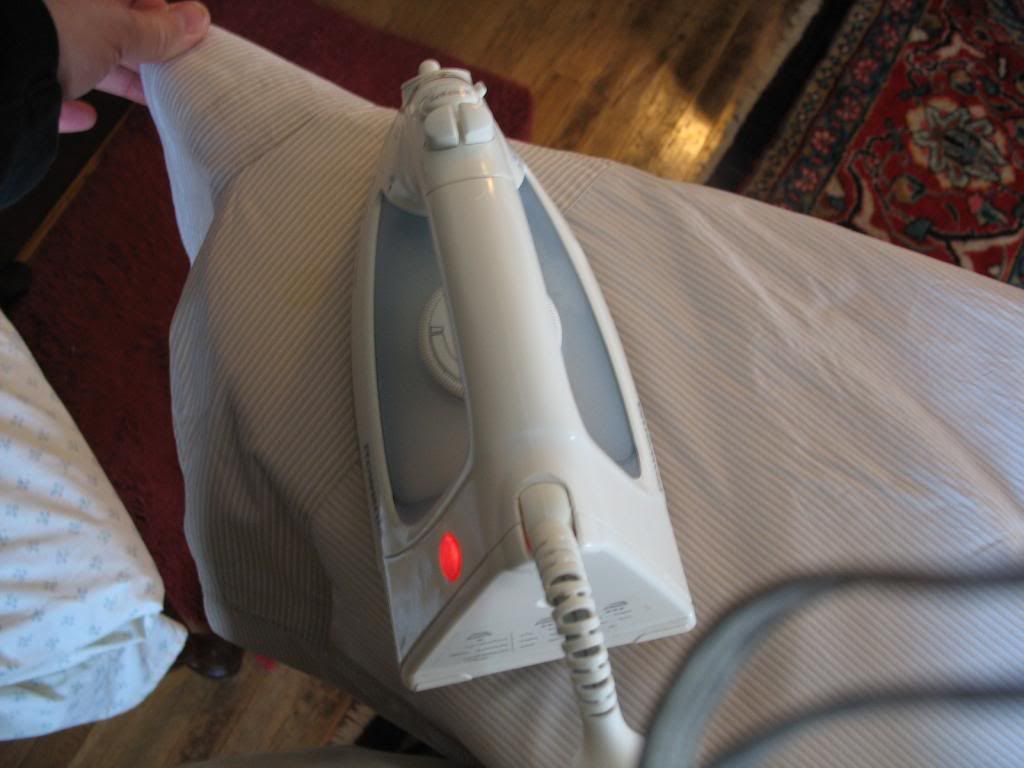
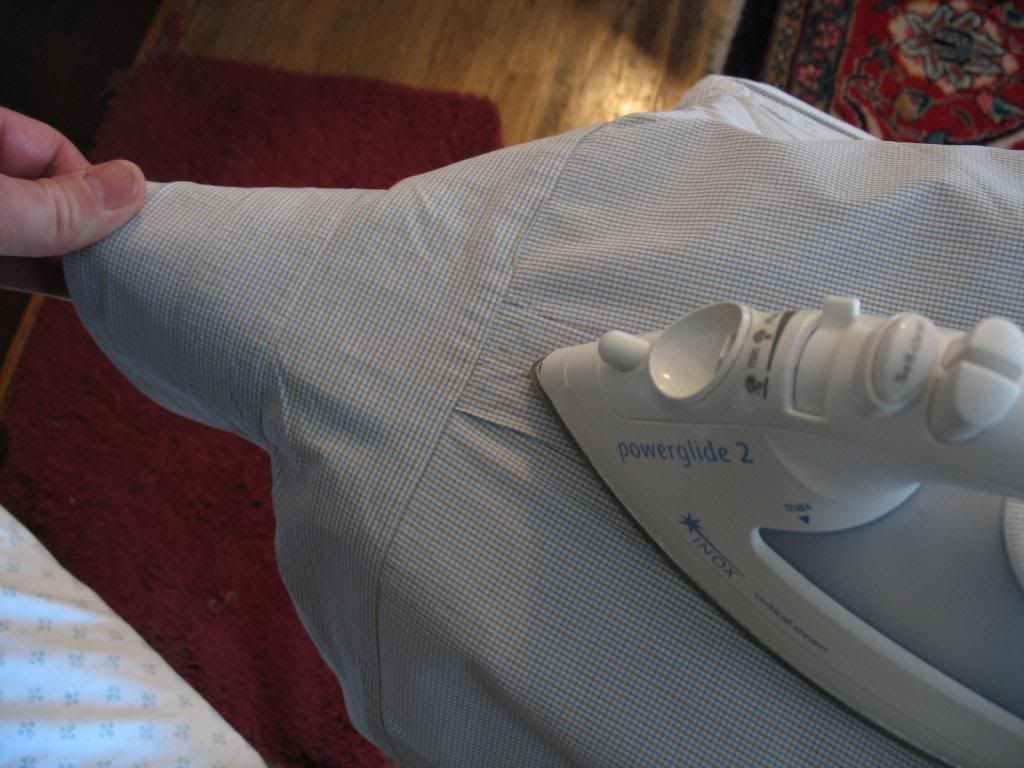

The pictures to follow will demonstrate several techniques on various shirts. I used the Peterman shirt (like canvas), a Paul Frederick French cuff, a casual shirt from GAP, and a Land's End button down.

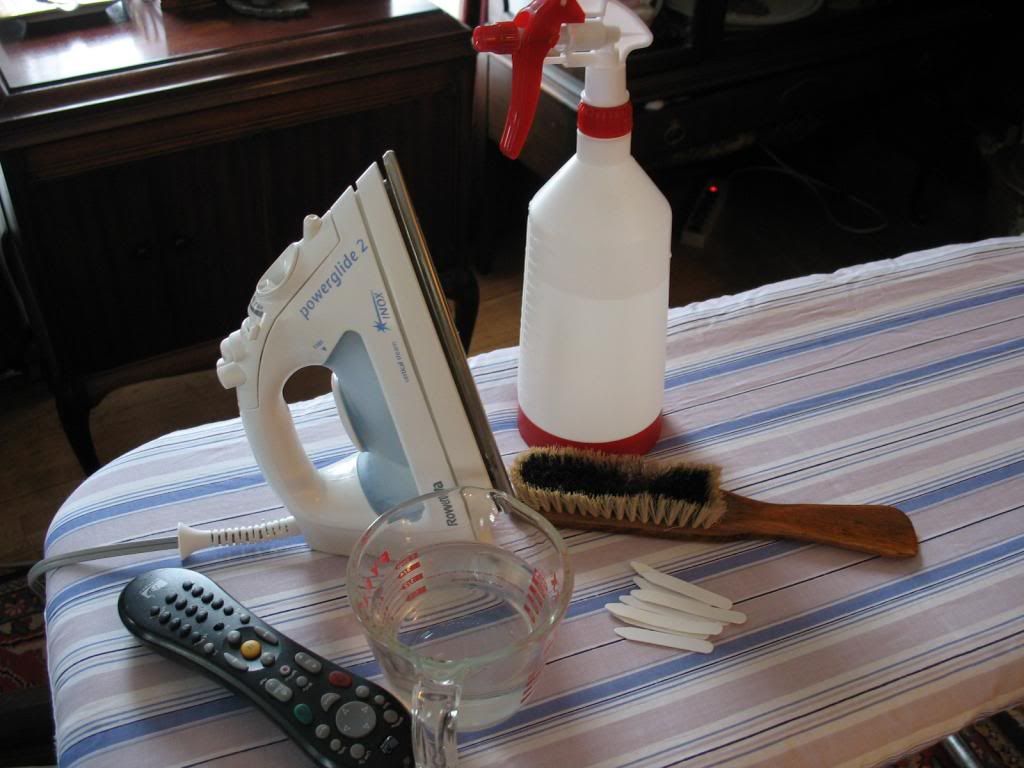
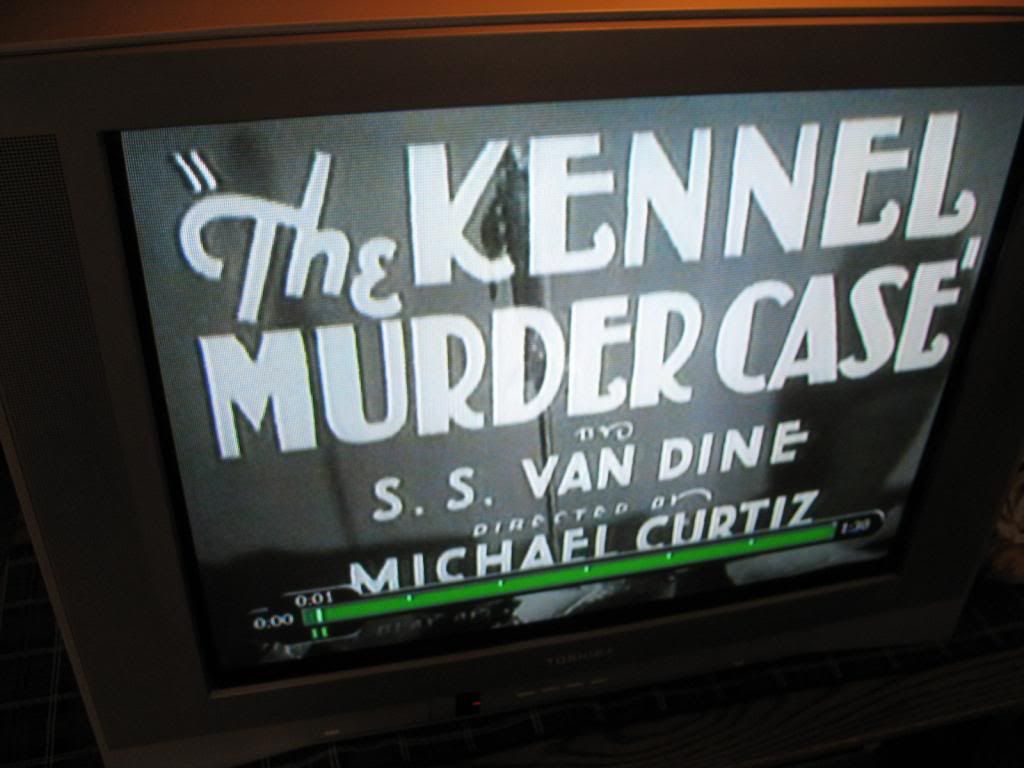
We need an iron, an ironing board with clean, padded cover, a spray bottle capable of producing a mist spray, a clothes brush, some collar stays and... the TV remote. Because if we're gonna be strapped to an ironing board for a couple of hours, we may as well watch a movie.


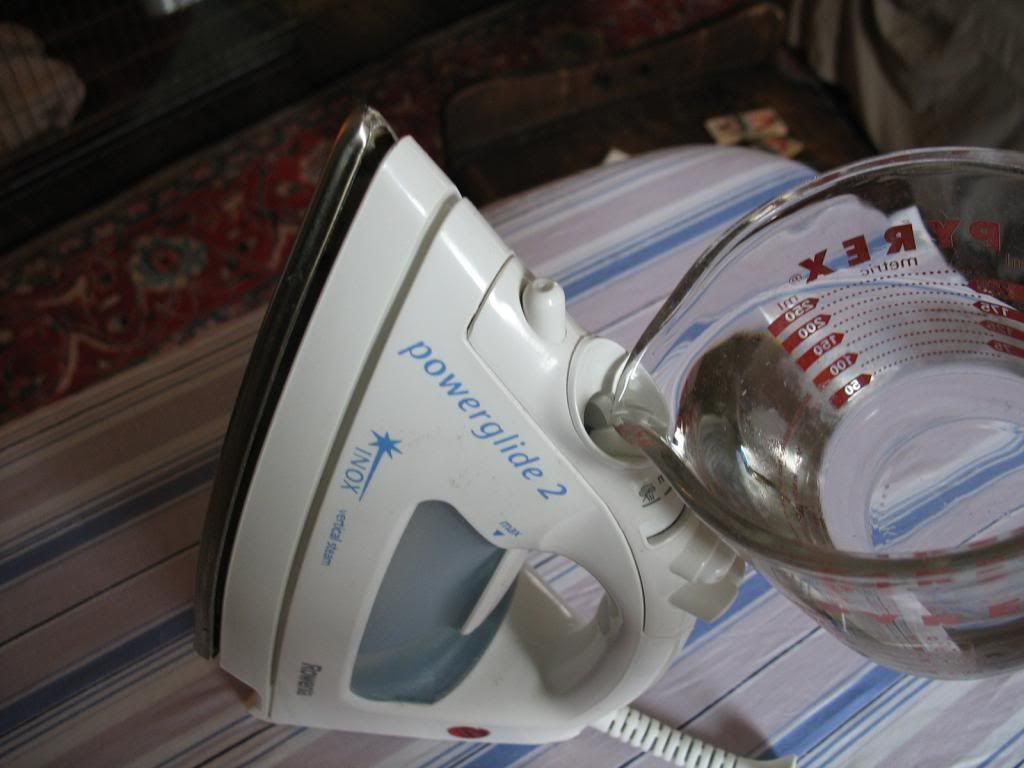
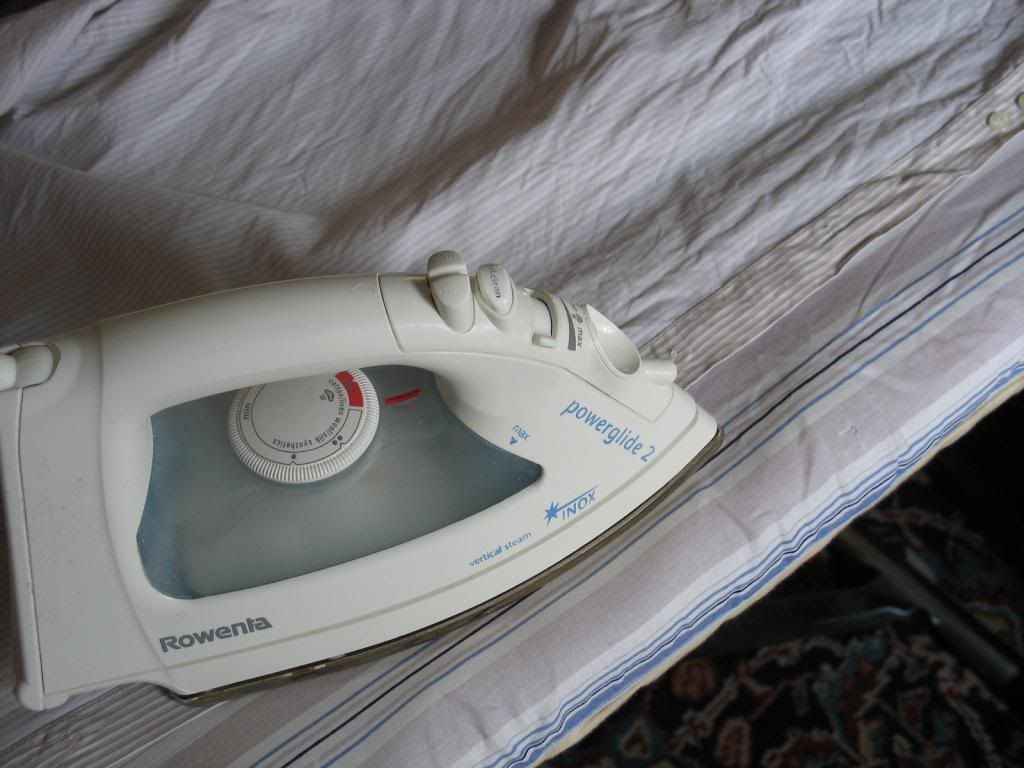
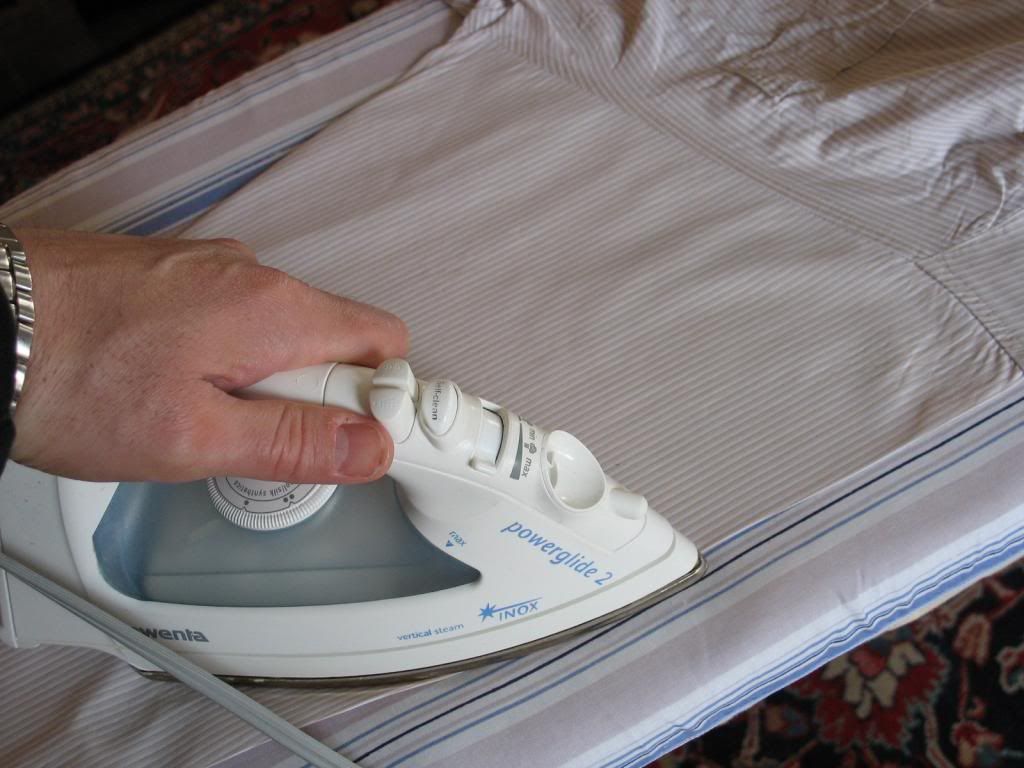
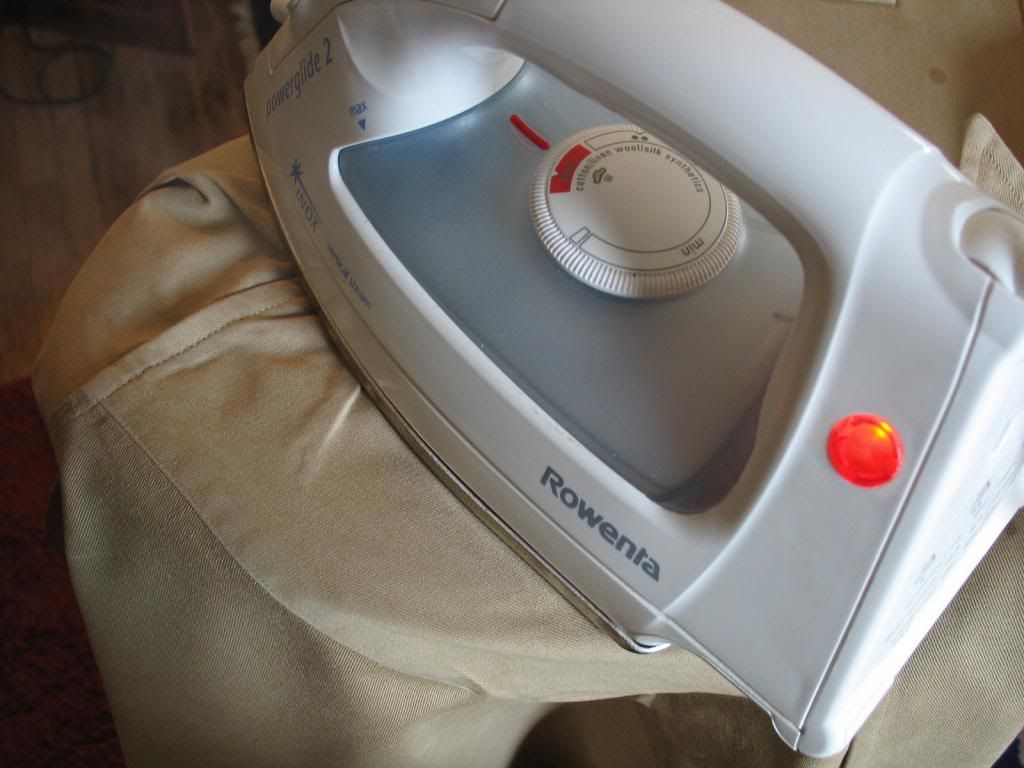
My iron is a $20 Rowenta from Odd Lots. No need to spend $100 for an iron. You need two features: HOT and STEAM. Add water to the iron, then turn it on to the proper setting. For cotton, we want the hottest setting. My iron holds about 1/2 cup of water; it must be refilled after each shirt. We need a lot of steam.


Let's watch William Powell as Philo Vance. :)


In spite of our efforts, this shirt has stuck to itself. Grab the shirt by the shoulders and shake it out, and pull such spots apart.


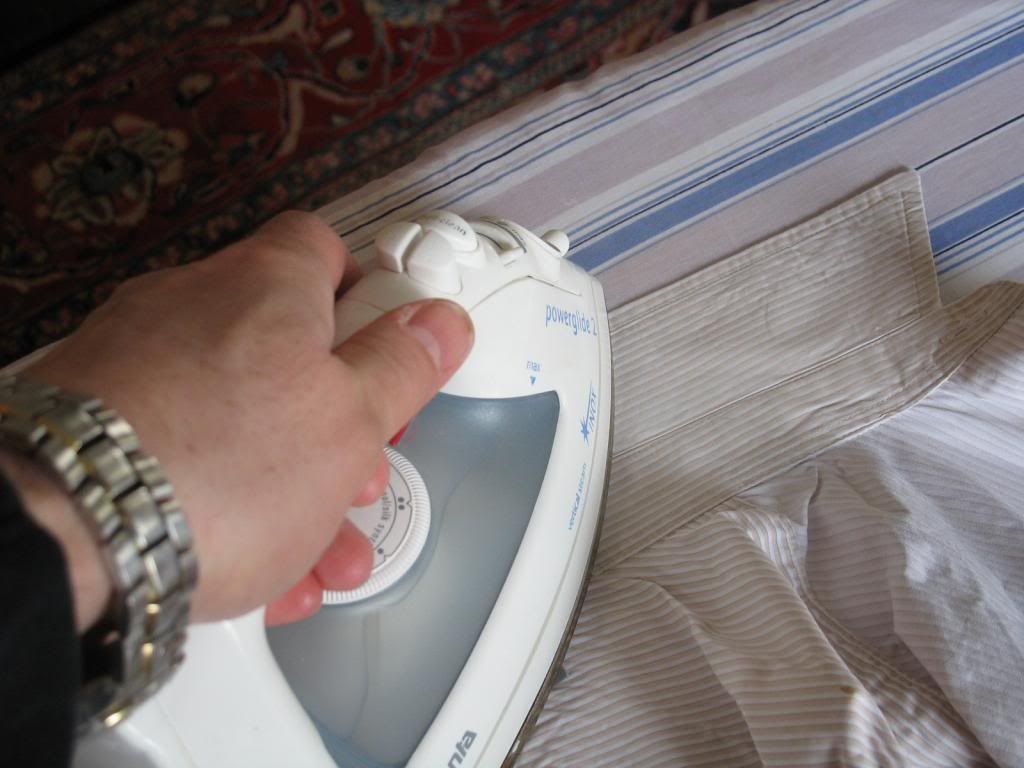
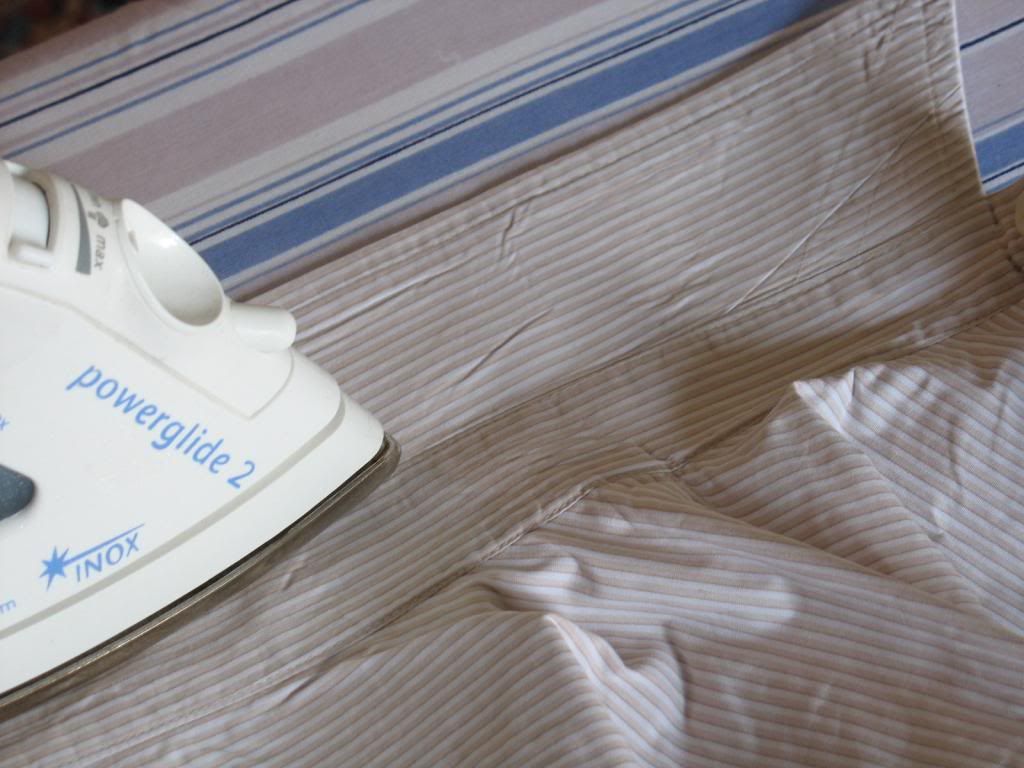
Set the iron to produce the maximum amount of steam possible. First, we'll iron a few places quickly on the back of the showing surface: The backs of the front plackets, the back of the pocket(s), inside the cuffs. Don't fuss here; this is just to make things easier later. A quick pressing on the backs of those areas is all you need.


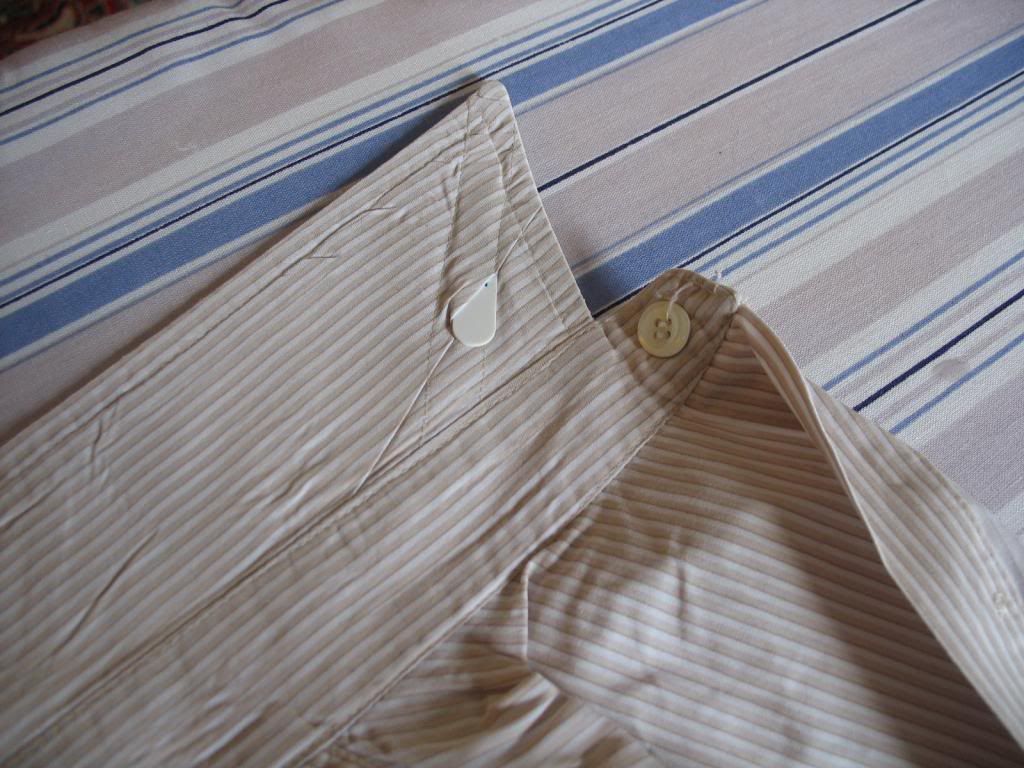
Then we'll set the shirt on the board so as to iron the collar. We'll iron the back of the collar, not the front. Don't fold it over and press it down. Leave the collar sticking up. This will help to get a nice roll over your necktie, without sharp creases that are not aligned with the collar seams.


Then insert any collar stays; it's easier now than when you're rushing around in the morning. The slots for the stays may be stuck together. Be patient, and use something stout, like an old, pointy metal nail file, to get the slot apart if you must.


Next: Sleeves.
 

scotrace

Head Bartender
Staff member
Messages
14,392
Location
Small Town Ohio, USA
Sleeves

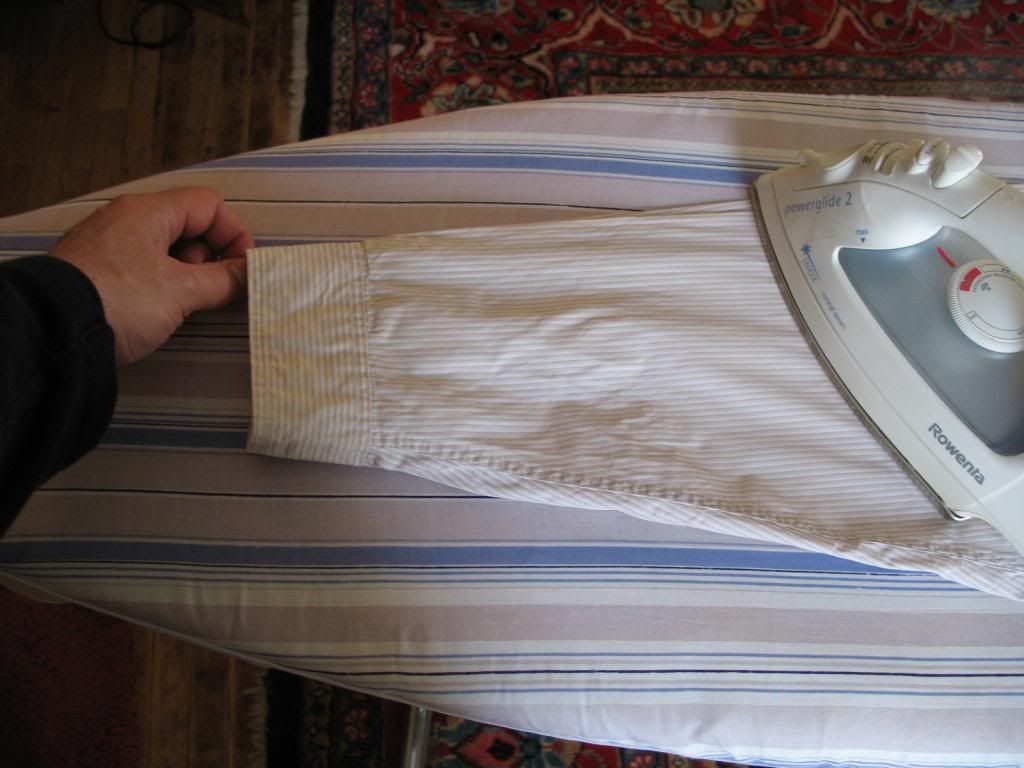
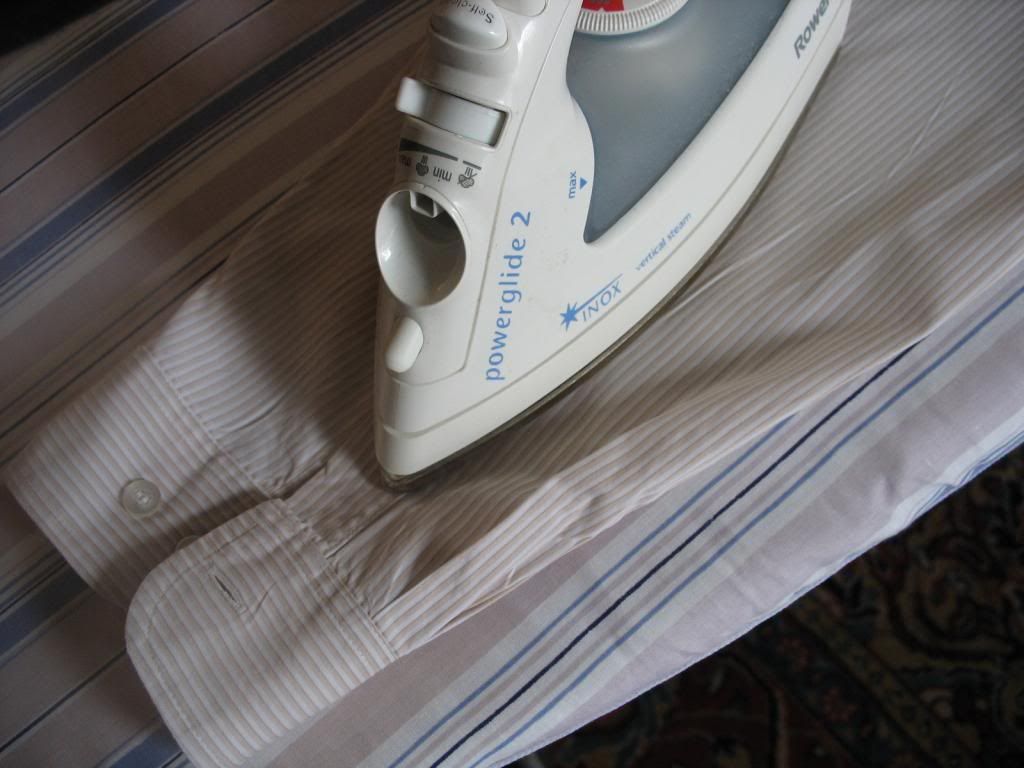
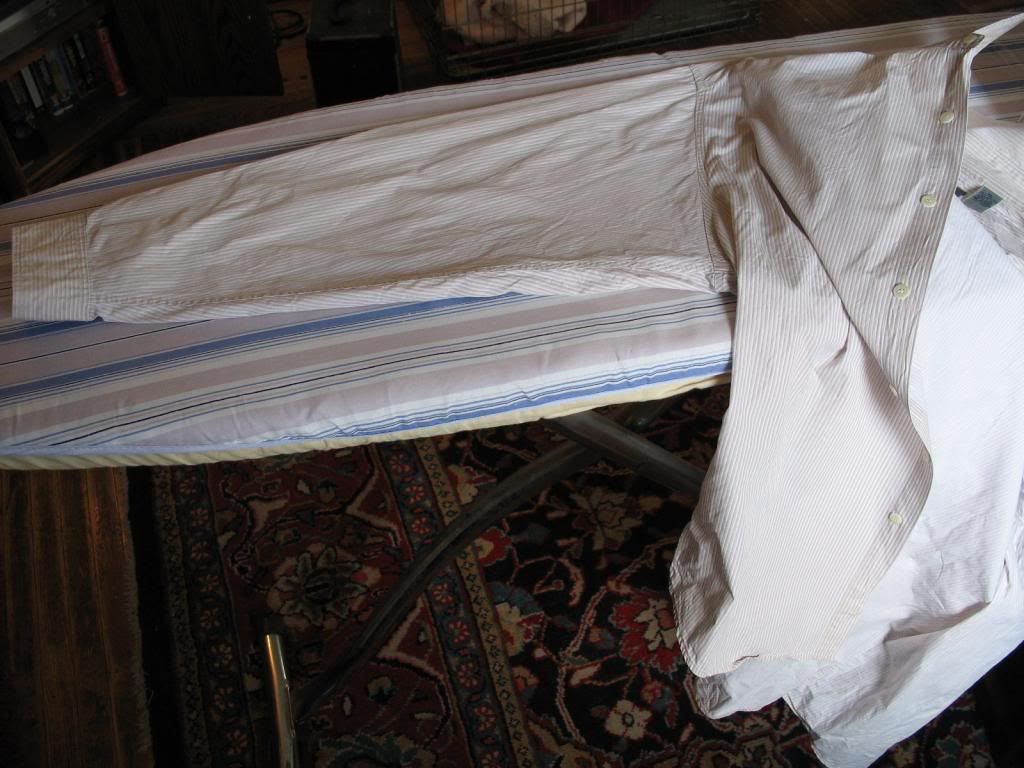
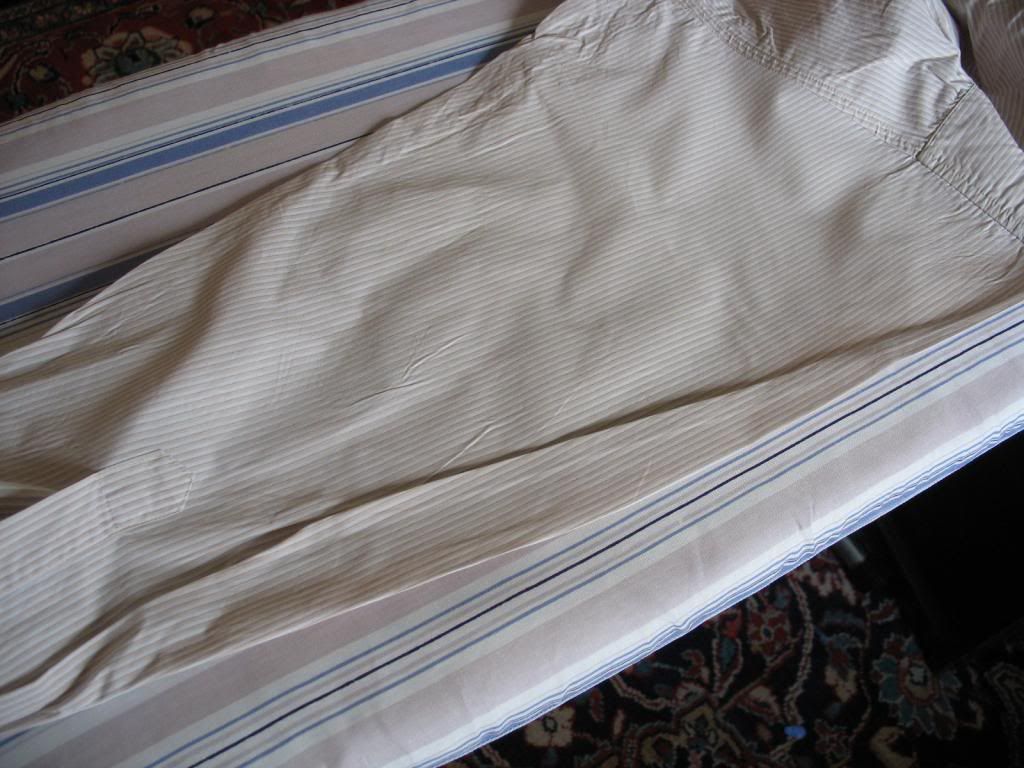
Spread a sleeve out on the ironing board. Beginning at the shoulder end, begin pressing it flat. As you press with the iron, hold the cuff and pull gently, creating a flat surface over which the iron will glide. Stop at the cuff.


Note that as we're pressing toward the cuff, we're holding onto the cuff and tugging a bit to keep everything straight.


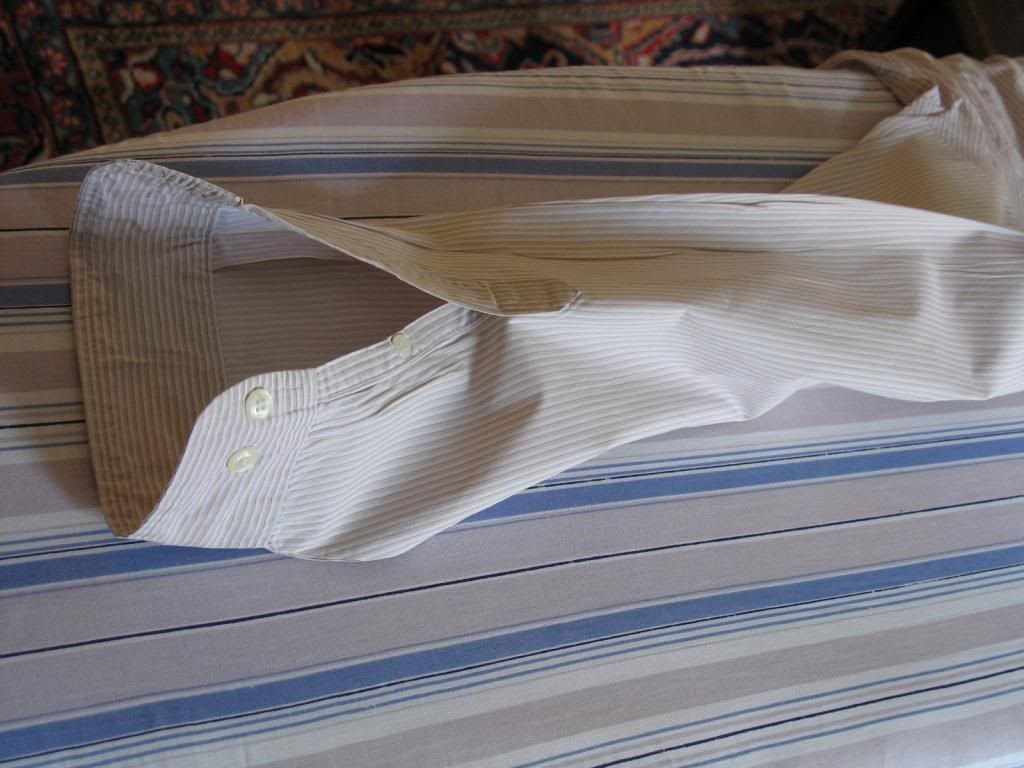
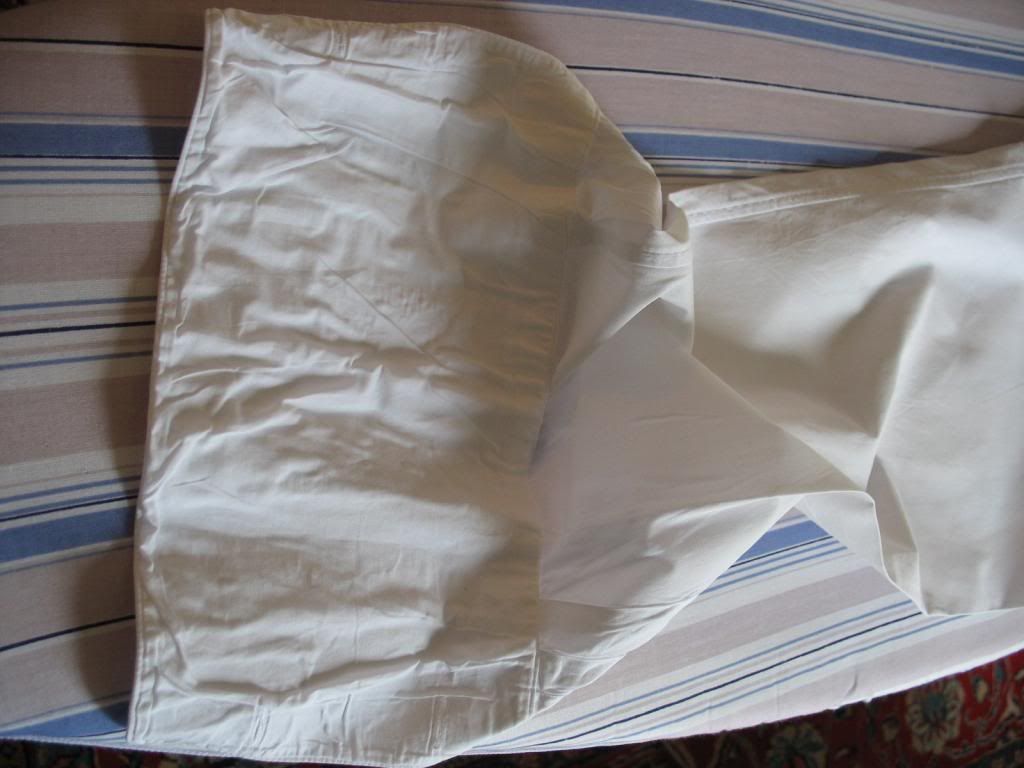
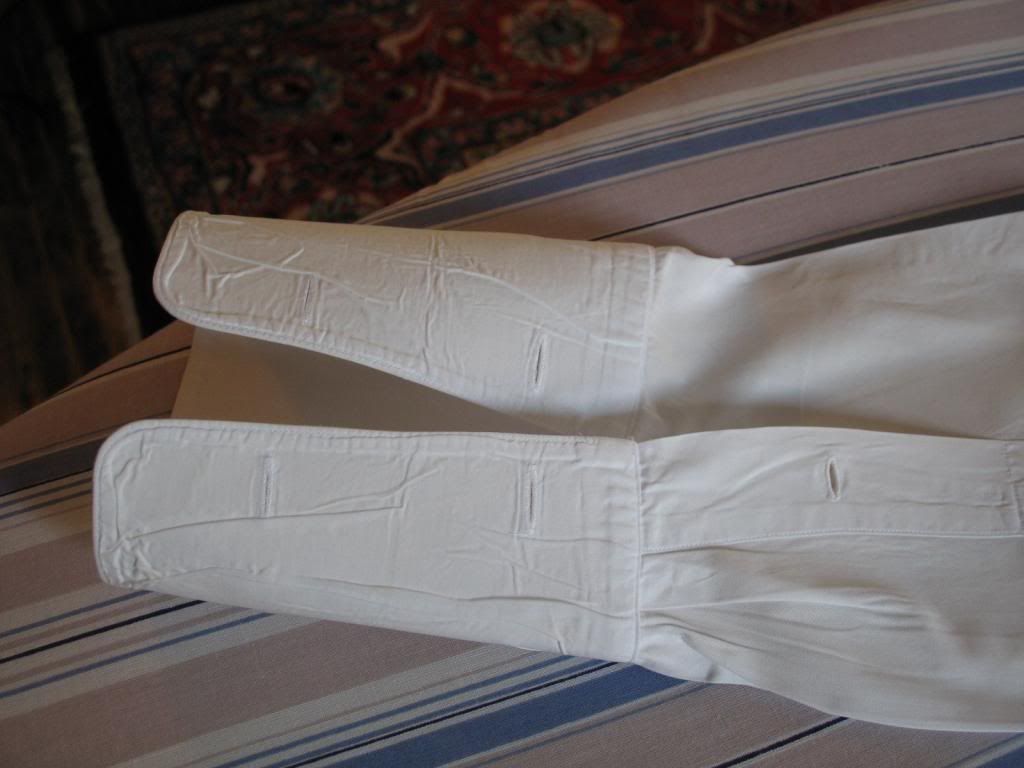
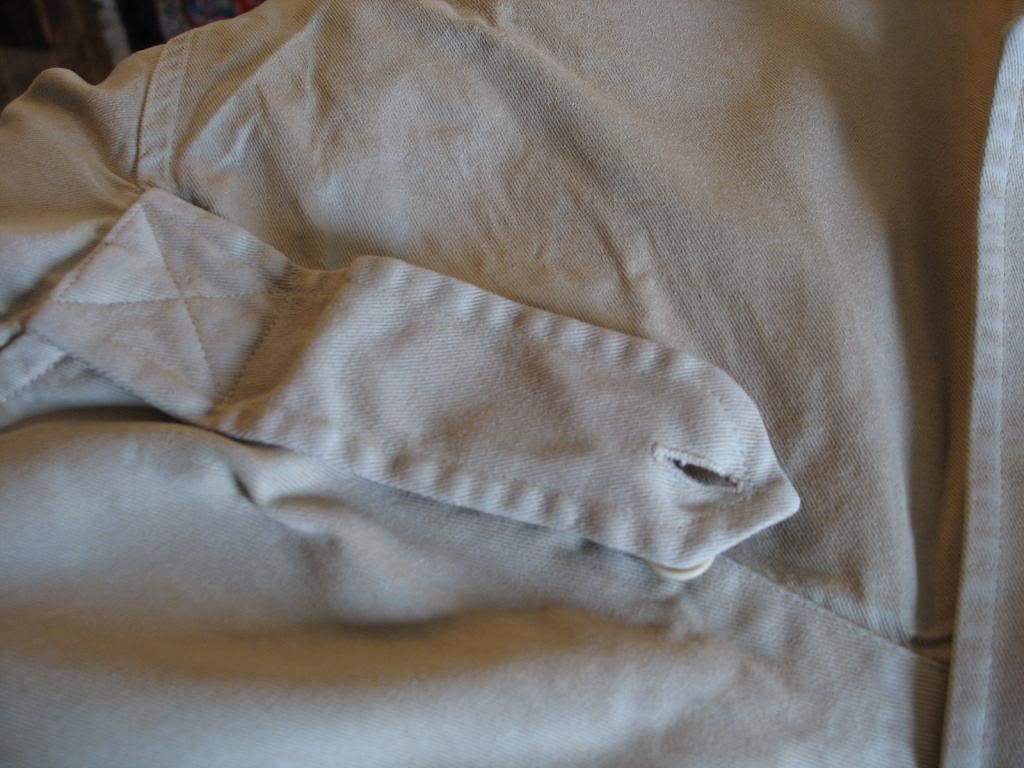
Turn the cuff end upside down, exposing the underside of the cuff. Press the back, underside of the cuff. DO NOT simply press the cuff flat from the top.


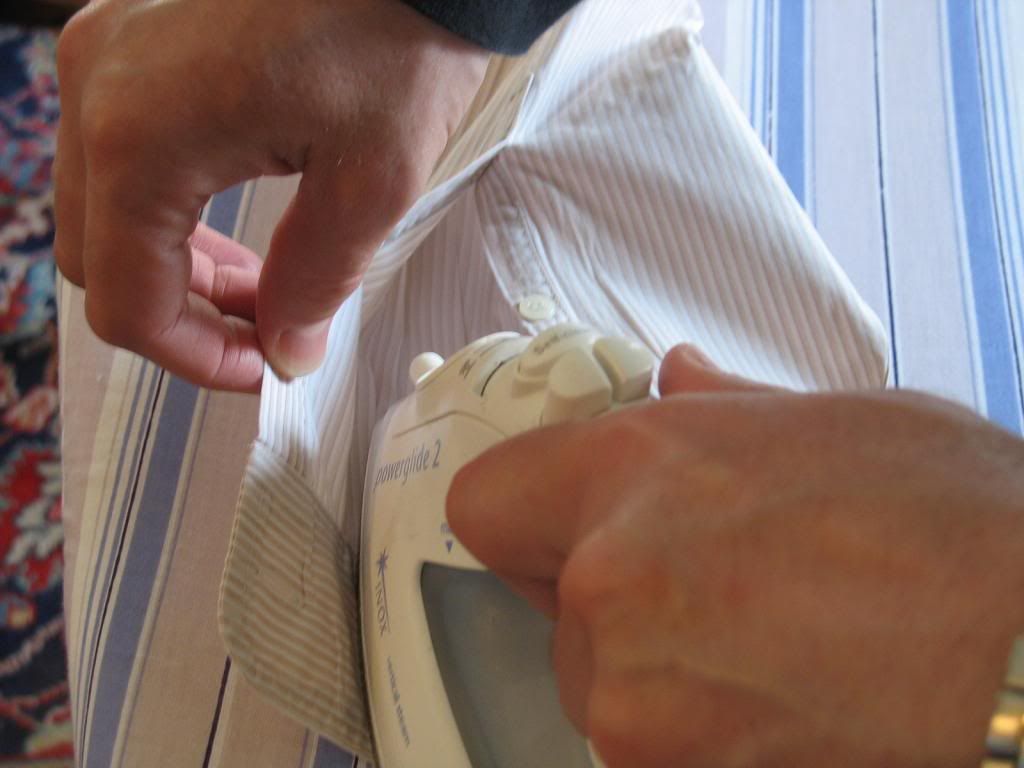
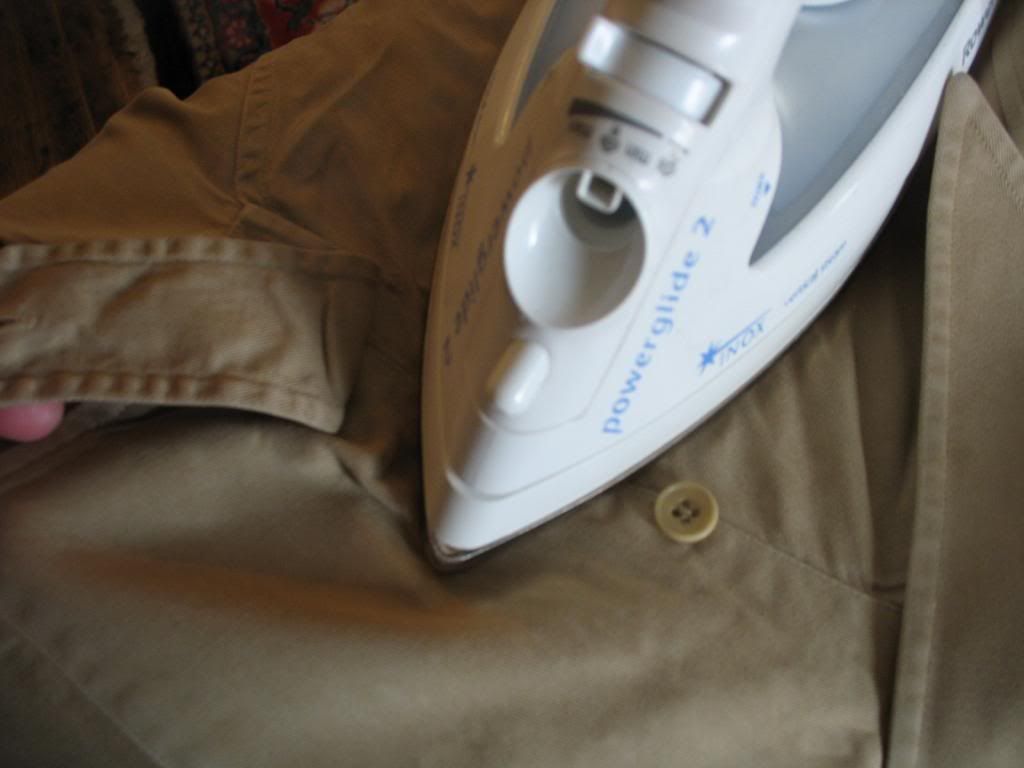
Iron the inside of the cuff. Rolling the cuff back and forth as you go with the other hand. It is called a "Barrel cuff," so let's make the barrel.
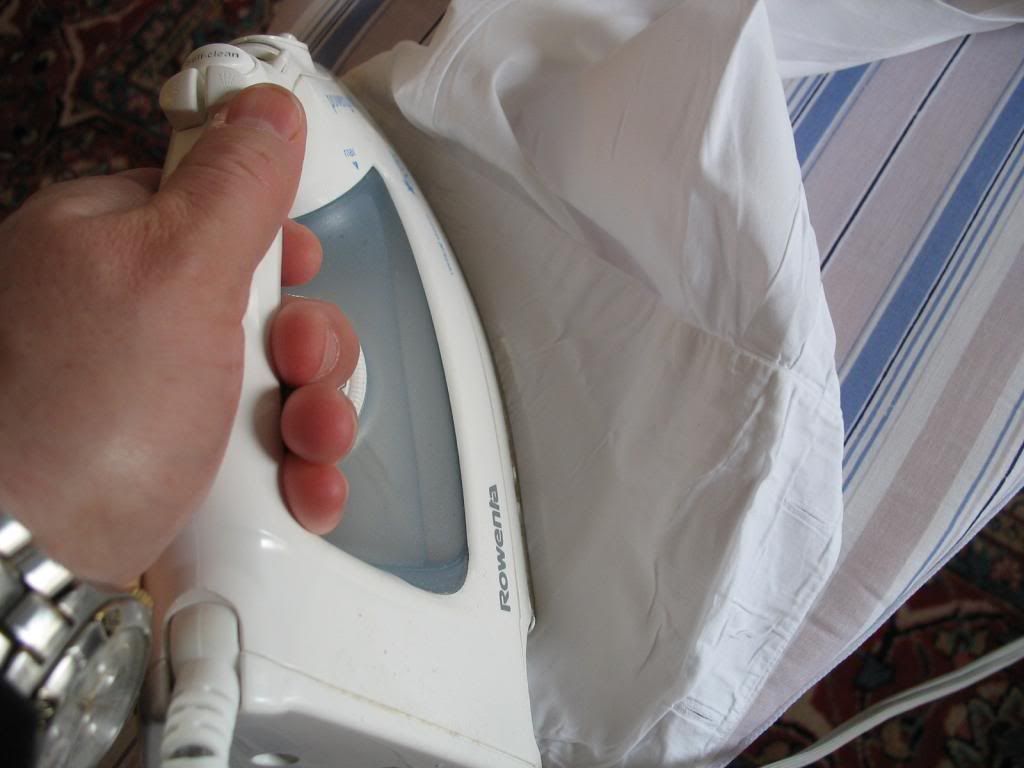
Caution: Hot Steam!


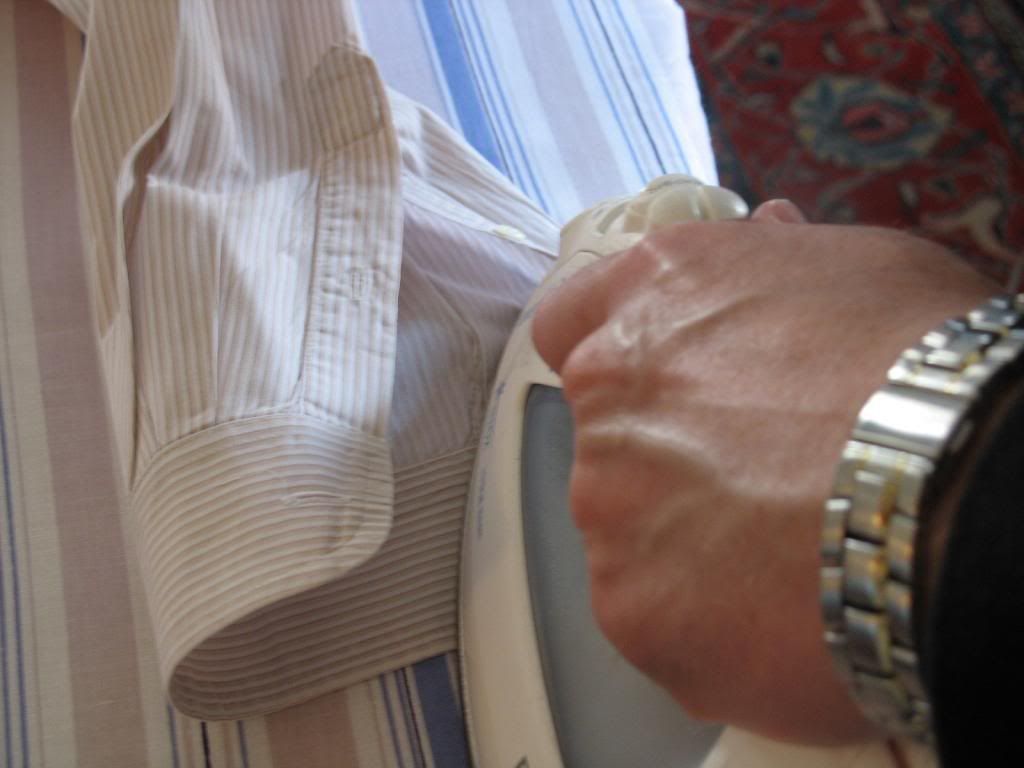
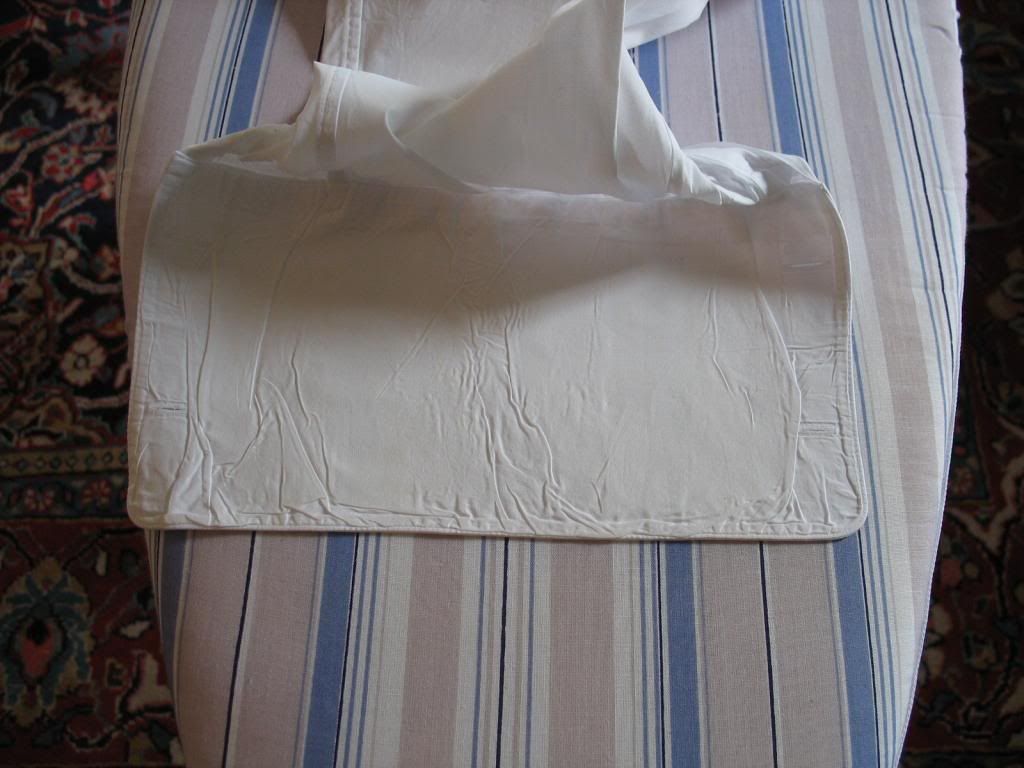
Move the iron back and forth across the inside of the cuff while holding one side, then the other. This will quickly create a rounded "barrel" end.

The barrel cuff.


Catch the sleeve button placket now.


Tomorrow: The rest of the shirt, how to properly iron Frenchies, spritzing the problem areas.
 

Johnnysan

One Too Many
Messages
1,171
Location
Central Illinois
What a great thread! Thanks for the time and effort that you've taken with this, Scotrace...I'm looking forward to the next installment! :eusa_clap
 

scotrace

Head Bartender
Staff member
Messages
14,392
Location
Small Town Ohio, USA
Part Two

(Feraud - it ain't easy!)

Now do the other sleeve in the same way. Note that as we're pressing the sleeve, the rest of the shirt hangs off the board.


French cuffs are done in a similar way. Remember that we left the shirt collar sticking up? Similarly, we don't fold French cuffs back when pressing. They are shaped, instead, much like our barrel cuffs, and left alone. When worn, we want the folded edge of our French cuff to be natural and soft looking, not squashed flat.
Begin by pressing the sleeve as usual, stopping at the cuff. Then turn the sleeve so that the inside of the French cuff is upright. This is the side of the cuff that will be folded against itself and unseen when worn. This is where be begin pressing.


Press the inside of the cuff, creating a flat rectangle.


Continue pressing, just as you did the barrel cuff, until it looks like this. You're done with this cuff. Again, the French cuff is only turned back when you put the shirt on.


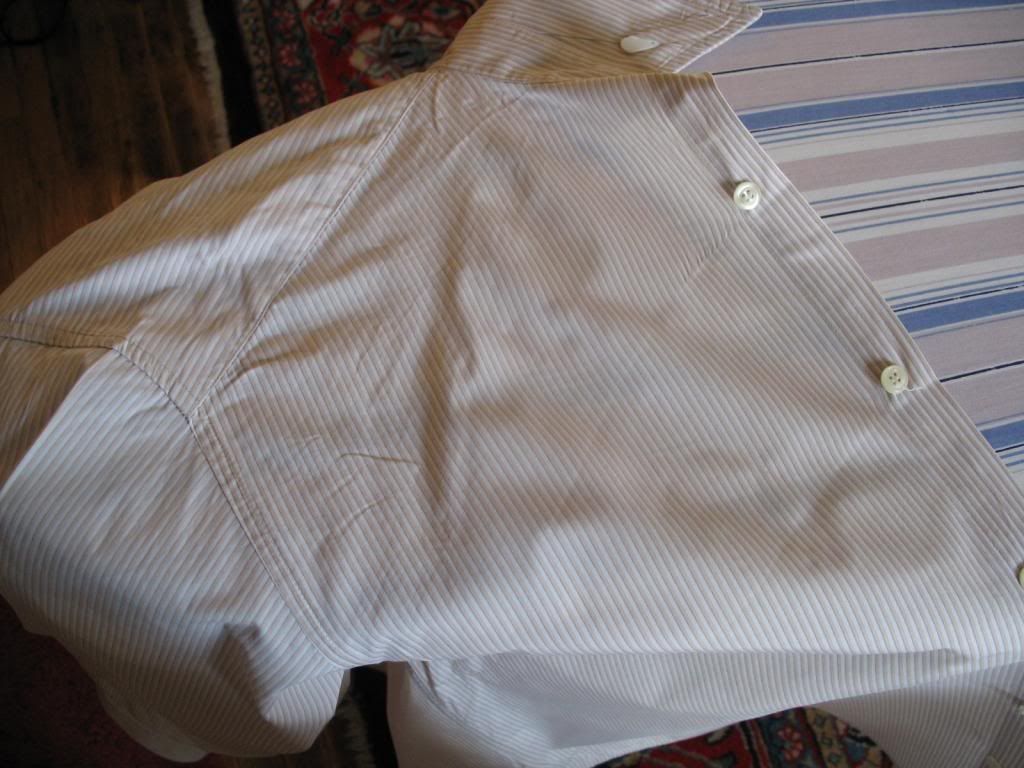
Before moving on, check the reverse side of the sleeve to make sure you have not inadvertantly pressed a wrinkle into it, as I did here. Fix it before proceeding.


Next, the shirt front.
 

scotrace

Head Bartender
Staff member
Messages
14,392
Location
Small Town Ohio, USA
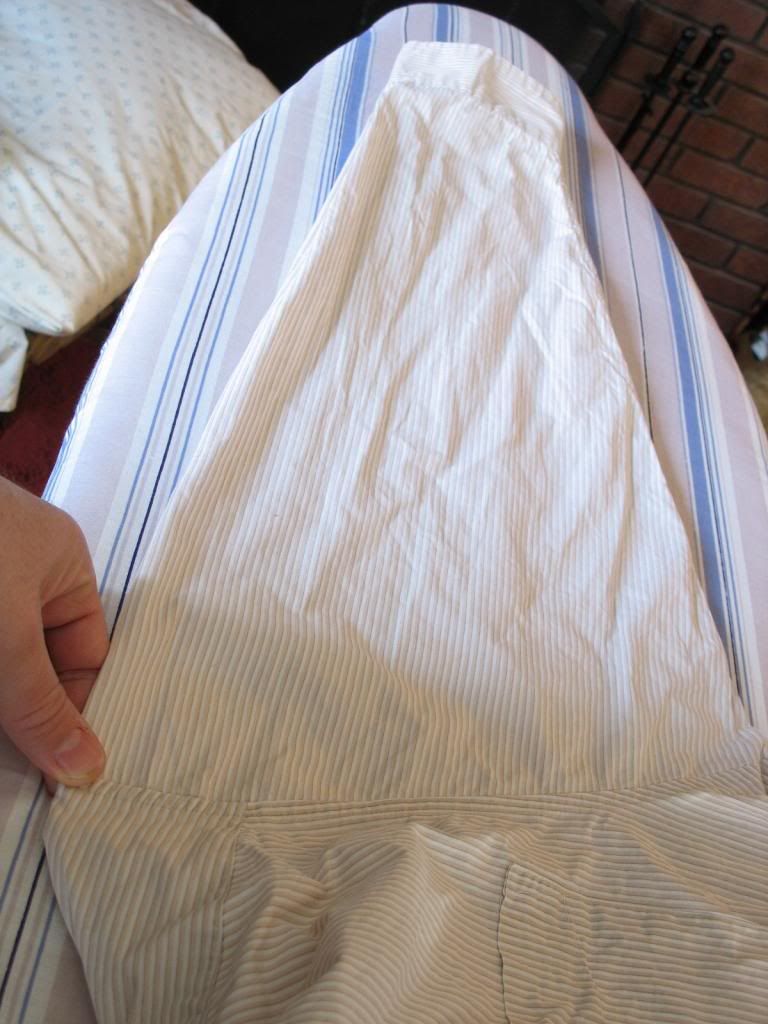
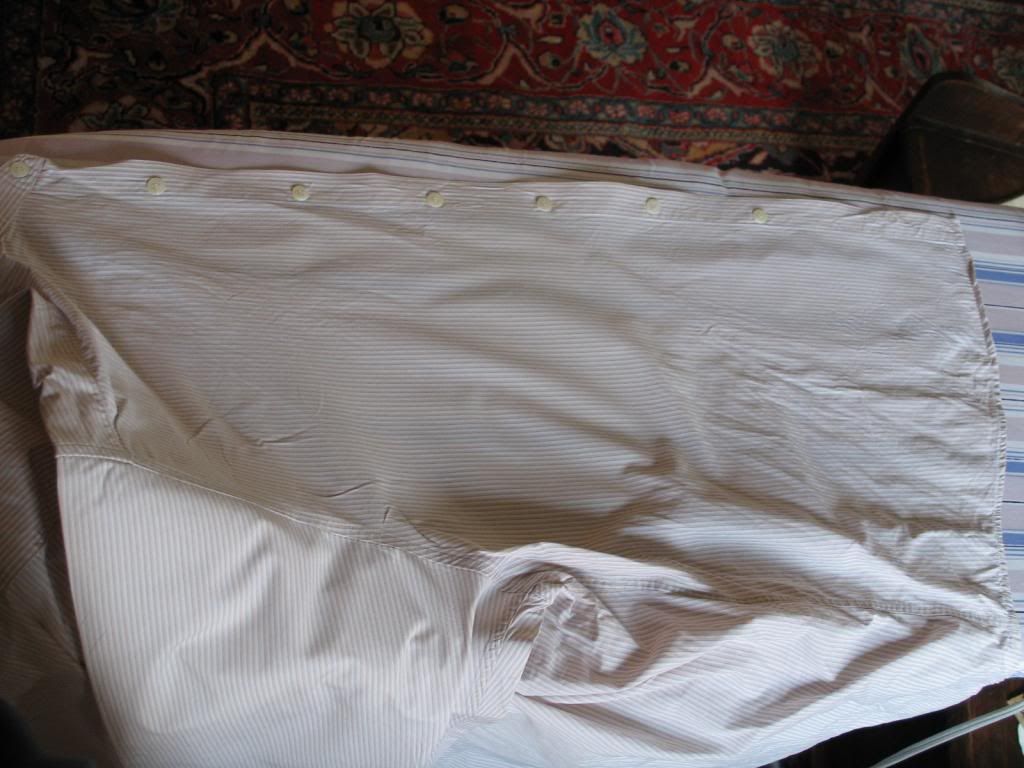
Spread the shirt front with the button side arranged near the far egde of the ironing board, smoothing out wrinkles as much as you can (Our first-step back pressing helps us now).


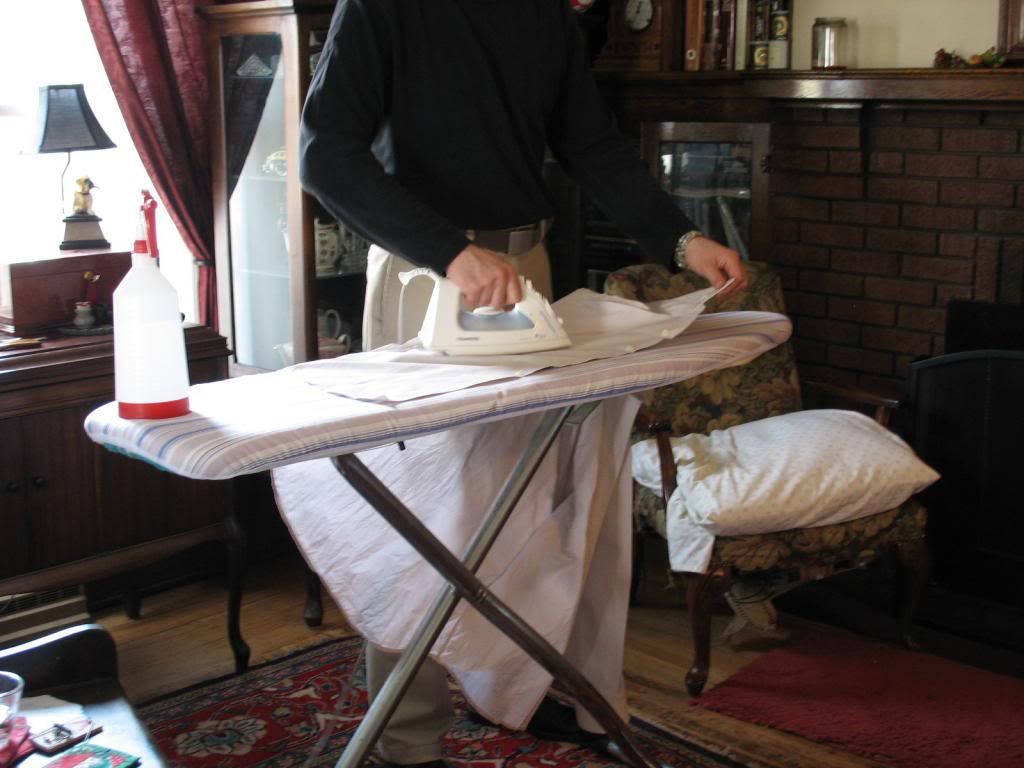
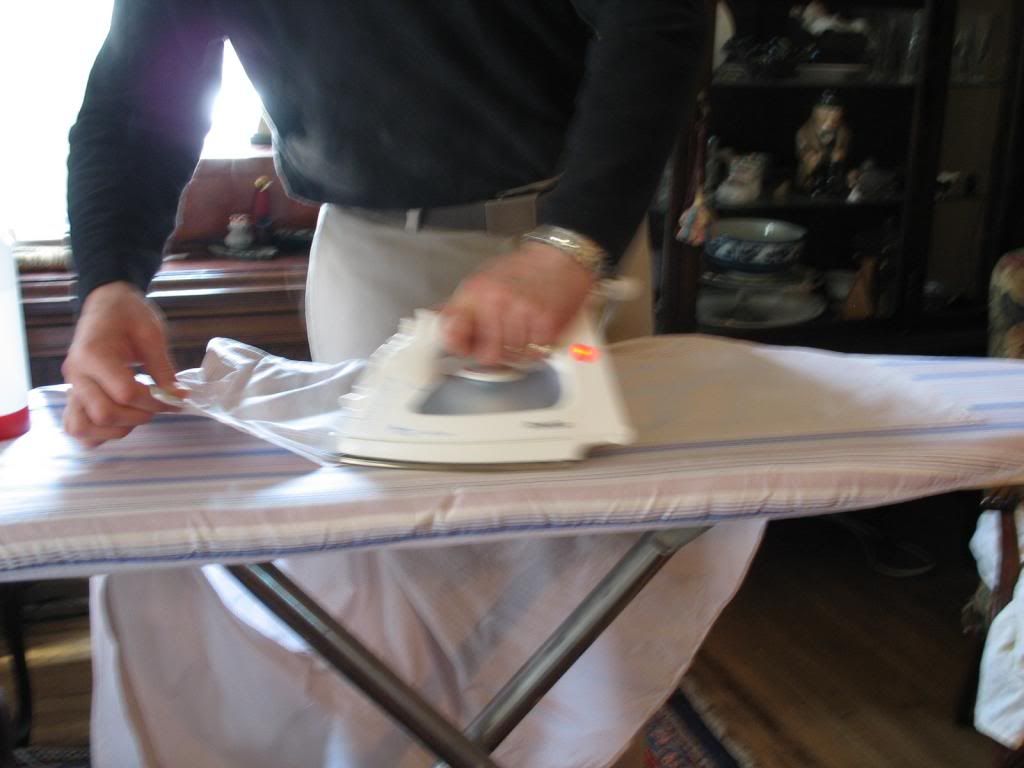
Beginning at the collar end, press the front, holding onto the tail end at the same time as yu pull and adjust things to eliminate wrinkles.


Continue to iron toward the tail end, straightening as you go by pulling with the other hand.

IMG_5988.jpg


Here I am pulling on the collar end. It doesn't matter which way you go. You just need to iron and tug into shape. Pressing a shirt takes two hands.


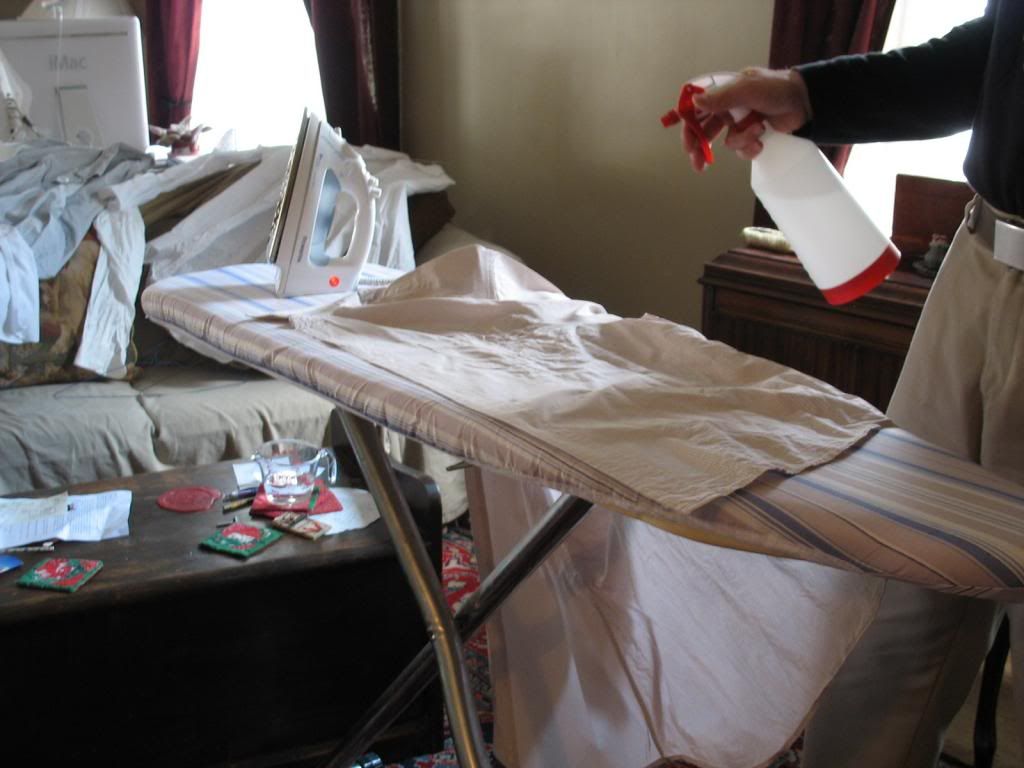
Now do the button placket side of the shirt front in the same way. It is helpful to spritz the pocket to moisten it. Use your fingers to open up the pocket (it will be glued shut), then spritz the placket to make things a little easier. Just mist it.


Iron this side of the shirt front.


Lay the shirt on the narrow end of the board so that you can do one of the back shoulders. We'll press this out in the same way; holding the collar and pulling, while pressing toward the collar.


Slide the shirt over in bits until you have presed the entire back.
 

scotrace

Head Bartender
Staff member
Messages
14,392
Location
Small Town Ohio, USA
Iron each side of the center box pleat, then press it flat.


Now we catch the front shoulders. One, then the other, laying them over the narrow end of the board like this:


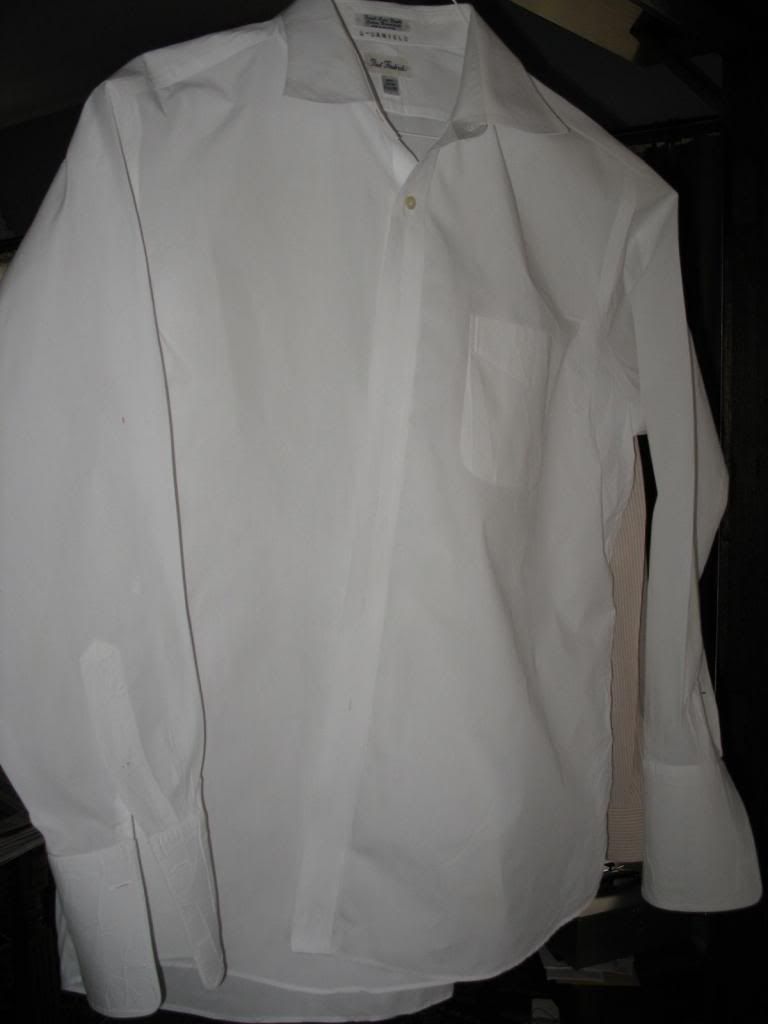
Hang the shirt on a hanger, buttoning the next-to-highest button. You're done!


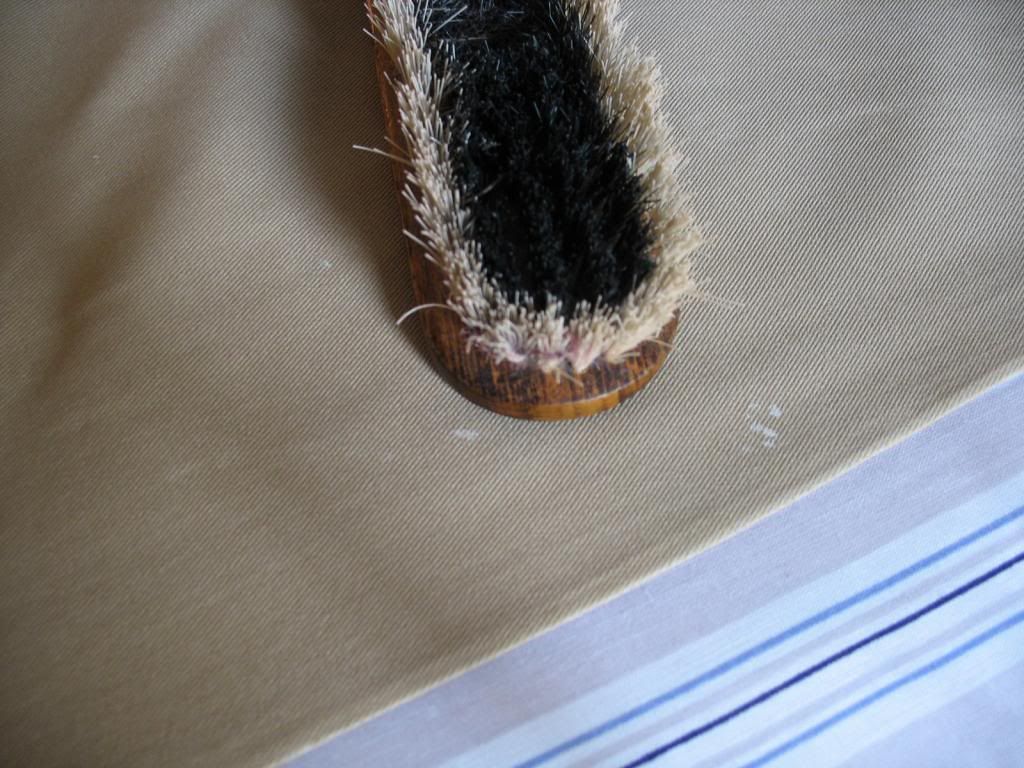
You may run into a spot where the starch has powdered. Use your brush to whisk it away.


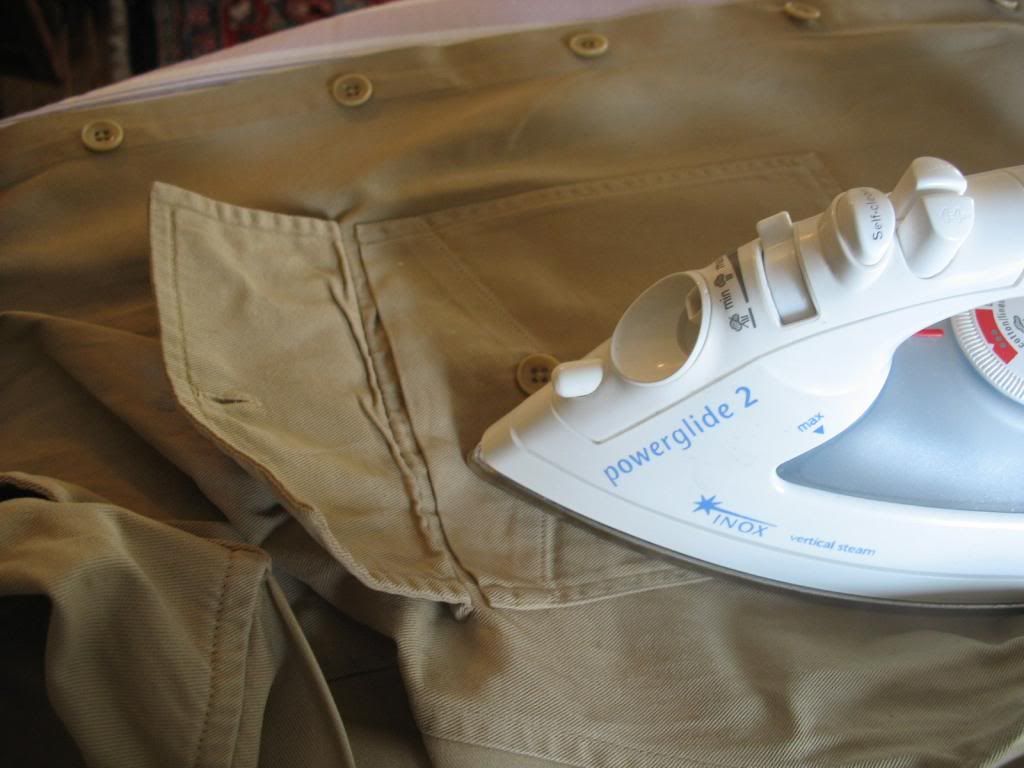
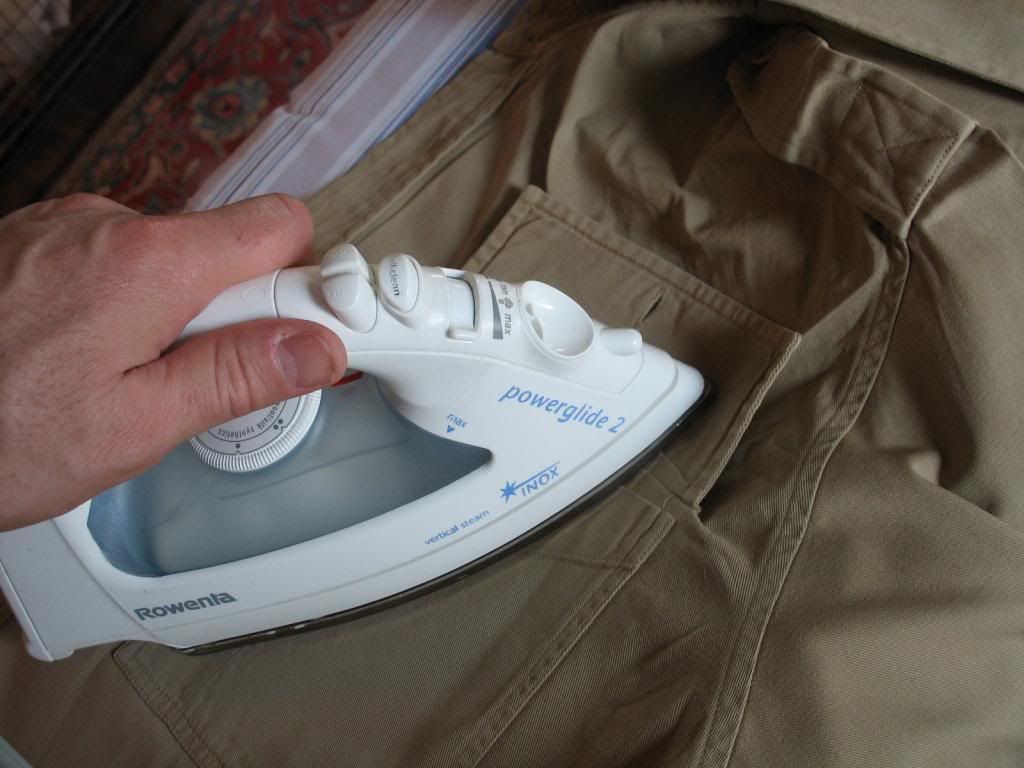
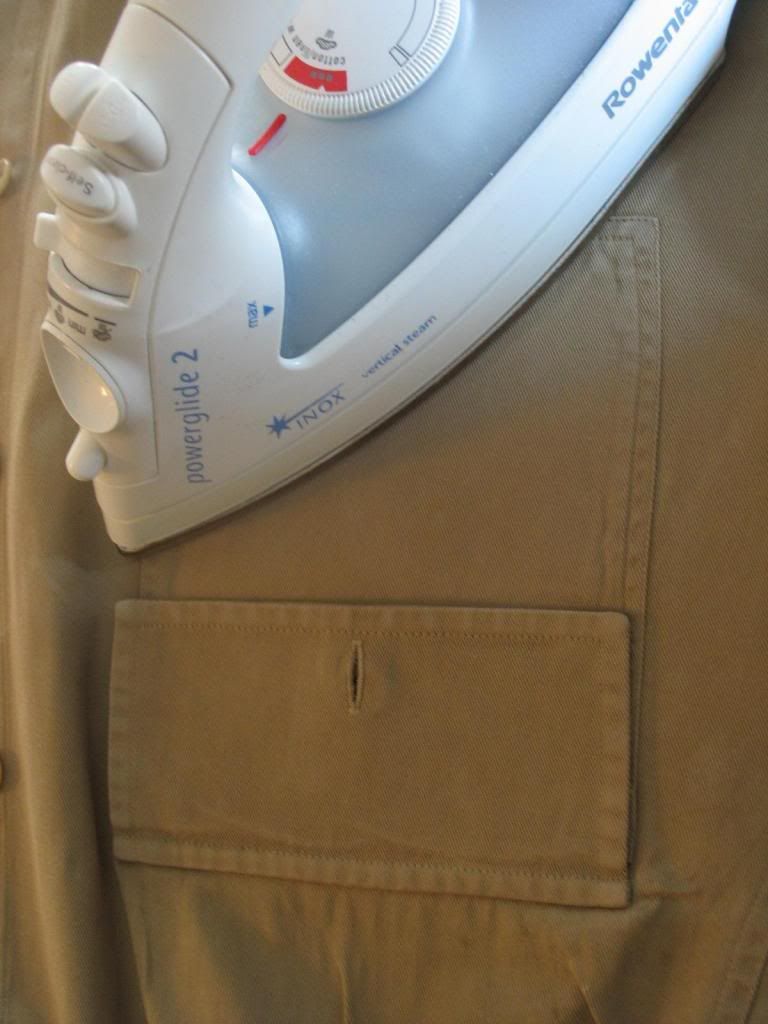
For pockets with flaps, open the flap and press under it first.


Then press it down.


Unbutton epaulettes and press under them. Also press the flap on the back side.


With heavy fabric and a tough spot, don't be afraid to mist it well, then set the hot iron on it and leave it there for 15 - 20 seconds. Don't DON'T do this on lightweight cotton.
 

scotrace

Head Bartender
Staff member
Messages
14,392
Location
Small Town Ohio, USA
Three more points

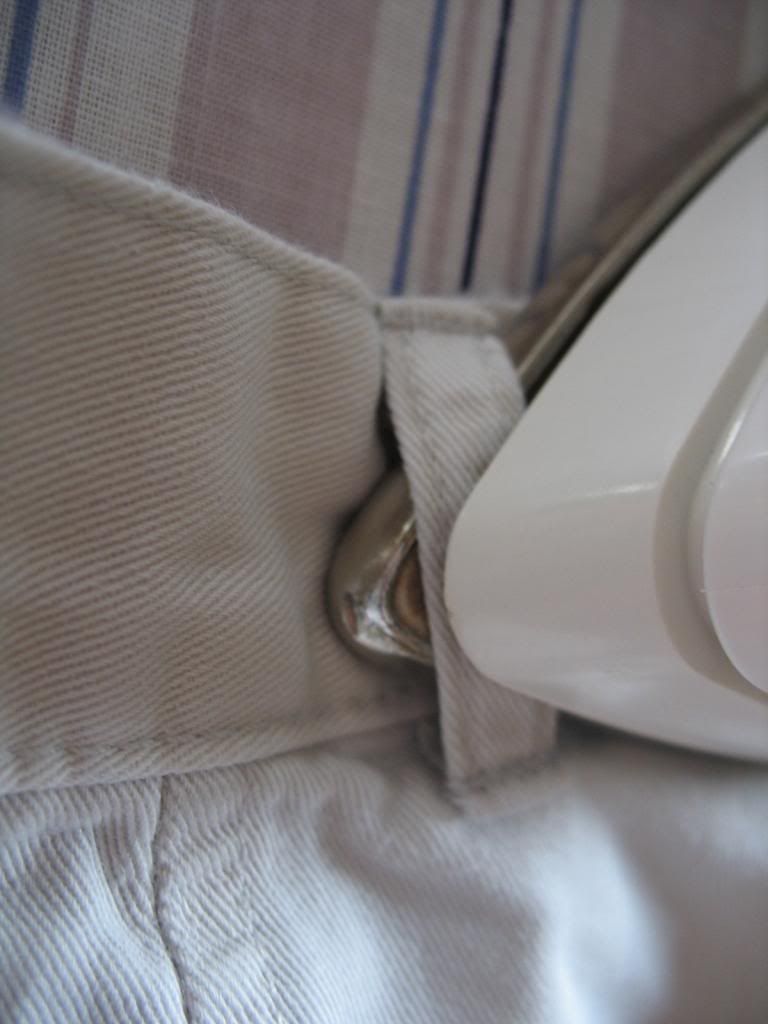
Every iron has this little notch at the front to help press under things, like belt loops.


Also, if you have a sleeve board, which is a special small ironing board for sleeves, the technique is a little different. The sleeve is slid over the board and pressed that way.

The next time I need shirts done, I am using this technique!


I hope you have found this little tutorial helpful. Your criticisms and suggestions are welcome.
 

Daisy Buchanan

My Mail is Forwarded Here
Messages
3,332
Location
BOSTON! LETS GO PATRIOTS!!!
Wow Scott! Thanks so much for taking the time, and putting in so much effort to make such comprehensive instructions for all of us. This is fantastic, and so useful. I actual prefer my dress shirts (yes us ladies where them too) with a bit of starch, since ladies oxfords aren't usual made as nicely as mens, they tend to wrinkle a lot while wearing. These instructions are gonna save me a bundle on professional cleaning. Thank You!:eusa_clap
 

Maj.Nick Danger

I'll Lock Up
Messages
4,469
Location
Behind the 8 ball,..
A few months ago I went to an antique dealer I frequent, and they had just unpacked a trunk full of a world war 2 officer's uniforms. "They're upstairs in a closet." They told me,...(The place is an old farmhouse and barn.)
Most of the uniforms I think were starched like this before they were packed in the trunk, and they were all still stiff as boards! :eek:
My question is, could they still be worn like this?,...And if so, how long does it take before the wearer can move freely? lol
 

Forum statistics

Threads
109,096
Messages
3,074,043
Members
54,091
Latest member
toptvsspala
Top