HatsBySam
One of the Regulars
- Messages
- 238
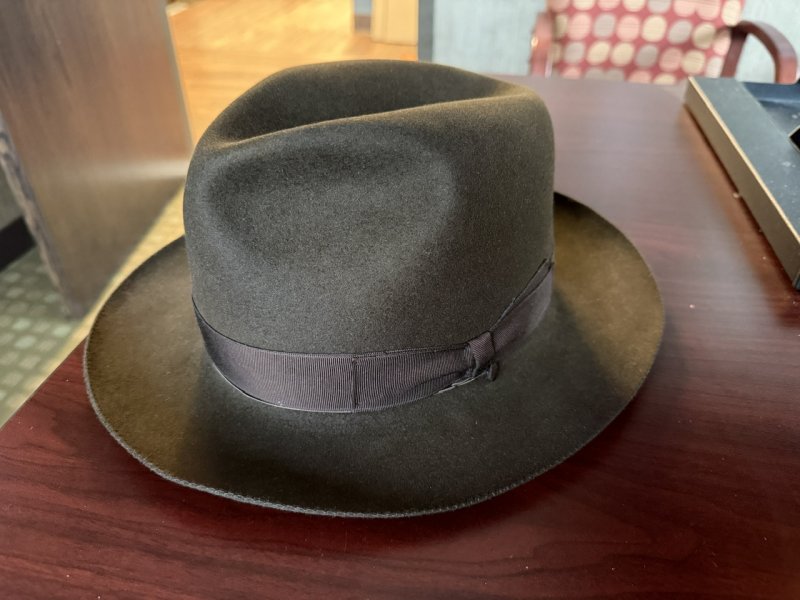
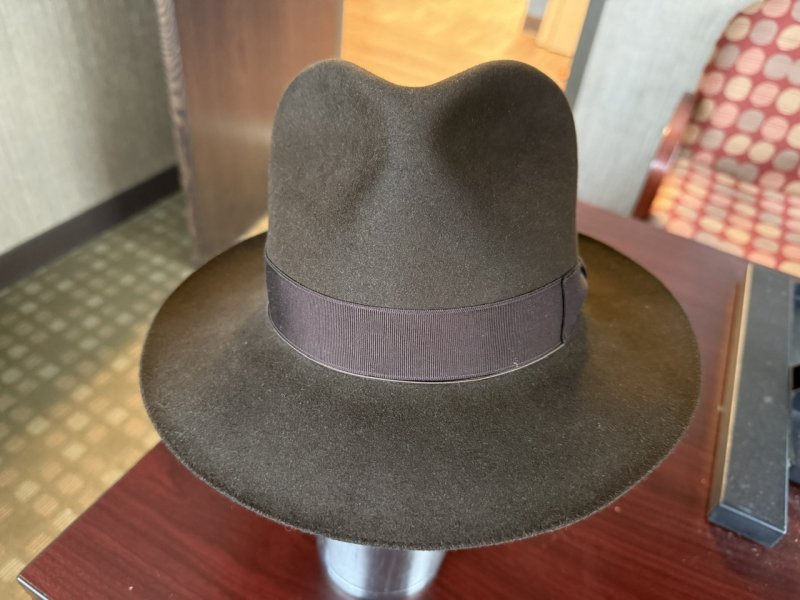
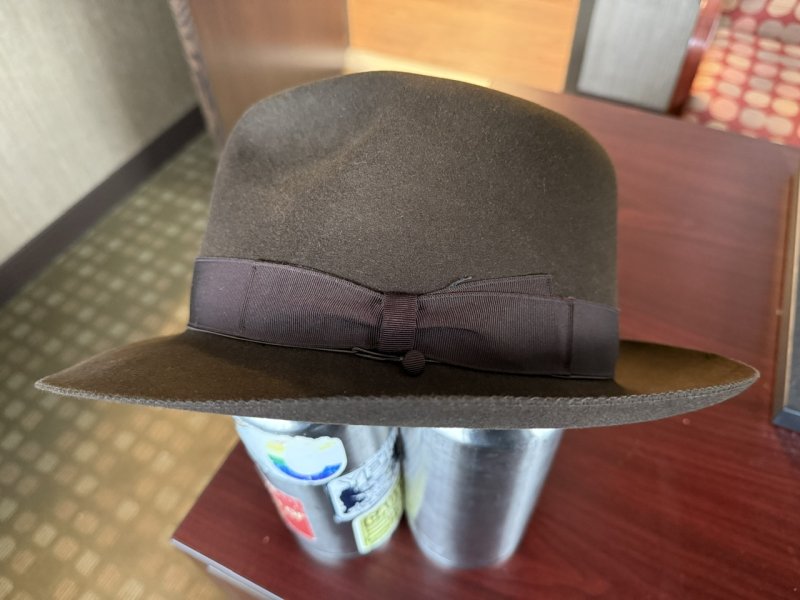
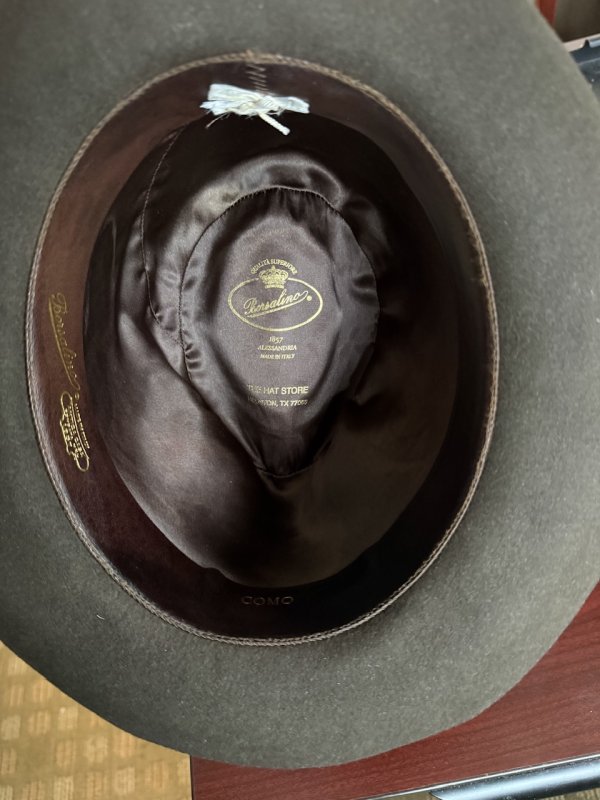
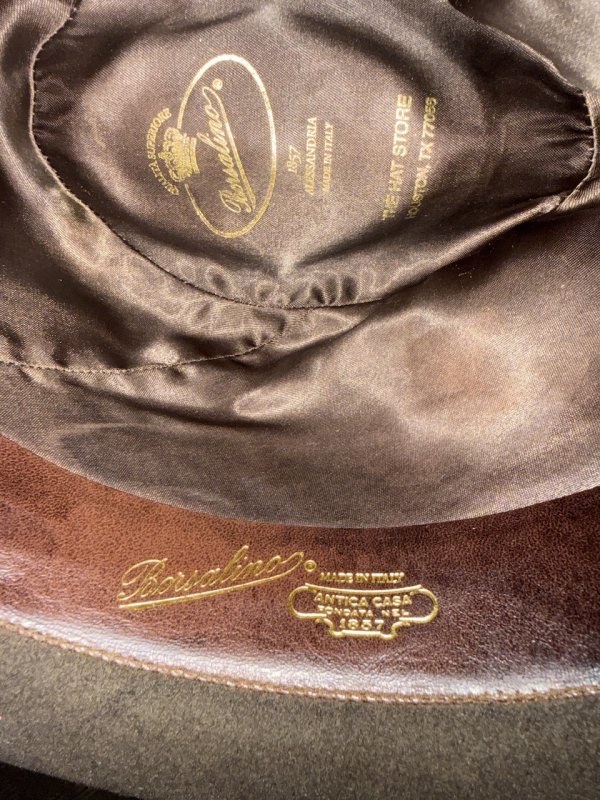
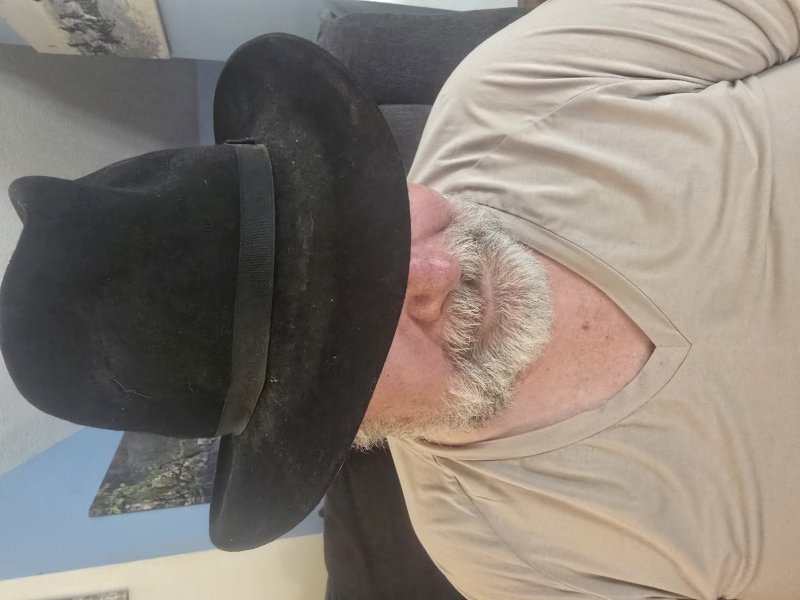
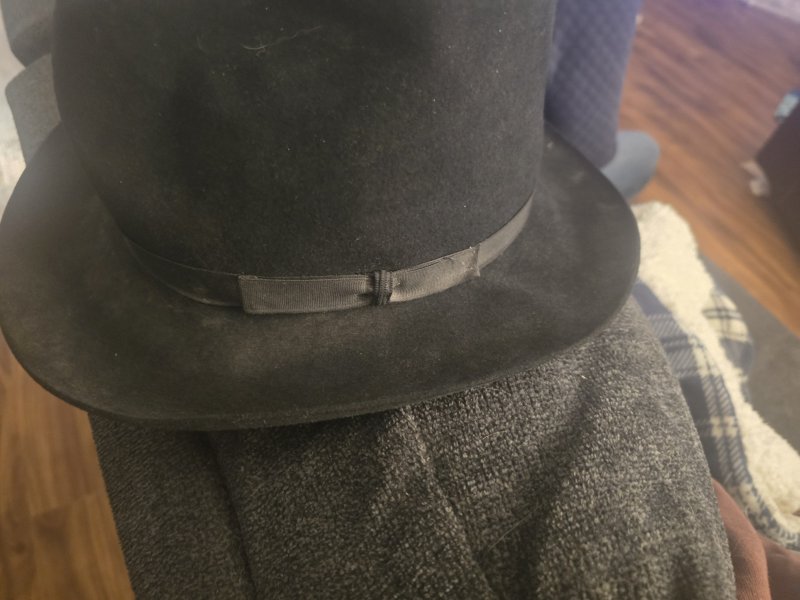
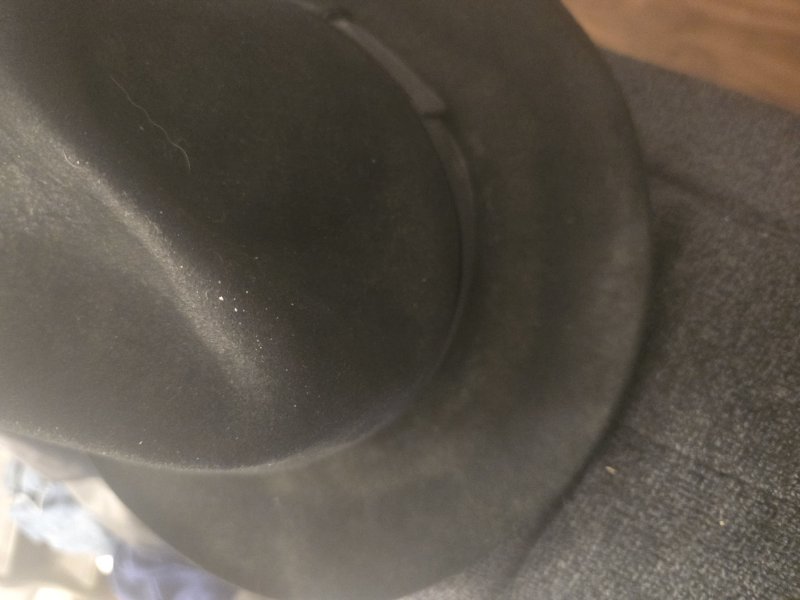
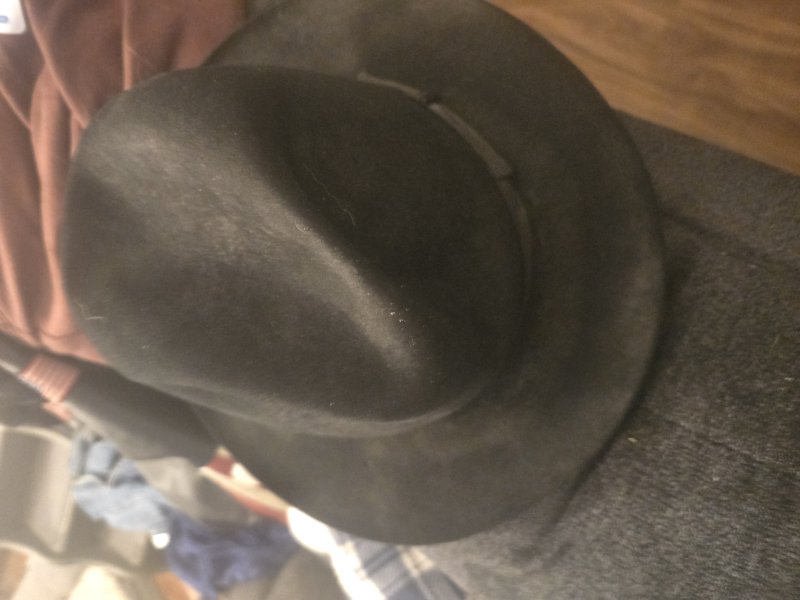
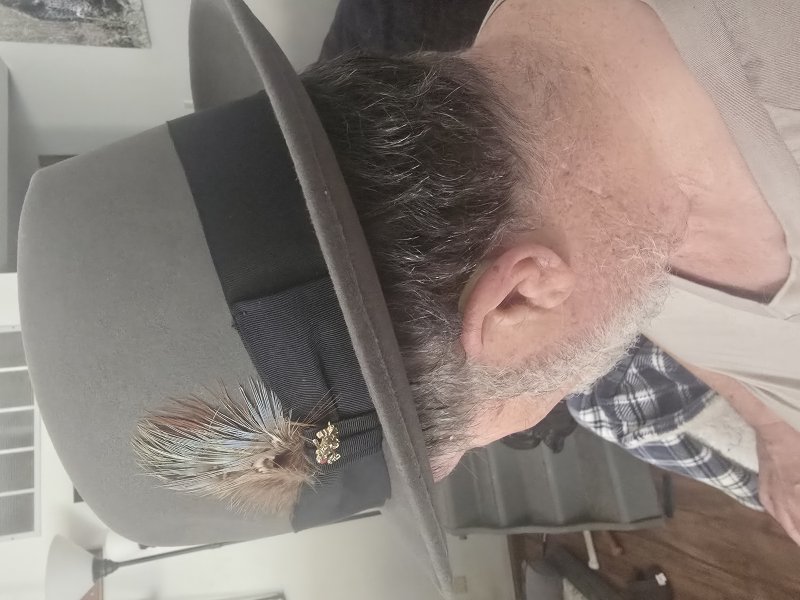
Sad Borsalino needed some love, overall good condition, no felt issues, liner needed a good cleaning and the leather sweatband needed a good cleaning and some leather honey.
Sad Borsalino needed some love, overall good condition, no felt issues, liner needed a good cleaning and the leather sweatband needed a good cleaning and some leather honey.

Its always sad when an origional sweat or liner doesnt survive rehab. ( Ive melted or crumbled many myself) Just have to remember the whole process is to get a hat back on a head. If that means a new sweat and / or liner, thats just the cost of rehabFirst of all, I have no business in this thread, but as far as I know there isn’t a “What Hat Are You Destroying Today?” thread, so here we are.
Yesterday I destroyed a 63-year-old sweatband. It was a 1963 Adam, so not a particularly expensive hat, but it still hurt my feelings.
I wanted to see what would happen if I soaked it in water with a little Dawn, and I found out. The Dawn sucked all the juice that was left out of the sweatband and hastened its demise. The fact that this was possible, I believe, indicates that the sweatband was on its last legs anyway, but I don’t like being the executioner.
So I won’t be trying that particular experiment again. I’ve ordered some millinery needles, and I’m going to practice installing a new sweatband on this thing until I either figure it out or die of blood loss.
On the plus side, I did learn a bit about hat construction, though admittedly I could have learned the same information in a less destructive way.
I may also remove the ribbon and practice working on that, then get some of that naphtha gas and see what happens to the bare hat body once I have the ribbon off. May as well do all my experimental surgery on this one, I suppose.
This hat is at least a 7 1/2 — maybe 7 5/8. It was too big for me when it still had a vintage sweatband.
1963 Adam — We Hardly Knew Ye
Oh, and I almost forgot: I also jacked up part of the cool overwelt brim. God only knows what it would take to put that back to rights.
View attachment 812529 View attachment 812530 View attachment 812531 View attachment 812532
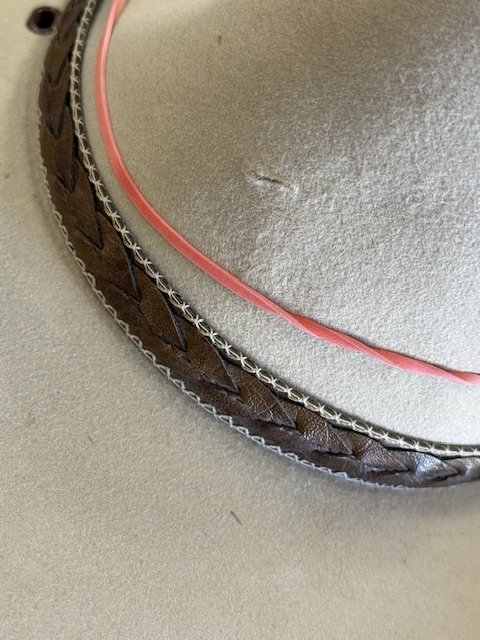
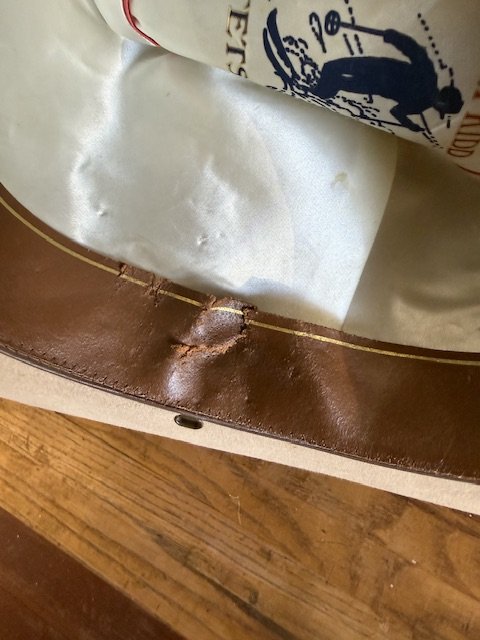
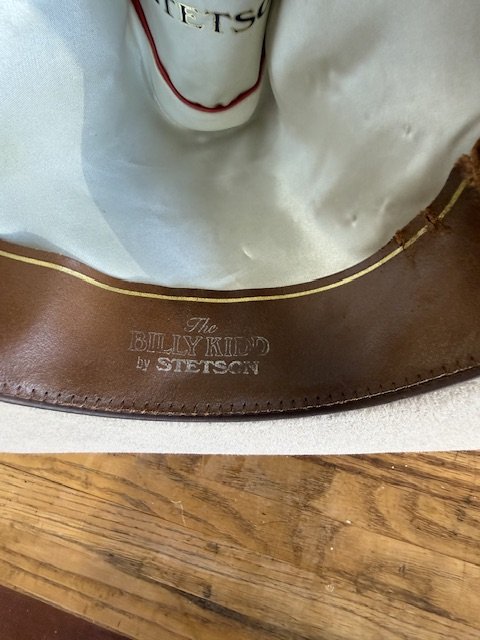
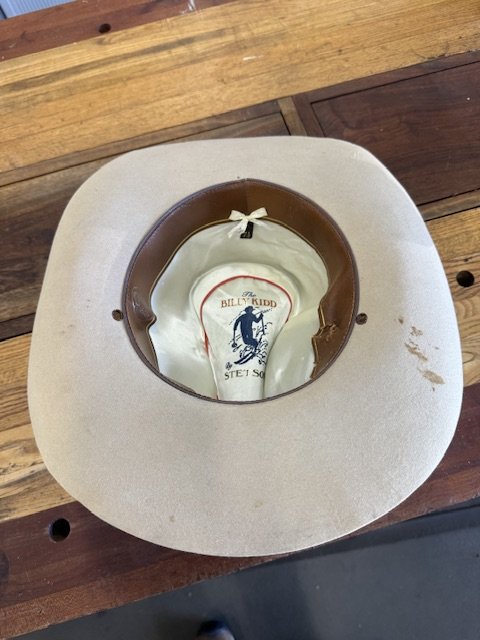
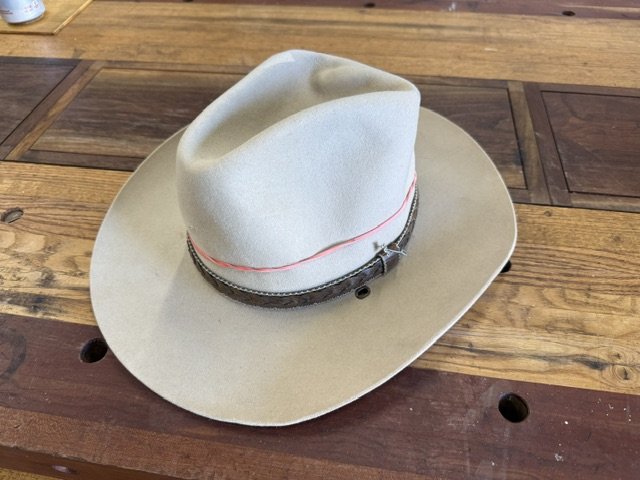
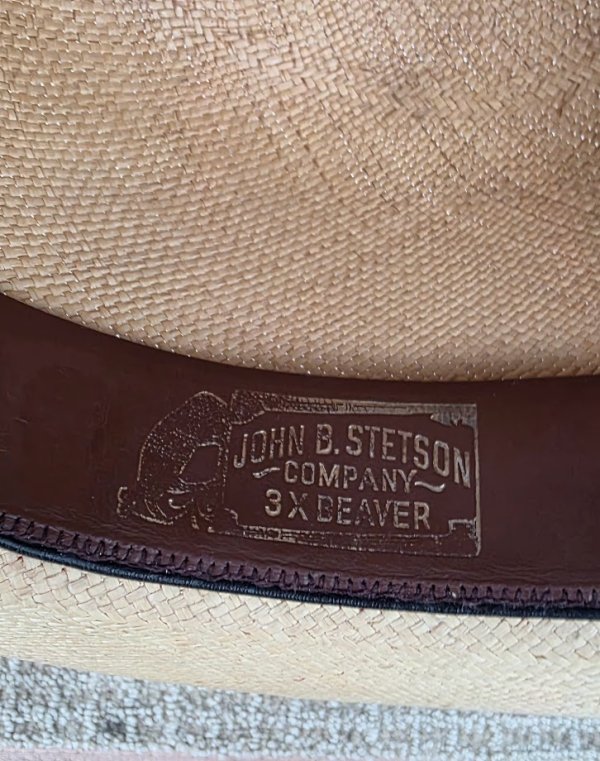
Check the backside of the rubber band for Stetson markings. LolKind of an interesting hat I picked up recently. A Billy Kidd Stetson. From what I can find on the lounge and elsewhere, the felt was usually a mixture of rabbit and mink. It has a good weight and a pleasantly soft feel. It has an interesting band and liner (not sure the rubber band is original to the hat). Maybe I can get it fixed up and go skiing in it this winter!
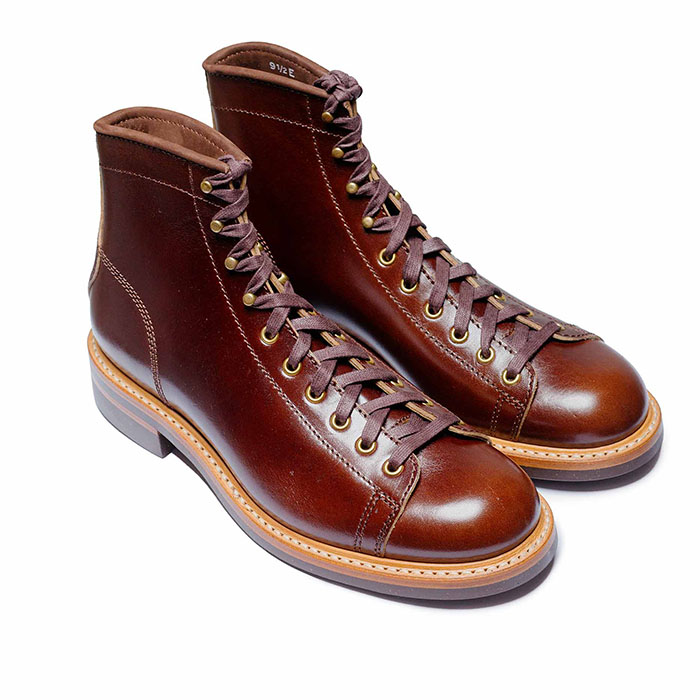 John Lofgren Monkey Boots Shinki Horsebuttt - $1,136 The classic monkey boot silhouette in an incredibly rich Shinki russet horse leather.
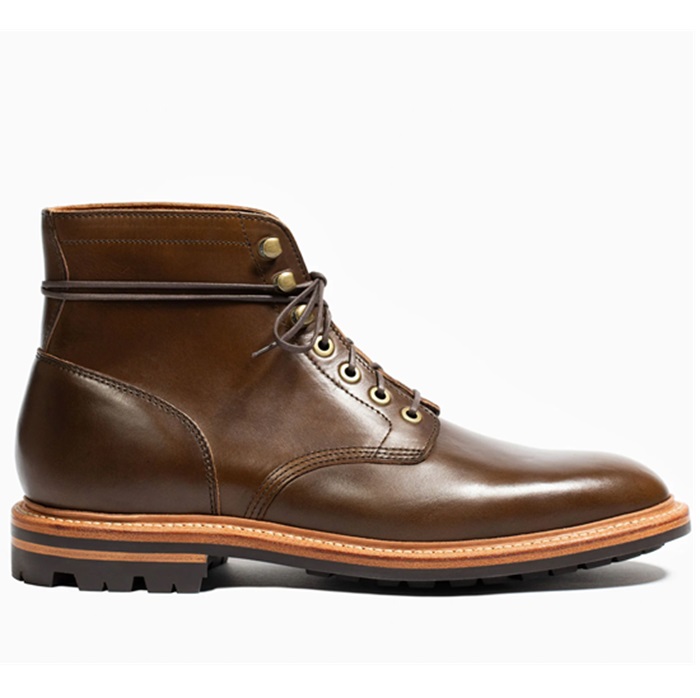 Grant Stone Diesel Boot Dark Olive Chromexcel - $395 Goodyear welted, Horween Chromexcel, classic good looks.
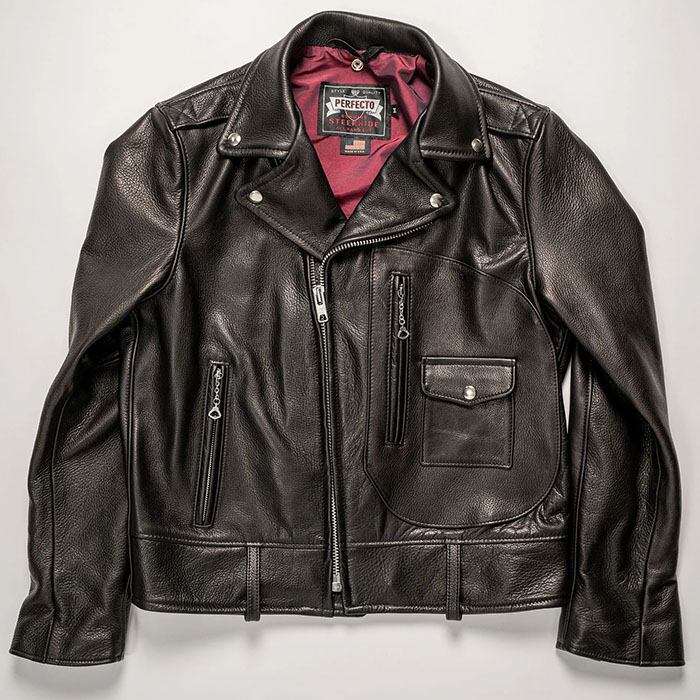 Schott 568 Vandals Jacket - $1,250 The classic Perfecto motorcycle jacket, in a very special limited-edition Schott double rider style.
He’s getting big, I forgot how much energy lab pups have, lolCheck the backside of the rubber band for Stetson markings. Lol
How's the puppy doing?
my boy is 14 months now. Yesterday my brother and I had to level out a 5x10ft excavation he did out behind the shed in the back lol. At least I know why his feet and head stayed dirty now lol Almost a dozen separate foot wind/ foot deep holes. Advintures with young dogs!!He’s getting big, I forgot how much energy lab pups have, lol


Packing tape is your friend.Working on my first Stetson bought early '90s at Factory outlet in St. Joseph Mo.
Trying ti remove years if dust
Thanks I'm new at this I need all the help U can getPacking tape is your friend.
Make tape loops and pickup dust until nothing else comes off then steam and brush.Thanks I'm new at this I need all the help U can get

Well, today it's raining and chilly in Houston finally. I LOVE IT! I'm down and out with sciatica pain. Just sipping on toddies and working on my VA benefits claims.I don't believe I've seen a thread like this one before. It seems appropriate now though, when a lot of Loungers have time on their hands.
In my case today isn't accurate but I didn't think a thread titled "what hat were you working on yesterday" made sense.
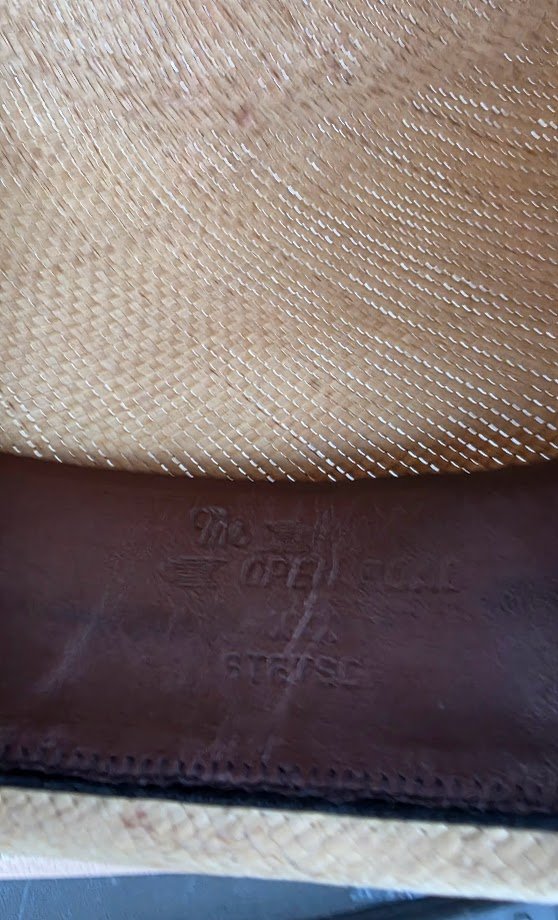
My hat work has been on hold for a long time but late Easter evening I decided to get back to two projects I had benched a while back. Both are pretty damaged specimens, a 3X Open Road that I reblocked from 7 3/8 to 7 1/2 to fit a drummed 7 3/8 sweat into and a Bradmore that I blocked down from 6 7/8 to 6 1/2 to install a drummed 6 3/8 sweat into for a hat for my grandson. Both hats had holes and were featured in another thread about felt mending. I made my own flanges for them but still need to get band blocks squared away prior to flanging. To avoid dust in the house that's an outside job so I decided to make sweatbands last Sunday.
My needle bar needs readjusting on the sewing machine, so I decided to do it by hand. I have one complete, for the Stetson. I figured out how to do the locking stitch done by a serging machine that reeded sweats have. As you can see, the early part didn't look very clean or straight, but I got better as I went along. A nice thing about the locking stitch is that if you get a knot in your thread, or run out, you can just cut the thread then View attachment 227712 View attachment 227714 View attachment 227715 View attachment 227717 View attachment 227718 back up three stitches, stitch over them and keep going.
Working on my first Stetson bought early '90s at Factory outlet in St. Joseph Mo.
Trying to remove years of dust #1 and #2
#3 - after first brushing today


Still working on the clean up, but can show some progress. The Naptha photo after the bath can give some idea of how difficult the cleanup of this 85-100 year old hat might be. Not shown above was the moth divots in the brim. Got the major one taken care of, I hope.A newly arrived Emerson (by Murphy-Gorman of Danbury, CT). This has the original union label, so it is pre-1934 or so, and, I believe from the tag under the sweat, that it predates Murphy -Gorman being acquired by Mallory.
Full hat photos coming after clean-up.
View attachment 824999 View attachment 825000 View attachment 825001 View attachment 825002 View attachment 825003 View attachment 825006 View attachment 825005


Most of my hatter education in the past two years has been though "just diving in and getting my hands dirty". It's hard to admit that there have easily been more failures than successes, but the education learned was usually worth more than the hat was, as I don't usually have the resources to be buying the really expensive hats. It still hurts when the failures happen, but I've just decided that the education is worth more than the tears and the hats I buy (usually between $20-$30) wouldn't otherwise be worn without SOME kind of TLC. It's true that someone with experience may have been more successful granting the TLC but it is what it is and I've decided I'm OK with that.First of all, I have no business in this thread, but as far as I know there isn’t a “What Hat Are You Destroying Today?” thread, so here we are.
Yesterday I destroyed a 63-year-old sweatband. It was a 1963 Adam, so not a particularly expensive hat, but it still hurt my feelings.
I wanted to see what would happen if I soaked it in water with a little Dawn, and I found out. The Dawn sucked all the juice that was left out of the sweatband and hastened its demise. The fact that this was possible, I believe, indicates that the sweatband was on its last legs anyway, but I don’t like being the executioner.
So I won’t be trying that particular experiment again. I’ve ordered some millinery needles, and I’m going to practice installing a new sweatband on this thing until I either figure it out or die of blood loss.
On the plus side, I did learn a bit about hat construction, though admittedly I could have learned the same information in a less destructive way.
I may also remove the ribbon and practice working on that, then get some of that naphtha gas and see what happens to the bare hat body once I have the ribbon off. May as well do all my experimental surgery on this one, I suppose.
This hat is at least a 7 1/2 — maybe 7 5/8. It was too big for me when it still had a vintage sweatband.
1963 Adam — We Hardly Knew Ye
Oh, and I almost forgot: I also jacked up part of the cool overwelt brim. God only knows what it would take to put that back to rights.
View attachment 812529 View attachment 812530 View attachment 812531 View attachment 812532
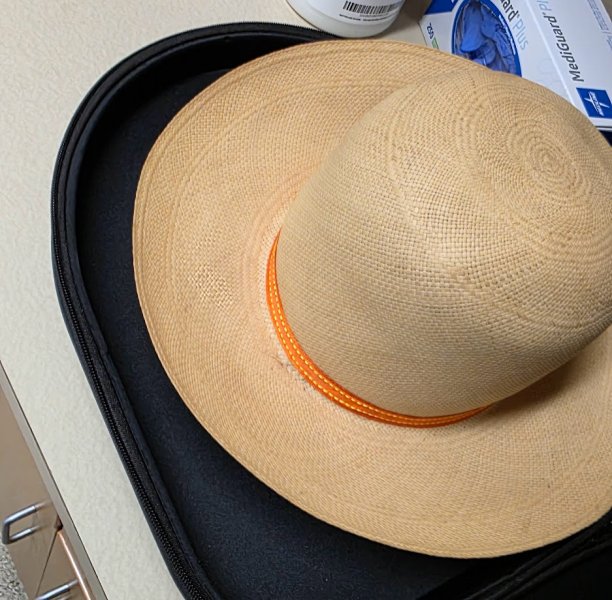
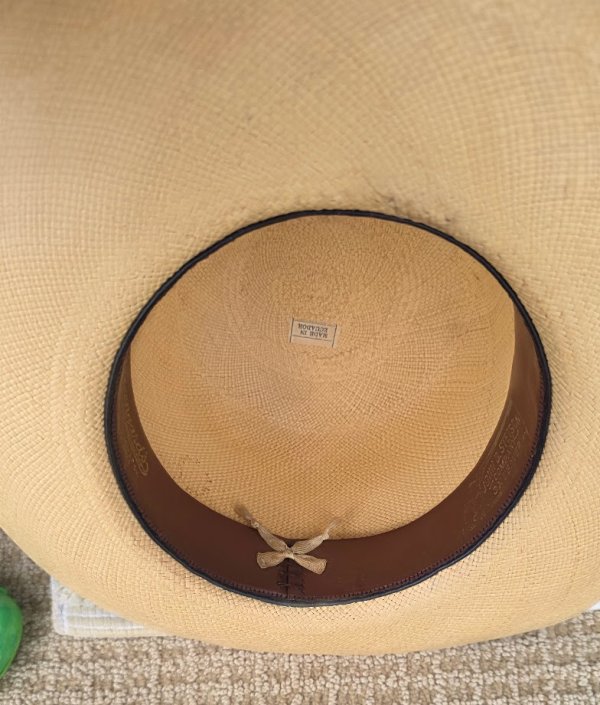
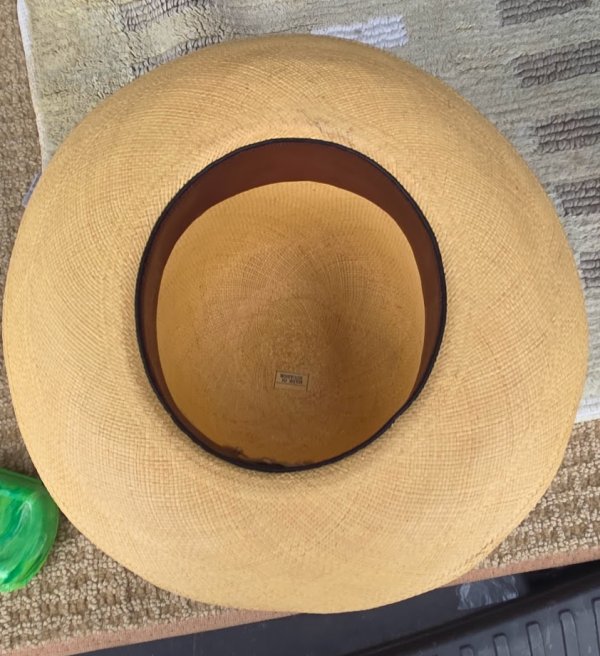
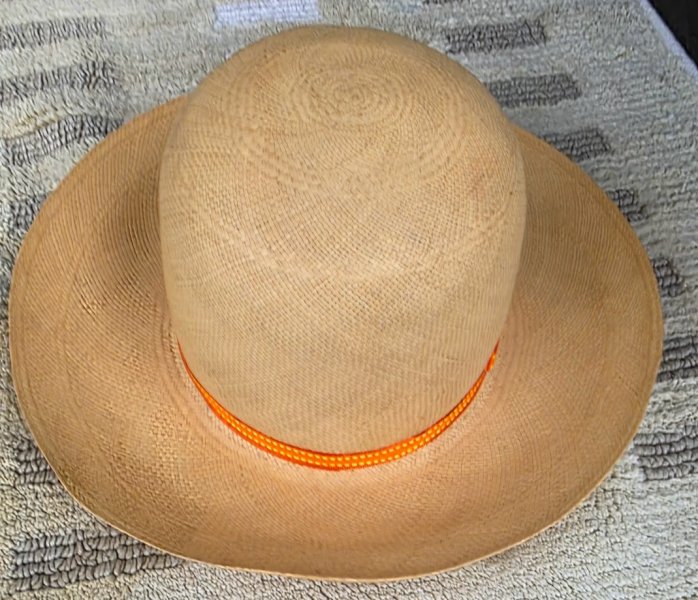
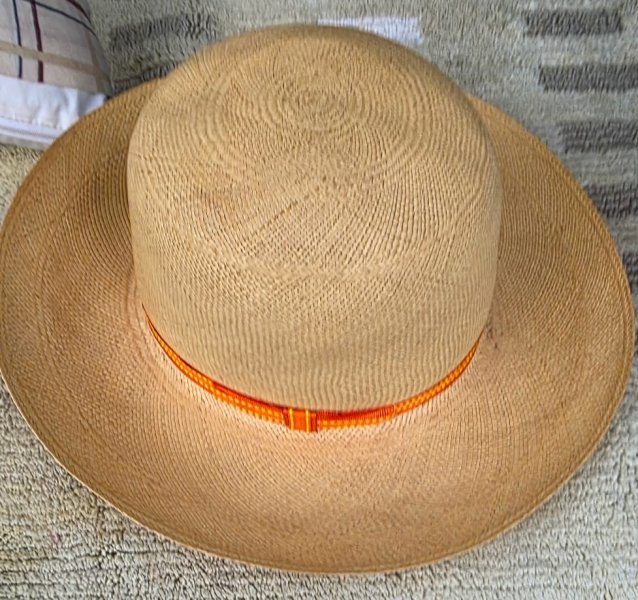
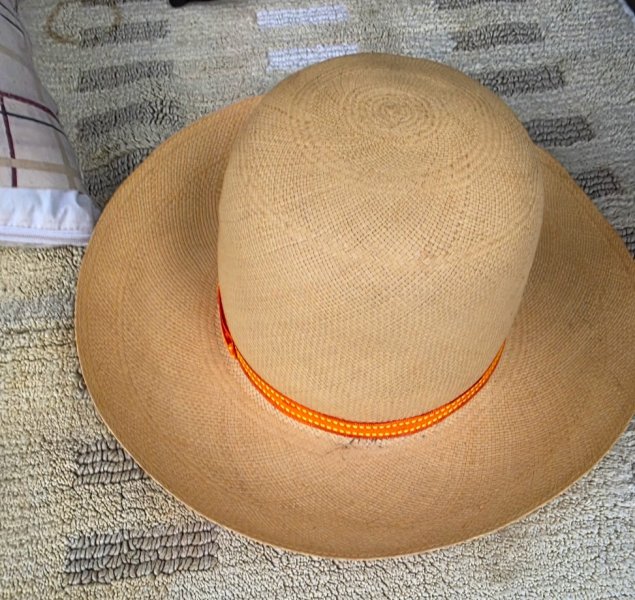
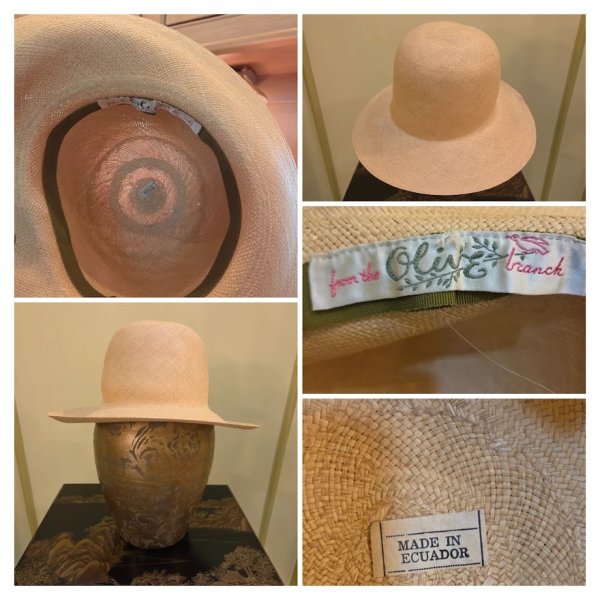
So, I took ONE of the sweatbands from the size 7 "Open road" and cut it down to my mothers needed size, attached a new reed tape and used a 1mm leather cord as the reed, so as to be softer in the straw hat, and everything was going splendidly including the combining of two grosgrain (orange and yellow) ribbons to bring in her favorite colors, and just toward the end of it all, the brim cracked pretty substantially right at the forehead where the brim meets the crown. You can see the repair in a couple of the pictures. It's wearable and my mother still appreciated it, but it could have been so much better.[I had purchases 2 "Open Road" felt hats, at a local thrift shop, for $2.50 each, that where so dirty and had such thinned felt with multiple cracks and holes where the cracks had finally folded one to many times, but they had fairly decent sweatbands, and one had a liner I might be able to salvage, as well as a couple wind cords, and thought MAYBE I could make one good hat out of the two, but I ended up putting my whole hand through the brim of the better one, thereby bringing that endeavor to a crushing halt.]
 Thanks for taking the time to read my book
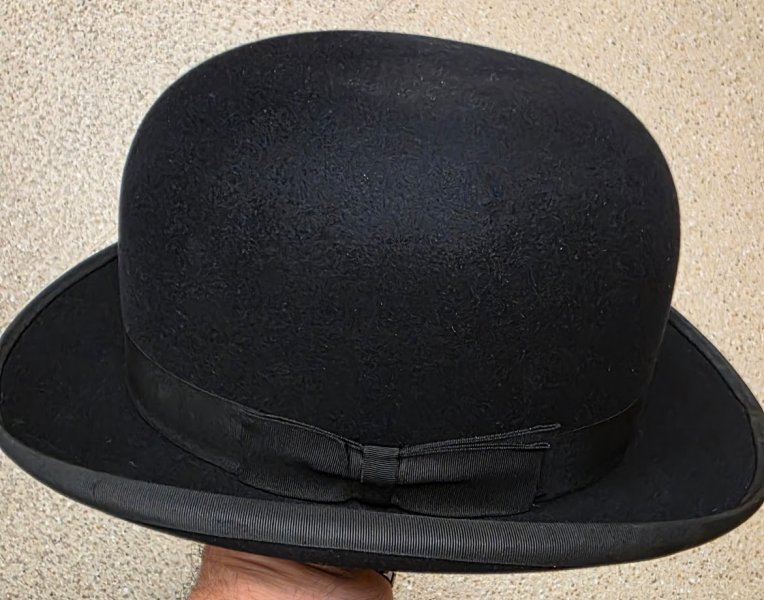
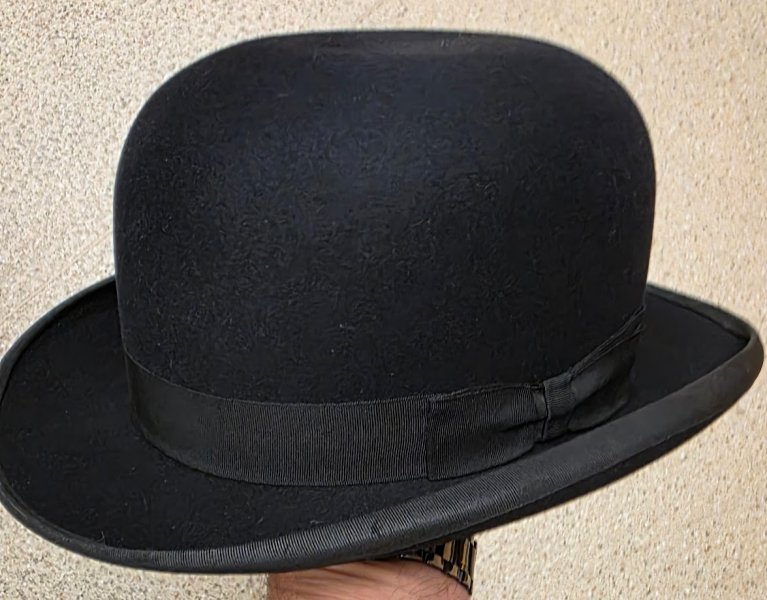
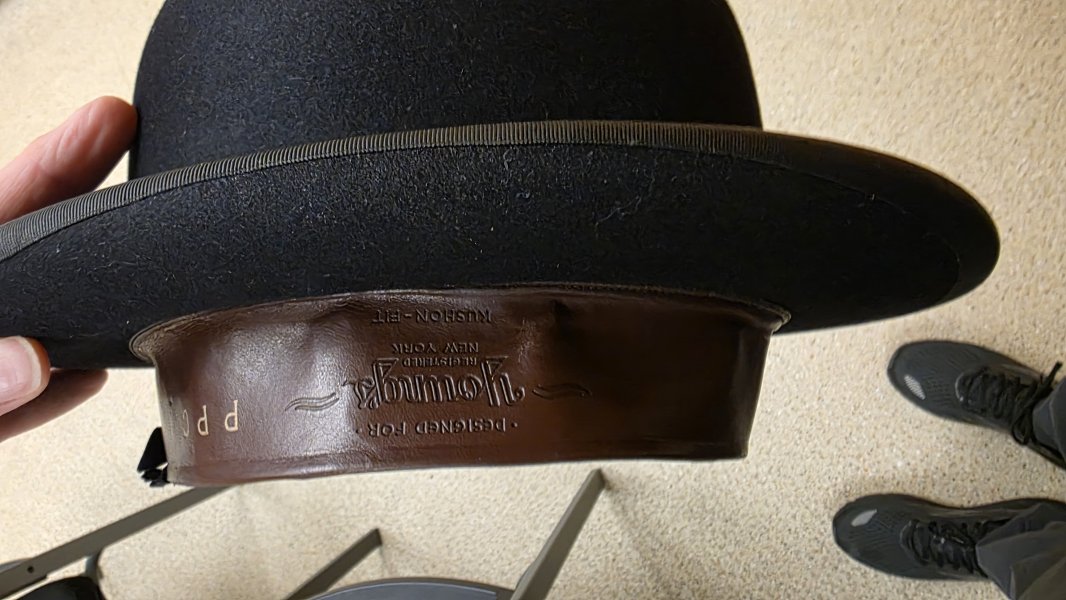
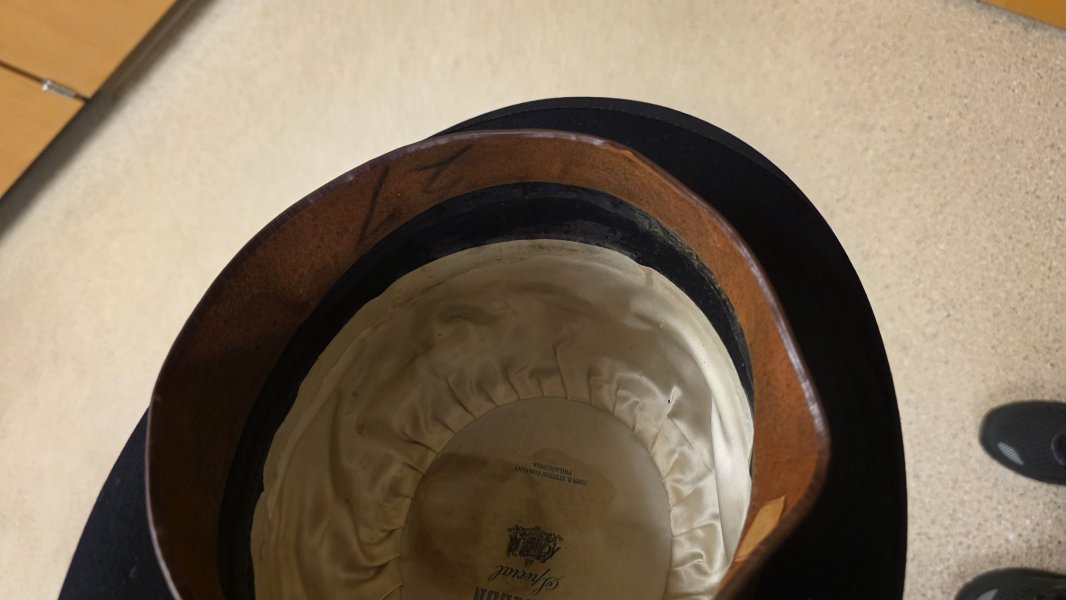
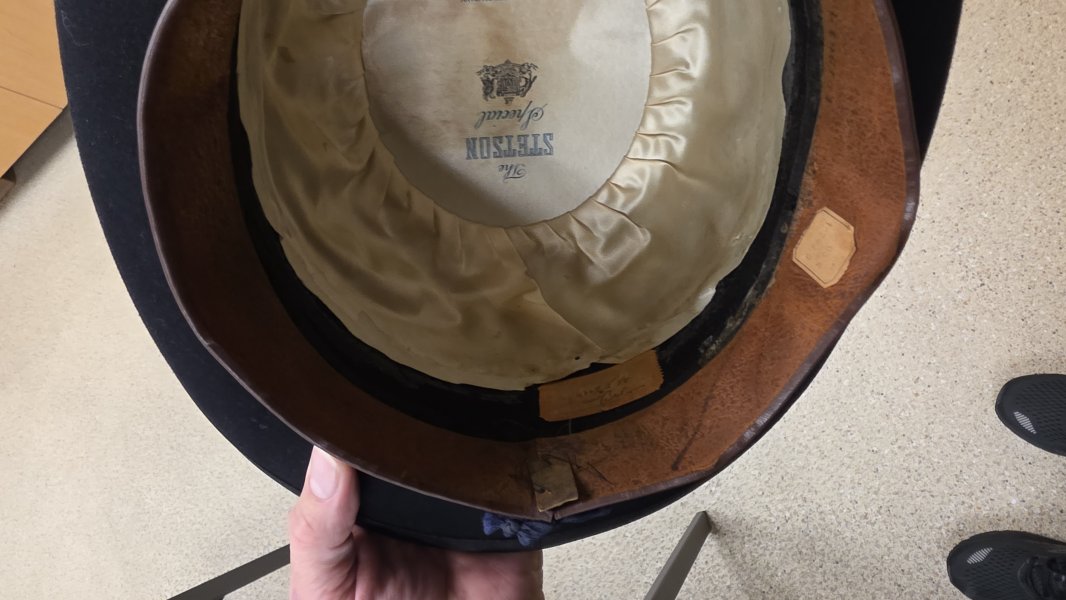
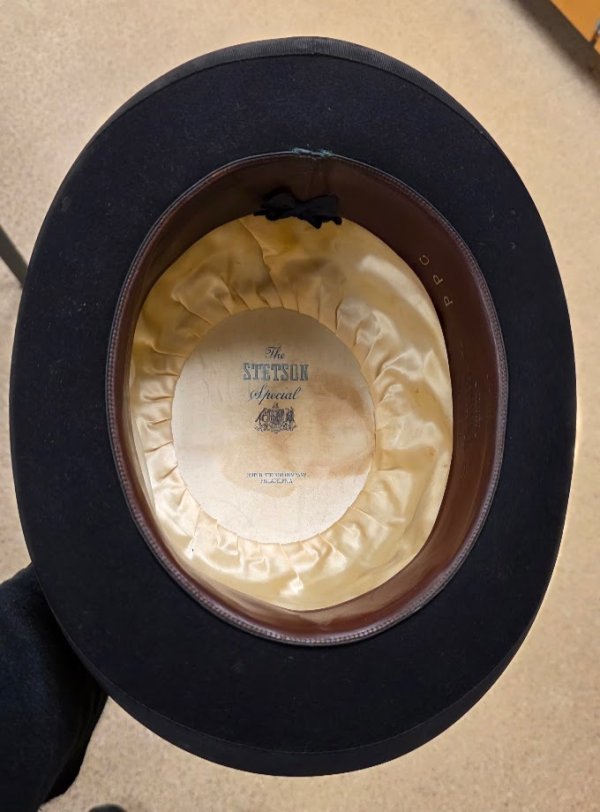
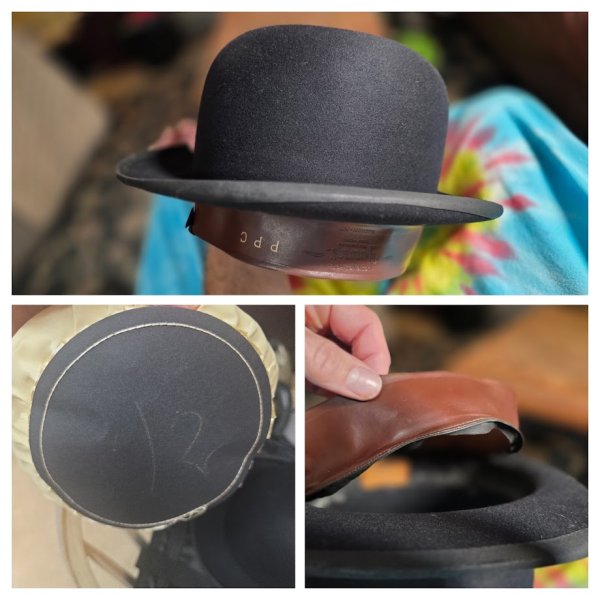
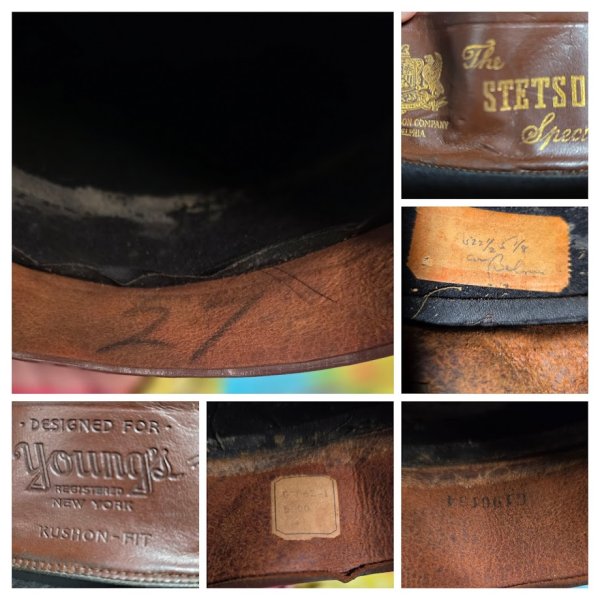
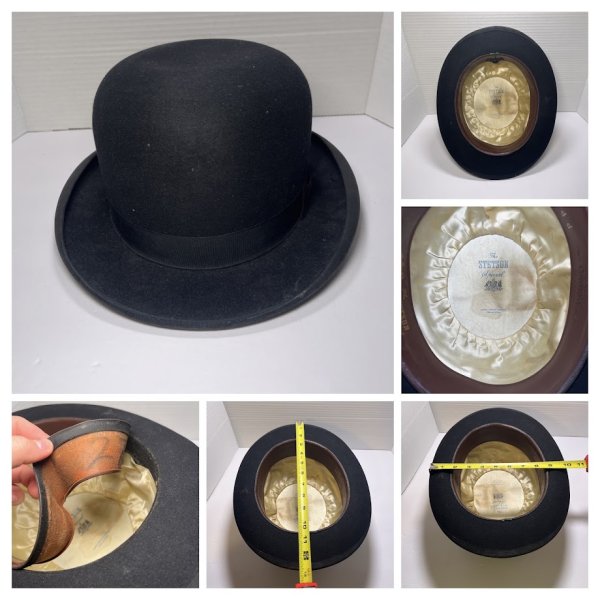

Nice work!So, this is what I am currently working on. It is a pre-war Stetson Special Bowler, in size 7 1/2 US (60). I purchased this on eBay last week and it arrived on Monday. I paid a total of just under $35 (Negotiated $22+S&H). It was listed as a youth size and the seller guessed the size must be very small, which I can only assume was because it was a "Young's" New York, hat. The hat was quite dirty and has a few small bites that I hope to be able to pounce away, but haven't gotten to that part as of yet. Also, the liner will need cleaning, but I've not done much of that, and have had mixed results on the few I've worked on, so am hesitant to start that without a bit more research and education.
I spent much of Monday (over night - I work overnights but got put "on-call" so was gonna be up anyway) working on the hat. First light cleaning with packing tape, brush and steam to pop out the crown (which was significantly dented in from the way it was packed in shipping) and finally some 99.9% Isopropyl and additional steam to help the existing shellac reset into a nice smooth shape in the crown.
I then removed the grosgrain ribbon around the crown as I would be re-attaching the sweatband next. The sweatband is in surprisingly good shape, including the reed (albeit a bit bent in places) but the whole thing (bow side half) had SOME sort of carpet tape or double sided gooey gummy something embedded between the sweat and the felt in an obvious amateur repair attempt but likely decades old. I was able to carefully remove the bulk of the tape without damaging the sweatband/reed/inner felt (thank the Lord) and therefore didn't feel I needed to go through complete removal and replacement of the reed an reed-tape, which is good because I still haven't found a decent reed-tape for doing just that. This process went pretty smooth, but I hadn't anticipated major hurdles in this stage as I'd done this exact thing now 6 to 8 times on other vintage or antique Bowlers. Luckily my confidence wasn't misplaced this time as can often be the case.
I have chosen (as mentioned above) to hold off on cleaning the liner for the time being so lightly tacked it in place with an extremely small amount of fabric glue. I have also re-sewn the Bow and Grosgrain ribbon to themselves so I can slide it down over the crown without having to sew through the felt. It's a nice snug fit, so I don't anticipate it going anywhere.
So far I'm pretty happy with the results and have now set my sights on finding an era/model appropriate vintage hat box to house such a beauty.
Comments both good and bad are encouraged